Hello Daydreamers!
In today’s post, I will teach you how to make a beautiful Mother’s Day Card with your Cricut Maker or Explore.
This card tutorial will not only empower you to make a beautiful mother’s day card, but it will also teach other cool techniques that will take any card you want to make from “Meh” to “Wow!”
I will be providing you with Six Free Mother’s Day SVG Card Templates, so I got you covered, no matter what your taste is like regarding cards.
This mother’s day tutorial will be based on one of the templates I designed for you to download. However, if you want to learn how to make a card from scratch, check out my Card Making Tutorial with Cricut.
If you have a Cricut Joy, you could adapt any of the templates using the “Contour Tool” and following my Card Joy Tutorial.
Here are the topics I will cover so you have an idea of what I will be teaching you today:
- Materials
- Steps to make a card in Design Space
- Cutting Process (I will give instructions for the Explore and Maker machines)
- Assemble Process
- Other ideas for making cards with the SVGs in this article

Tip: This tutorial builds upon the skills I teach in every step. If you’re just starting with your machine, I suggest you read and follow each step.
Related: DIY Father’s Day Card with Cricut
Are you ready?
Let’s Daydream Into Reality!
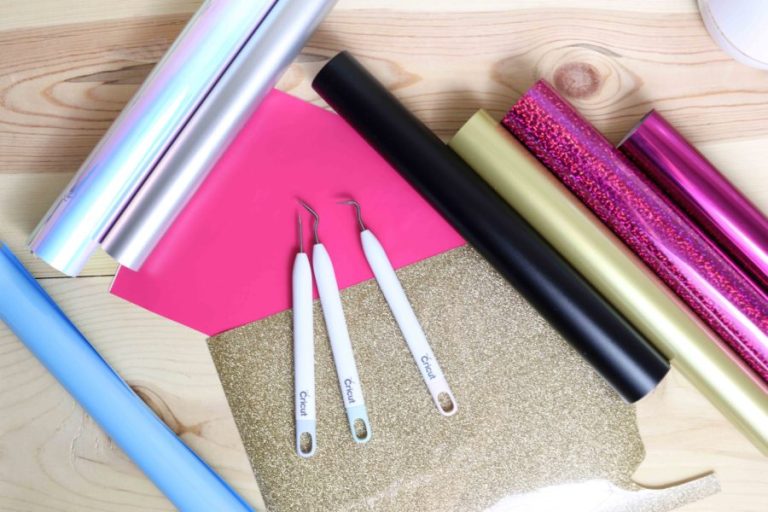
Materials & Accessories
- Cricut Explore/Maker
- Scoring Stylus or Scoring Wheel (Maker only)
- Fine point blade
- Black Cricut Pen
- Standard Green Mat
- Cardstock: three different colors that look good together. I used hot pink, yellow, and blue*
- High-quality glue*
- Everyday white iron-on**
- Weeder
- Easypress Mini or Household Iron
- Free Template: download on button-down bellow; for more instructions and the rest of the templates, go to the end of this tutorial.

* Always use high-quality paper and glue. If you want your project to look professional, good glue and beautiful paper are a must. Cheap materials translate into cheap-looking projects.
** If you don’t want to use iron-on for this card, you can use white cardstock, glue each letter, or use print then cut with the background layer. (I’ll show you a quick screenshot of how to do this).
If you’ve never used heat transfer vinyl on cards, try it today, your card will look so beautiful, trust me!
Make Mother’s Day Card in Cricut Design Space
Before we go into Cricut Design Space, take a look of the card we will be making.
There are four different colors and two different materials unless you skip the iron-on and do Print then Cut, or use white cardstock.

Front of the Card Inside of the Card


The front of the card has some cut-out shapes and design that says “Best Mom Ever,” for the phrase itself, we are using iron-on, and for the outline, we will be using pink cardstock.
Inside the card, we are using two squares, one of the squares is to bring color and fill the front of the card and the other square is to write on it.
Now, let’s go to
Step 1 – Upload Template
Download practice file from to your pc, then click on the “Upload” button on the left panel of the canvas and go to “Upload Image” follow the prompts and select the image from the “Recent Uploads” view, and click on “Insert Images.”

Step 2 – Organize Card
There’s a couple of things we need to before we can make this card. Select the card on the canvas area and click on the “Ungroup” icon located at the Layers panel’s top.

From the Layers panel and holding “Shift” at all times, select all the pink layers that form the phrase “Best Mom Ever” and click on “Weld” at the bottom of the Layers panel.
Once you weld, all the card components are in the four layers and color we need for this card.

Do you see that line that’s in the middle of the blue card?
That line is intended for scoring with your machine, but it’s telling your machine to cut right now.
Something fundamental you need to do with this template (and all the ones I’ve included in this tutorial) it’s to change the operation from “Basic Cut” to “Score.”
If you forget this step, you will cut right in the middle of the card, and ruin the cut.

Tip: Sometimes, the scoring stylus lines are hard to fold. To fix this problem, select the score line from the canvas, and click on “Duplicate” on top of the layers panel to score twice.
If you have a Cricut Maker and plan on using the scoring wheel, you can skip this tip, although I still use it sometimes.
Once you have the line set to score, select it (or them if you used the tip above) along with the blue card and click on “Align” on the top menu and select the option “Center.”

Don’t eye-align; you want to make sure the score lines and the card are perfectly centered. Even a small discrepancy will make your card look uneven.
Step 3 – Write Inside Mother’s Day Card
If you have a Cricut, most likely you’ll want to write inside your card!
Click on the “Text” icon located on the canvas’s left panel and type in the text you want to write. Initially, your text will look huge in proportion to your card, and the operation will be “Basic Cut.”
Once you’re done typing, resize it to fit one of the yellow squares.
Let’s talk fonts…
In Design Space, you have your system fonts and Cricut Fonts. Your system fonts won’t do a writing effect. They will look outlined if you choose to use your Cricut Pens.
However, many Cricut fonts DO have the option for “Writing;” they were designed with that purpose. So if you want to write like the screenshot below, you must use Cricut Fonts.
Here’s the problem, normally they Cost money. You can either buy them individually, or they come with Cricut Access.
I have a great article that will help you find fonts where you can recreate “writing fonts” for Cricut.

For this particular card, I used the font “Awesome” and I selected “Writing” for the style.
If you use a system font, make sure that you change the operation from “Basic Cut” to “Draw – Pen.”
Step 4 – Attach
Every time you want to use pens and score on your projects, you need to tell your machine where you need to perform that action.
To tell where to write and where to score, you need to use the “Attach” tool in Design Space.
Learn how all about Attach, Weld and Group.
For this card we need to attach twice.

To tell your machine where to score, select the card and the score(s) line and click on “Attach” at the bottom of the Layers Panel. Repeat the same steps, but now selecting the text and yellow rectangle.
Step 5 – Touch Up & Arrange Layers
At this point, you can change or edit some small details. For instance, I swapped colors between the pink and white layers.
And since I wanted to resize my card, I also arranged (back, front, etc.) each layer to see a “preview” of my card.

If you want to use “Print then Cut” instead of iron-on, select the pink and white layer and click on “Flatten” at the bottom of the Layers panel.

I won’t cover how to print then cut on this tutorial, but you can learn how to do it on this tutorial.
Step 6 – Resize & Send to Cut
Here’s how the card would look like; of course, the writing part will go inside the card.
Now, it’s time to resize your project (I always leave sizing to the end, but you can do this when you upload the image).
Select all layers that make the project, and, on the top panel type in the width you want for your card (don’t use the height because the score line is larger than the card).

The width of my card was 9 inches. This means that once you fold it, it’s going to be 4.5 by 8.14 inches. Once you resize, click on “Make it” on the upper right corner to cut your project!
Mother’s Day Card Cutting Process
It’s time to cut your card!
Step 1 – Mat Preview
This project has four different colors, so your mat preview should have four different mats.
Note: The mats’ order is random; you can click on each little mat preview to cut in a different order if you prefer. I usually do iron-on first and then cardstock.
Ensure you know what mat you’re cutting if you decide to cut in a different order.
For the “Best Mom Ever” phrase we are using iron-on so you have to make sure you “Mirror” your image.

Any time you make a card, it’s always a good idea to score inside the card.
Therefore, to have an easier time folding, mirror the mat with the score line. If you’re using one-sided color material, ensure you place it pretty side down on the mat.
Click on “Continue” to select materials.
Step 2 – Select Materials & Cut Iron – On
For this project I used my Cricut Explore, but you can also use your Cricut Maker.
If you have an Explore machine, move the smart set dial to custom, and leave it there always to select material from Design Space. For the Cricut Maker, always select your material from Design Space.
Tip: I’ve been using more pressure every time I cut with my Cricut and I love the results.

For the iron-on, we only need the fine point blade on “Clamp B.”
Now, on your mat, place iron-on pretty or shiny side down, and load it to the Cricut, and tap the flashing go button.
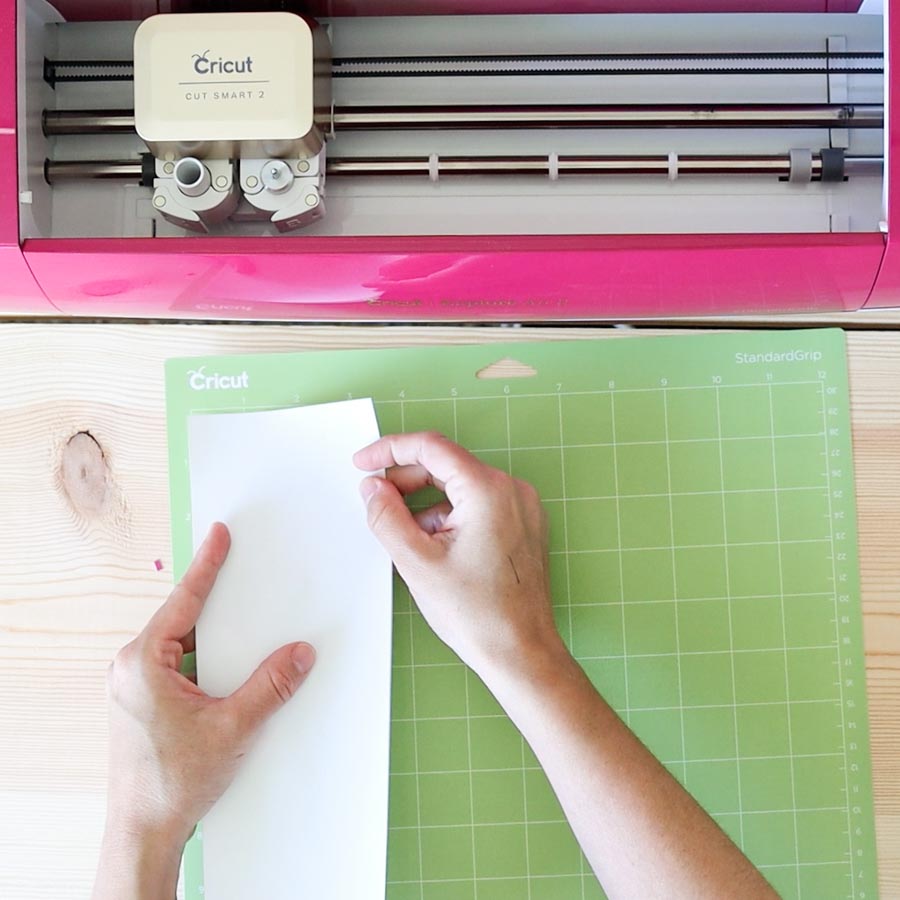


When you’re done cutting, remove the vinyl from the mat and weed your design.
I recommend you see on your pc all the areas you need to weed out, so you don’t make any mistakes. Don’t know a lot about iron-on? Check out my tutorial.
Tip: If you decide to use cardstock for this tutorial, make sure to keep all the letters to glue individually.
Step 2 – Select Materials, Cut, Score & Write
It’s time to cut our cardstock!
Make sure you change your material in Design Space. I can’t tell you enough how many times I’ve ruined materials because I forget to change my settings.
For the next mat, I will be using yellow cardstock and the black Cricut pen.

Install pen in Clamp A, load mat, and start the cutting process.


When you’re done cutting, bend your mat to release the paper from the mat. It’s so much easier to remove materials like this!

For the outline of the “Best Mom Ever” phrase (pink cardstock), repeat the same process, except for installing the pen.
It’s time to cut the blue card!

If you have a Cricut Maker, the scoring wheel will be the default option; if you want to change it for the “scoring stylus,” click on “Edit tools” to select it.
Important when Using Wheel & Cricut Maker: You need to install it in clamp “B” and score first. When Design Space brings notification to change tool, install fine point blade.
Install Scoring Stylus in Clamp A, load mat, and press the flashing go button.


When the cutting process is done, unload and bend mat to release paper
Assemble Mother’s Day Card
We’re done cutting our card and here are all the pieces you should have:
- Best Mom Ever Iron-On phrase
- Outline
- Blue card
- 2 yellow rectangles with text on one of them.

Let’s assemble the card
Step 1 – Transfer Iron-On
For this project, I used the EasyPress Mini; you can also use a regular iron or mini iron.


According to Cricut’s heat guide, when you use the EP Mini, with everyday iron-on and paper, these are the steps you need to take:
- Place iron-on material face down, liner side up.
- Secure with heat-resistant tape, avoiding image area (I didn’t use it, but I was super careful to keep the iron-on still while pressing)
- Press while moving with Light pressure at Low setting for 25 s (Note: Overlap iron-on edges by 0.5″/1.3 cm)
- Slowly remove liner when cool to touch.
For a household iron:
Preheat your iron to two or three notches down below the highest setting and press movement for about 30 seconds. Don’t let your design move at all, or it will get ruined. If you feel it may move, use some heat-resistant tape to secure it.
For more specifics on using a household iron, please check out this section on my Iron-On guide.
Step 2 – Glue Card
Glue the inside of the cards with high-quality glue. The rectangle with text goes on the right side of the card. Once dried, glue the “best mom ever” phrase to the front of the card.


It’s ready!
Doesn’t it feel great to use more than just paper?
You used iron-on, the scoring stylus, pens, and the result is one amazing and unique card your mom will absolutely love.


Mother’s Day Cards Free SVG Templates
As I mentioned at the beginning of this tutorial, here are some cool templates you can use to make mother’s day cards (personal use only).
Oh!
Just so you know, I also have a library full of free SVG files and Printables for all my subscribers, a.k.a. Daydreamers. You can see a preview right here or get access by filling out this form.


To download the file(s), you need to be on a desktop or laptop and click on the button to trigger a download file on your PC. However, I’ve noticed that I can also download them from my iPhone.
Depending on your browser settings, your PC sometimes asks where to save the file, although most files will be in your download folder.
If the image opens in a new window (this may happen because of your browser settings), right-click on it, select the option “Save Image As,” and choose where you want to save the file.
SVG files look like web page files when you download them.
Mother’s Day Card Ideas
Here some other cards I made using my templates. They all look so beautiful!
I love the contrast between lime green and purple!


And look at this one.
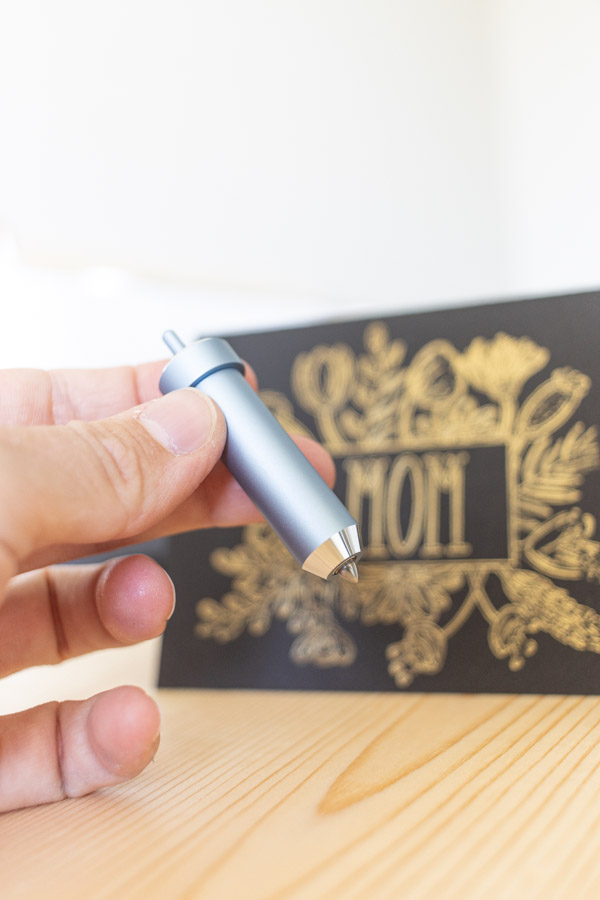
I use the “Foil Transfer Kit” and black cardstock.
Tutorial coming soon on how to use this little tool!


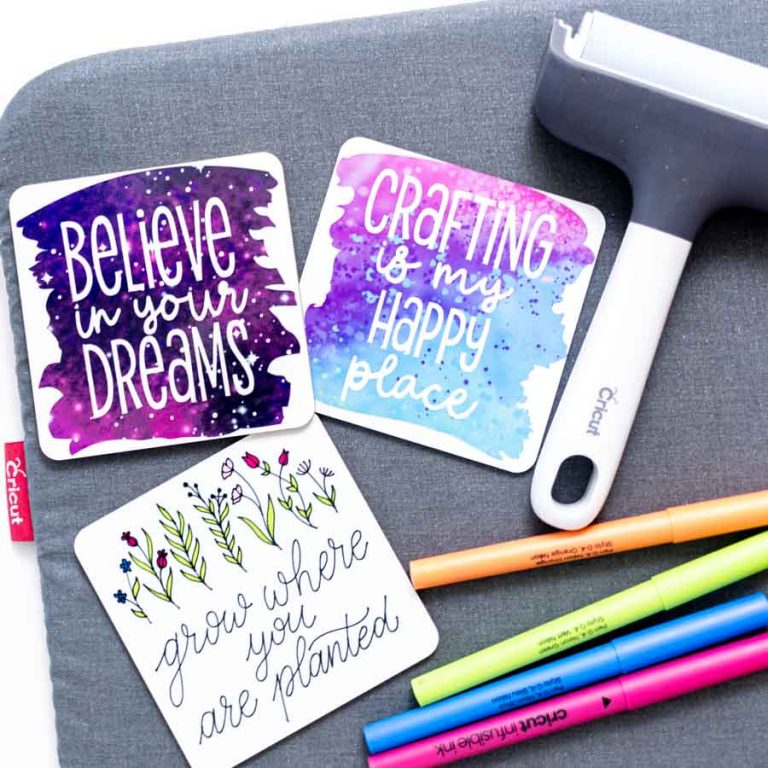
And if you just have time for a quick print then cut card, download the PNG file, and give your mom this beautiful watercolor and floral card!

What about the heart shaped card?
It’s so elegant, I really like it!


The “Mom you Rock” card it’s also really cute and creative.
Which card are you going to make?
Let me know in the comments and tag me on Instagram so I can see all your beautiful creations.
Share it
Do you know it takes me over 25 hours to complete a single Cricut article? I know it’s wild, but I want to make sure you understand everything!
I would appreciate your support on Instagram , Pinterest , and YouTube as I try to grow my audience and continue producing great content!
I would like to make the heart shaped card. Where do I find that SVG?
It’s at the end of the tutorial along with the rest of the cards.
I’m trying to download your Best Mom Ever card template and I’m having difficulty. I’m using my desktop but it’s a Mac not a PC. It keeps opening as a webpage. I love this file, would you have any recommendations for me? Thank you.
If the file opens in a new window, rick-click on the image and choose “Save image as” then save to your pc. On your pc, or mac the file will always look like a webpage. That’s how the SVG file looks.
Go to design space a upload 🙂