Hello Daydreamers!
In today’s article, I will teach you how to personalize beautiful kitchen (tea) towels using your Cricut machine. I did this project using my Cricut Maker, but I will give you the instructions and tips if you have a Cricut Explore or Joy.
Oh, and I also include 12 Tea Towel FREE SVG templates that you can use to decorate your kitchen or give as a gift to someone you love.
Tip: This tutorial builds upon the skills I teach in every step. If you’re just starting with your machine, I suggest you read and follow each step.
I will be covering two different techniques.
- Using freezer paper stencils
- Using Iron-On


Here are the topics I will be covering:
- Prep Work
- What Towels should you use
- Personalizing kitchen towels with freezer paper stencils
- Personalizing kitchen towels with iron-on /heat transfer vinyl
- Other cool ideas in Design Space for personalizing tea towels
- How to care for your project
- Free SVG files for decorating tea towels.
Are you ready?
Let’s Daydream Into Reality!
What Towel Should You Use?
There are many types of towels you can use for today’s project. However, the most important thing you need to keep in mind is smoothness.
Choose towels that have smooth textures so your project is more durable, and you also have an easier time painting or using heat transfer vinyl on them.
For this project, I used flour sack towels. They are beautiful, and very cheap. You can get a pack of 5-10 at Walmart for less than 10 dollars.
In the past I’ve also used regular (smooth) kitchen towels and table napkins. I’ve had great results as well. Experiment and have fun trying different styles.
Prep Work
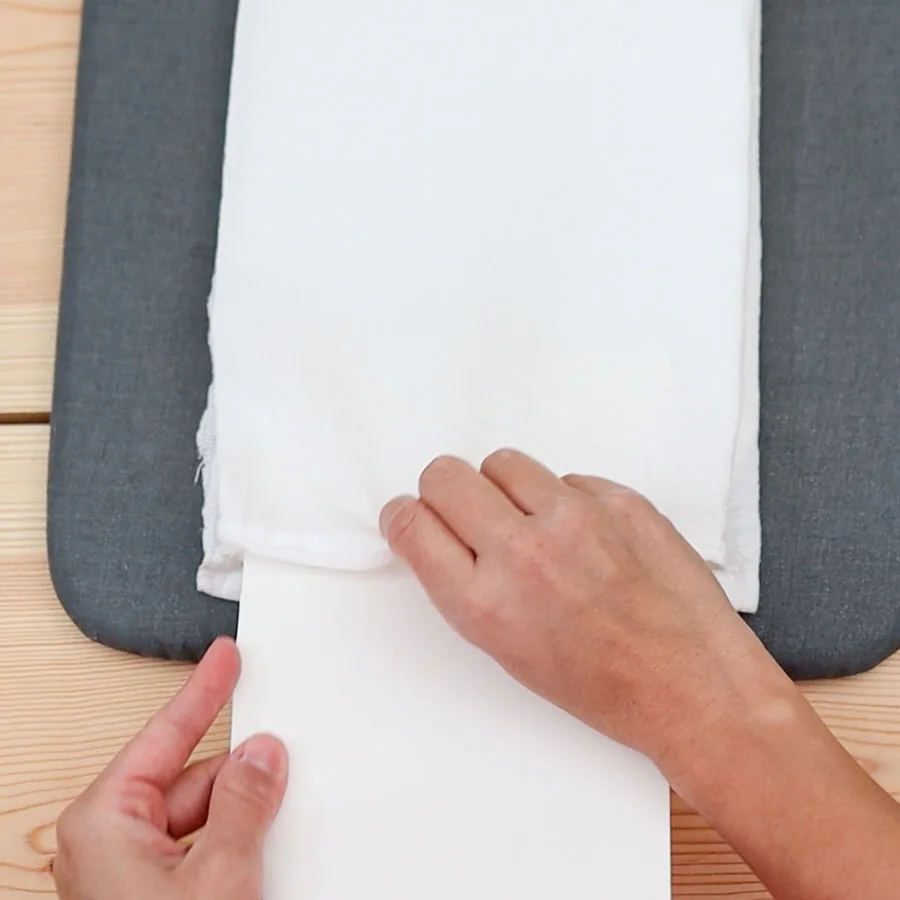
Before cutting your project, I suggest you wash your kitchen towels, especially if you’re using the iron-on method. Flour sack towels lose their shape and also get very wrinkly when you wash them.

To reshape the towels, extend them and then stretch them out, grabbing from opposite corners. One stretch from top-left/lower-right, and another stretch from top-right/lower-left.


With a household iron (or Easypress) iron the towel.
Personalize Kitchen/Tea towels with Freezer Paper Stencils
I love using fabric paint on these sorts of projects because I can use 100% cotton materials and have a peel-proof project.
Learn more about making stencils with freezer paper, best paint, etc.
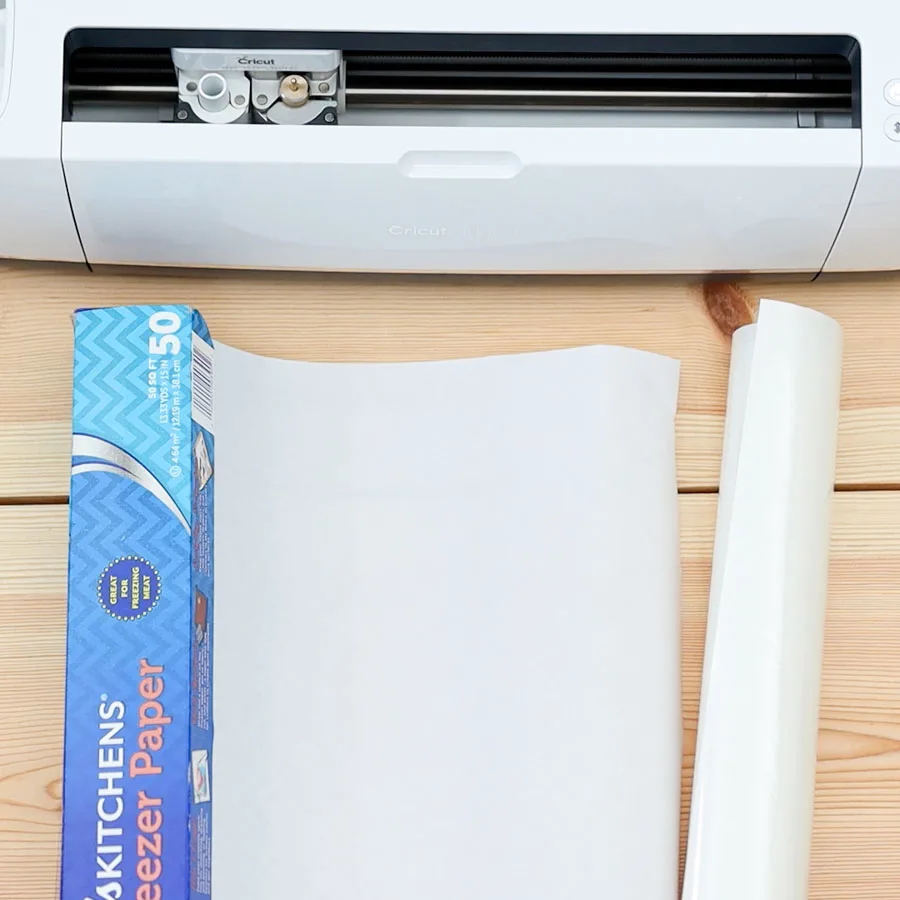
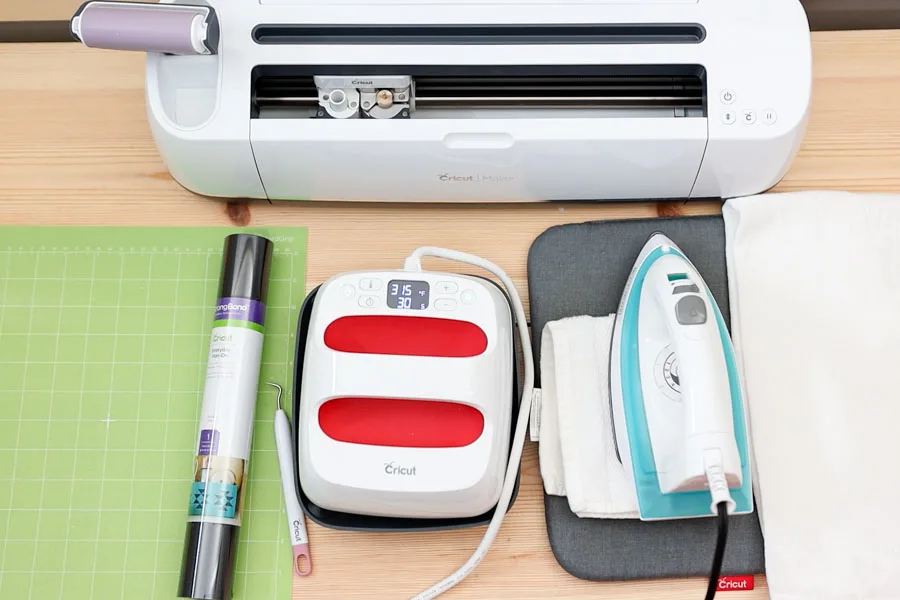
Materials & Accessories
- Cricut Machine (Maker, Explore, Joy)
- Fine Point Blade
- Green Mat
- Weeder
- Flour sack tea towels
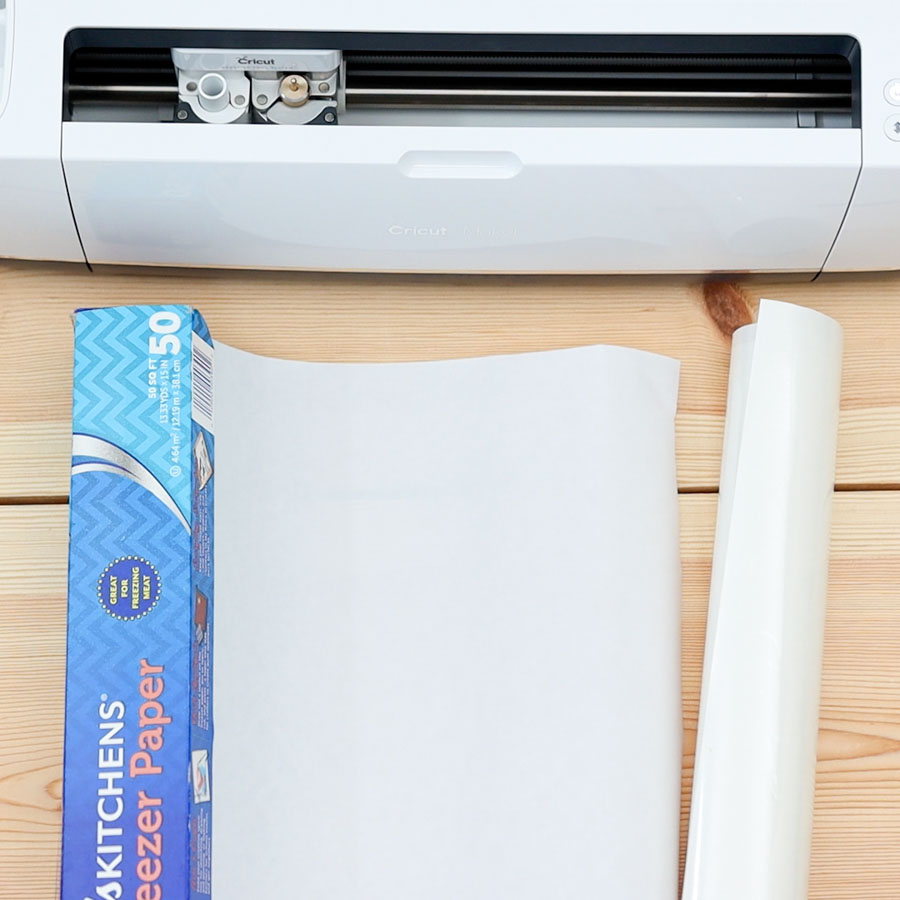
- Freezer paper
- Heat transfer mask*
- Fabric paint**
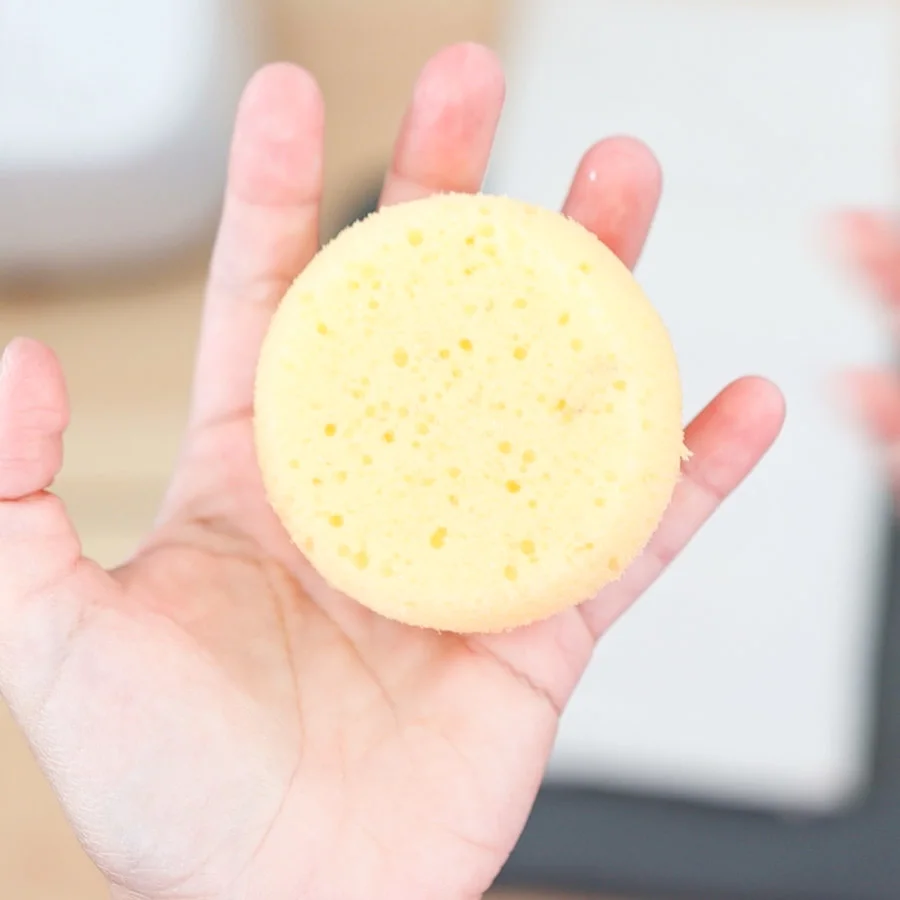
- Brush, sponge***
- Iron
- Pressing mat to protect your surface while you iron.
- Free SVG template (Download at the end of this tutorial).


* Using heat transfer carrier sheets is my favorite way to work with freezer paper.
These are the same sheets that attach to heat transfer vinyl, therefore if you have some laying around, you can use them, or you can also buy them on their own.
I got this HT carrier roll from Amazon, but it goes out of stock quickly. If you can’t find it, you can try this other brand as well.
If you don’t want to use a transfer mask, check out this section on my freezer paper guide.
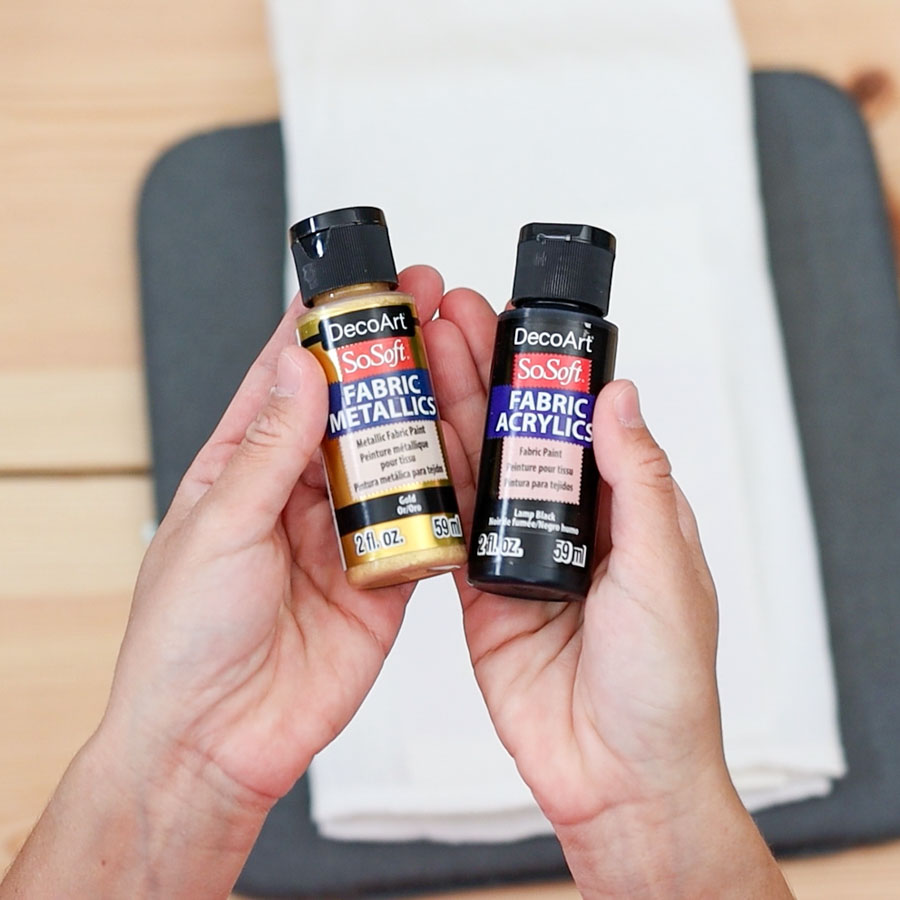
** I love working with DecoArt fabric paint, it glides over the fabric like butter, and it’s not required to heat set. You can also use speedball paints (requires heat setting.)
Important: If using dark colored towels, choose high pigmented paints.
*** You can try sponges or paintbrushes on your projects. A paintbrush will give you a more smooth result, and a sponge will give you a distressed look.
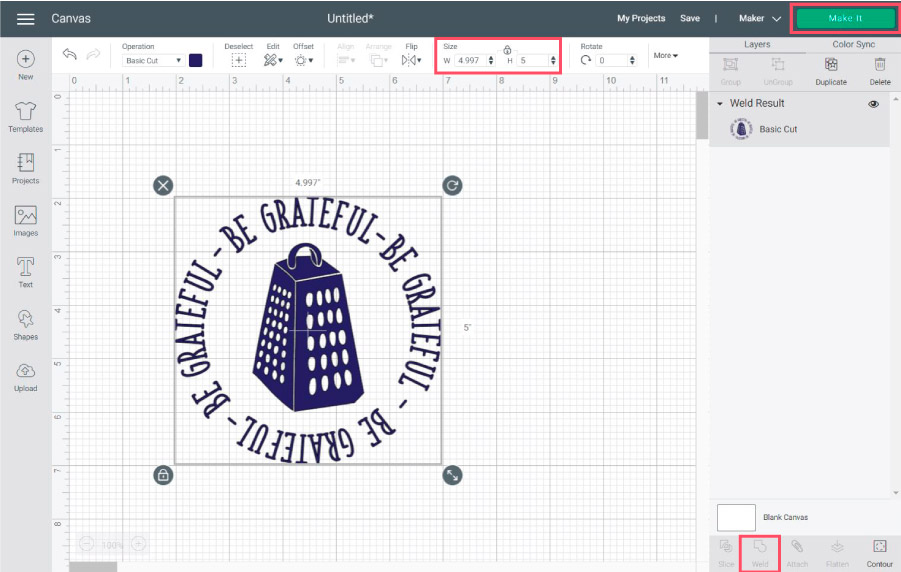
Step 1 – Upload & Organize File
Download the practice file (at the end of this tutorial) to your pc, then click on the “Upload” button on the left panel of the canvas and go to “Upload Image” follow the prompts and select the image from the “Recent Uploads” view, and click on “Insert Images.”
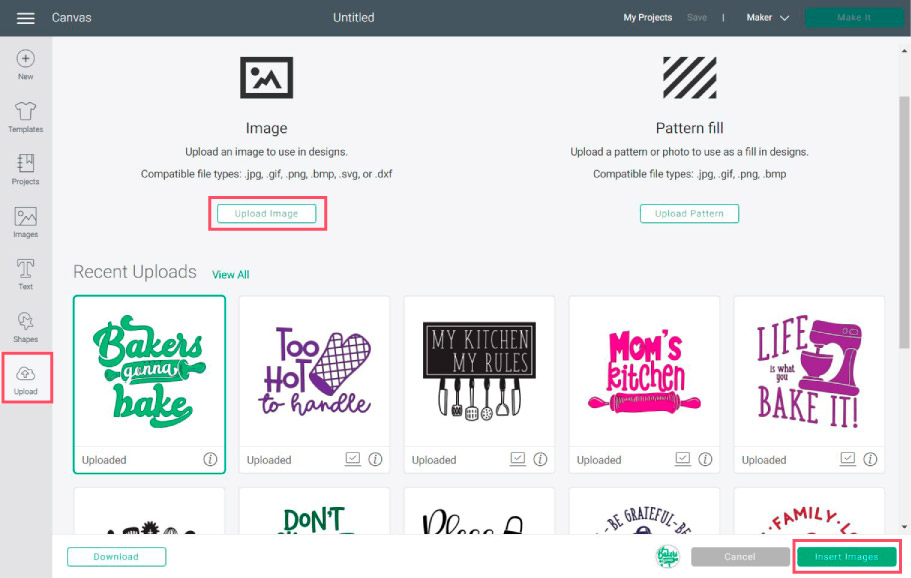
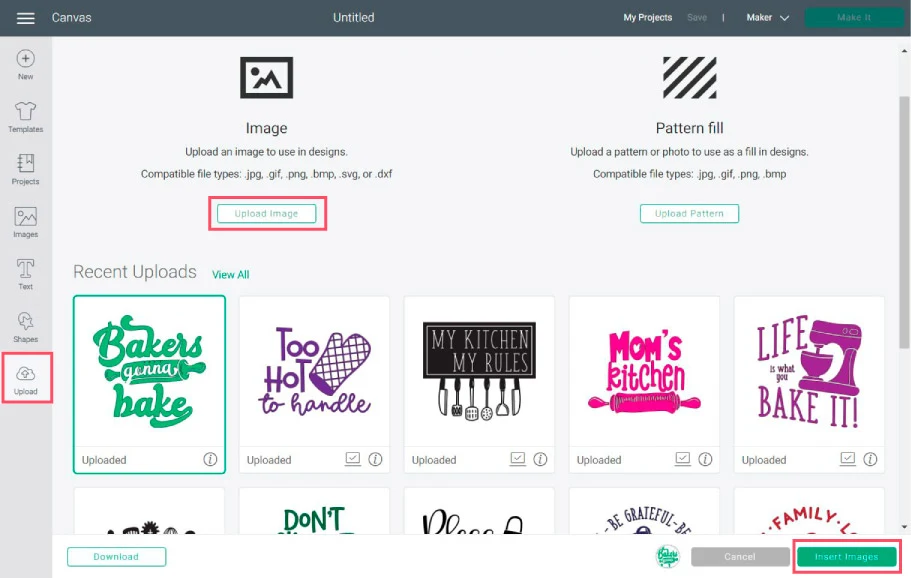
There’s a couple of things we need to do before we can cut our stencil. First, select the design on the canvas area and click on the “Weld” icon located at the Layers panel’s bottom.


Then, resize the file according to the size of your towel.
Important: If you have a Cricut Joy, the max size for the stencil is 4.25 inches x 6.25 inches when using a small mat or 4.25 inches x 11.75 inches when using a large mat.
Flour sack towels are quite large, and you can do four or five folds. I decided to do four folds because it’s easier for me. But do what you like the best.
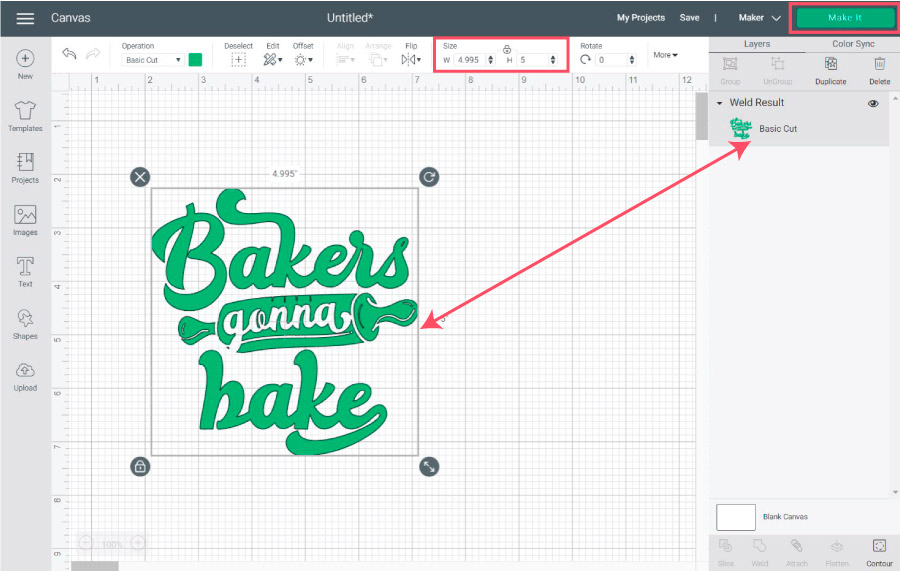
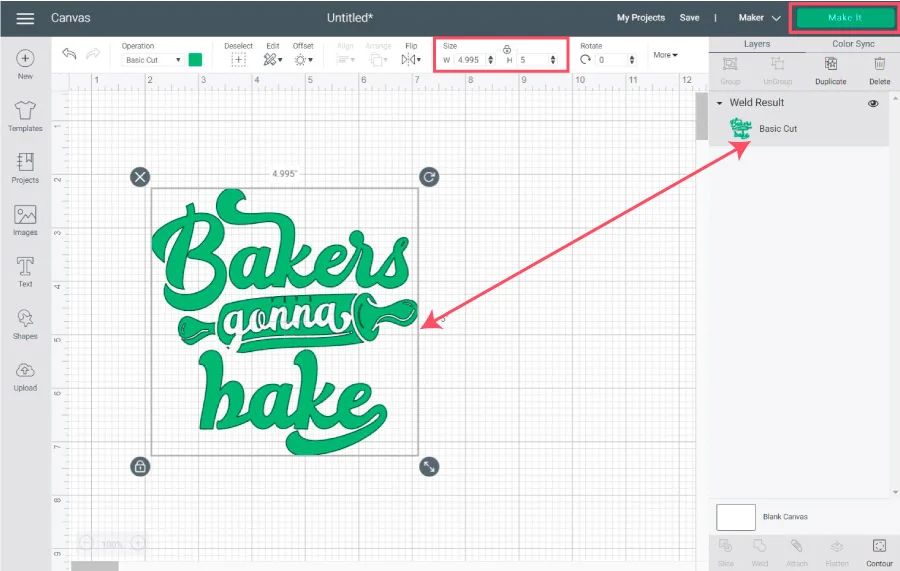
After welding and resizing click on “Make it” to cut the file.
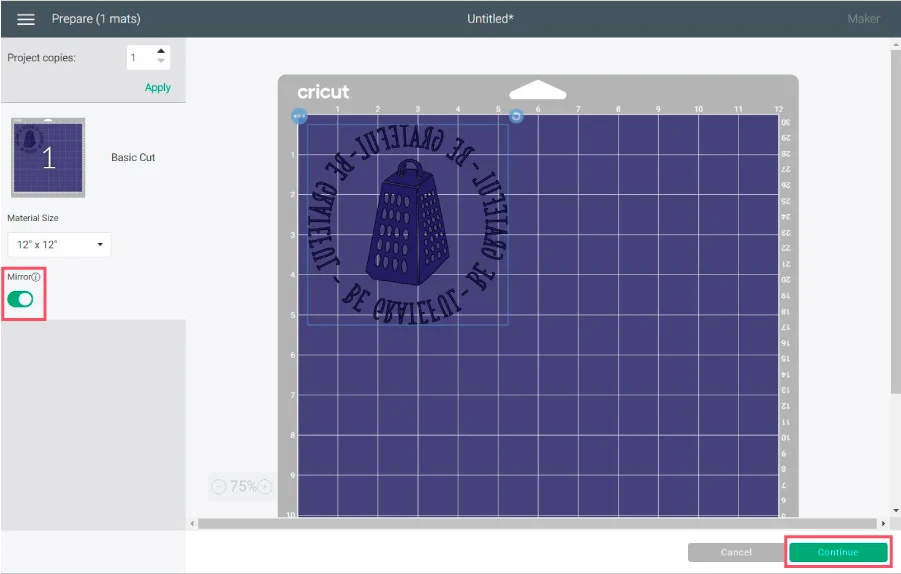
Step 2 – Cut Stencil
Note: If you have a Cricut Joy, select the option to cut on mat.
Turn mirror on because we will be using heat transfer tape, then click on “Continue.”
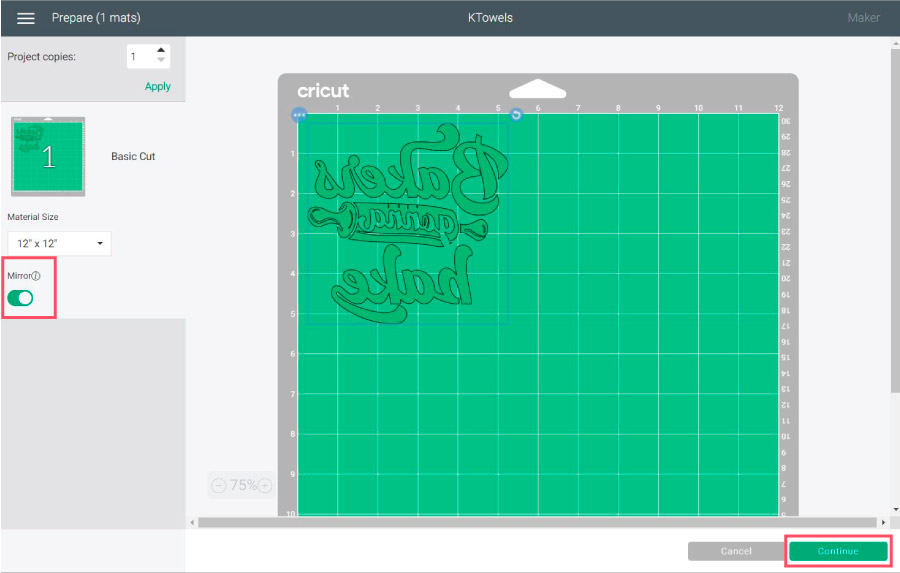
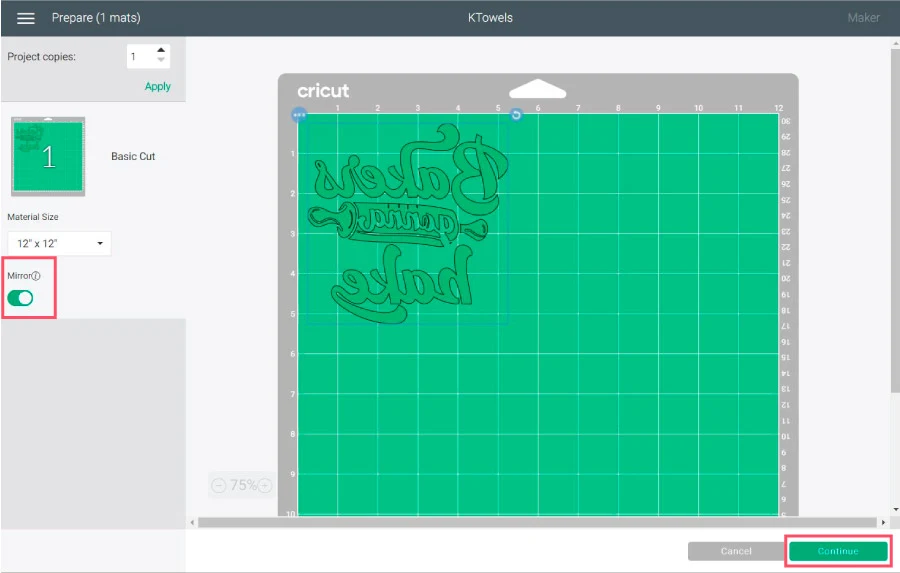
It’s time to select your materials.
Depending on the machine you have, these options will be different:
- Cricut Maker & Joy: Select material from Design Space, click on “Browse All Materials” to find the material.
- Cricut Explore: Move Smart Set Dial to “Custom” on your machine browse materials to find freezer paper.
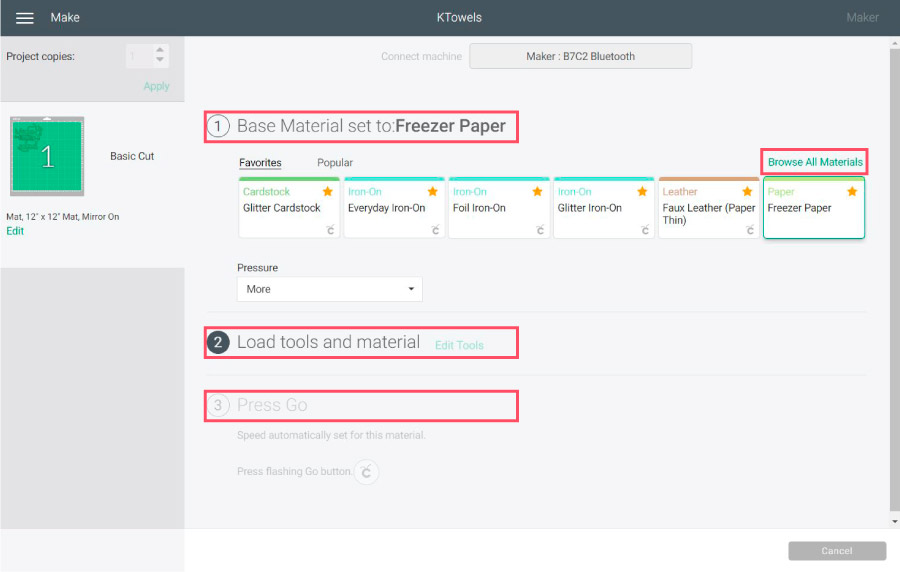
If you can’t find freezer paper for some reason, you can also choose “Construction Paper” default pressure or “Copy Paper” and set the pressure for more.
When in doubt do a small test cut, to see if the settings you have will cut your materials.
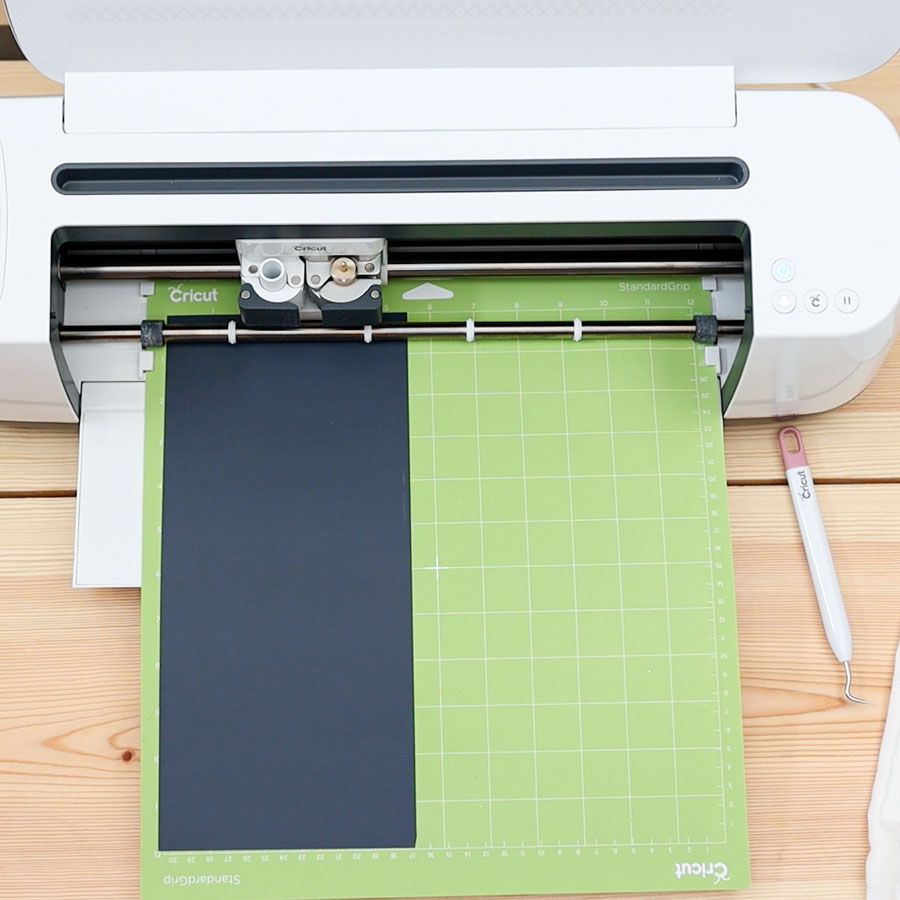
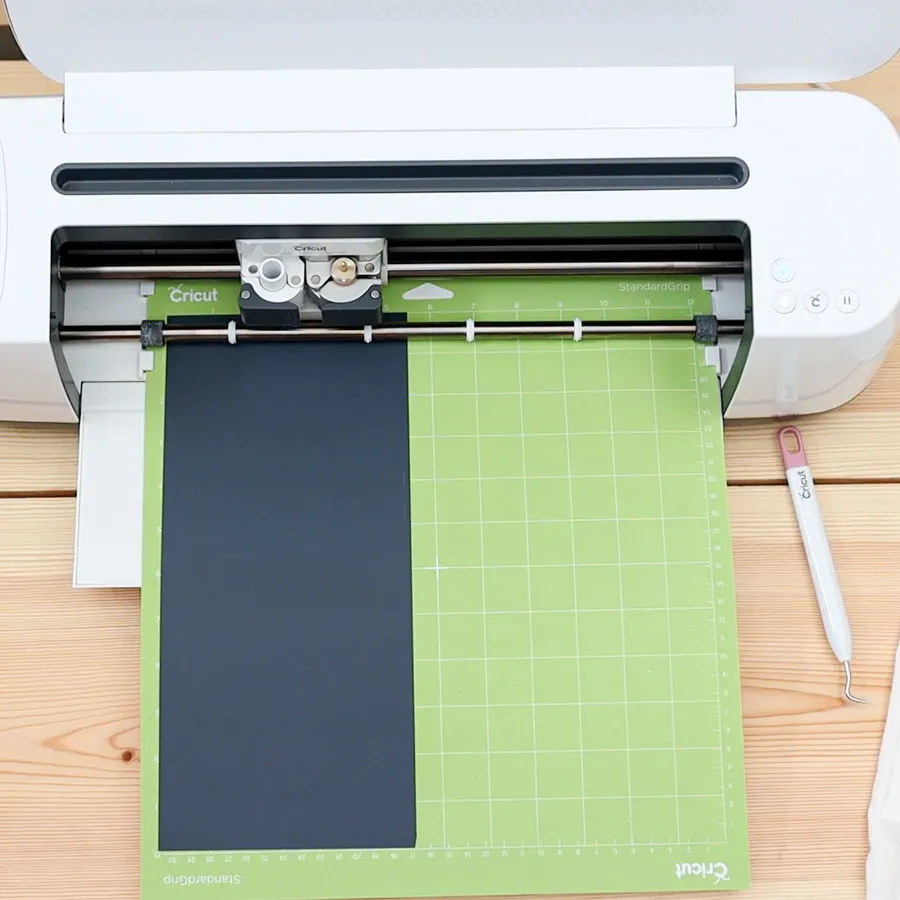
Step 3 – Prep Cricut Mat, Cut & Weed
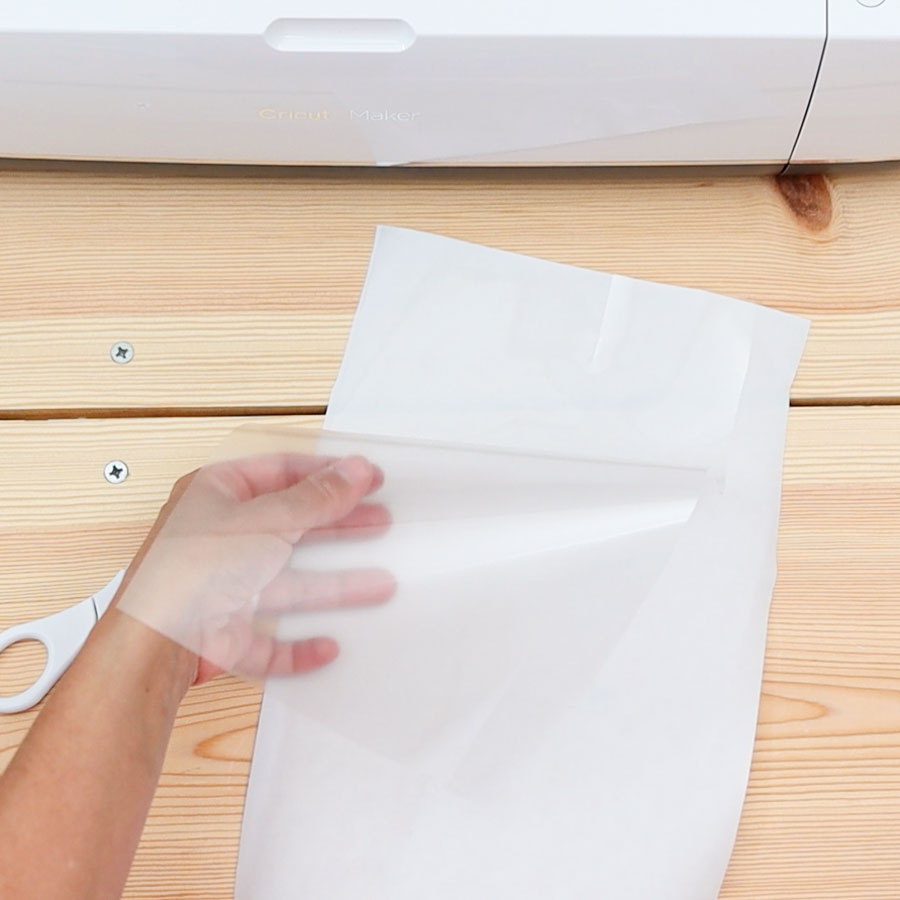
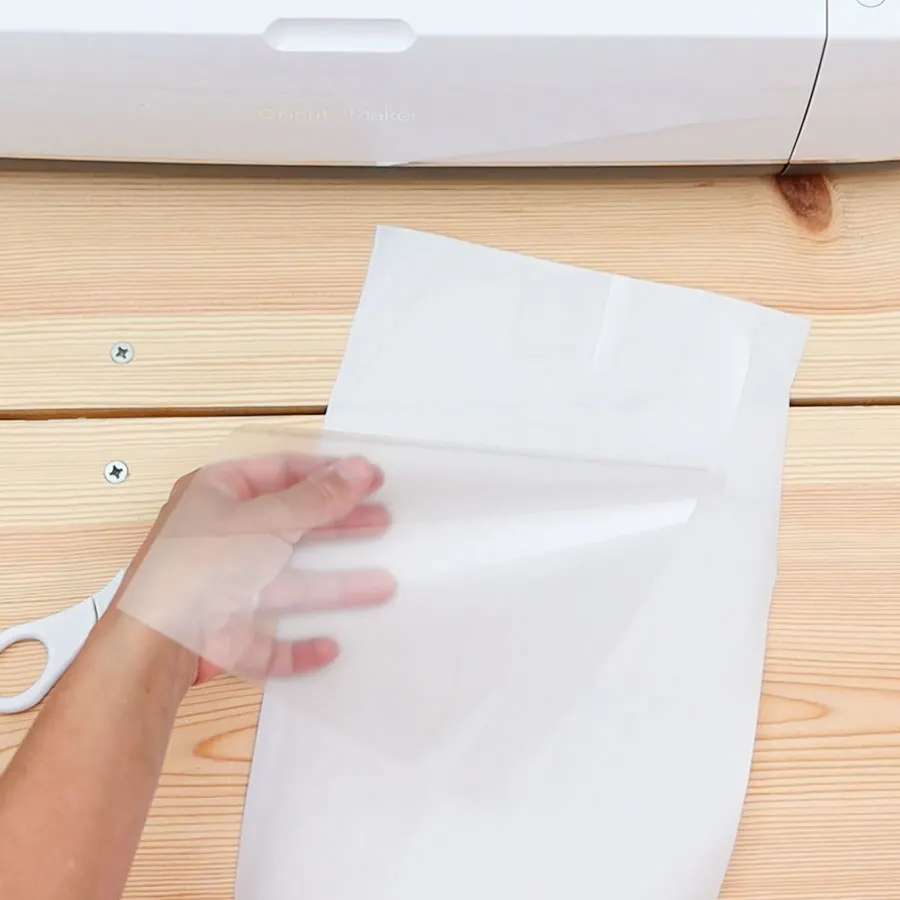
Freezer paper has a regular finish on one side and a coated finish on the other side; place the heat transfer mask on the regular side.
Place carrier sheet and freezer paper on Cricut mat. The coated side of the freezer paper must be facing up.
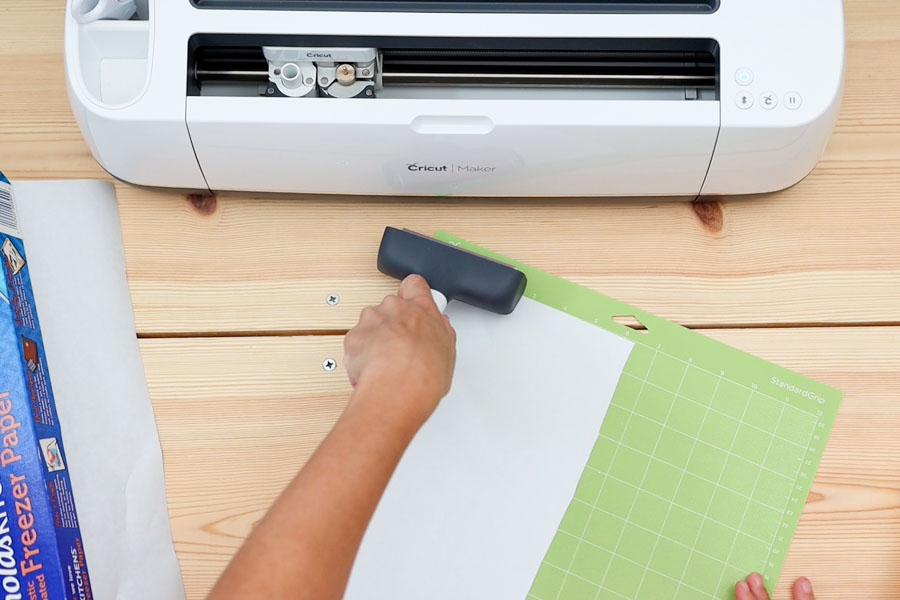
Use the scraper or brayer (my favorite Cricut tool) to smooth out bubbles and have everything nice and level. Then, load the mat to your machine and press the flashing go button to start the cut.
For the Cricut Joy, start the cut from Design Space.

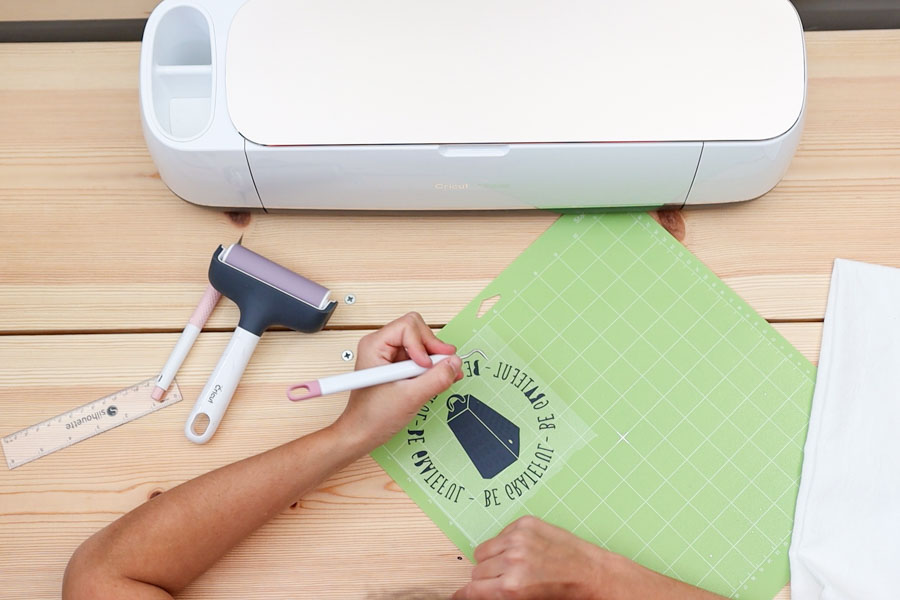
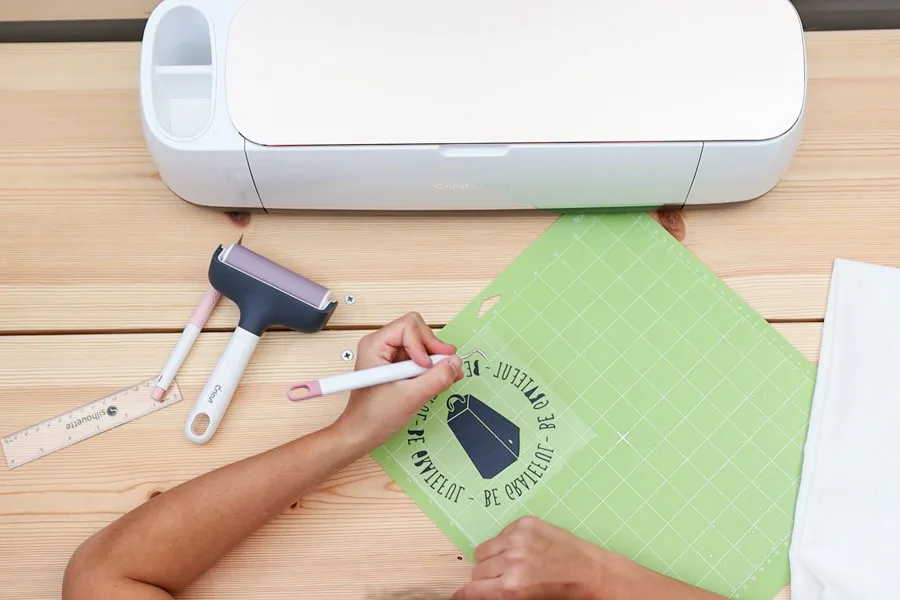
What I like about using heat transfer carrier sheets with freezer paper is that you can weed your design like you would with regular vinyl.
The carrier sheets will keep your design intact, meaning the letter holes won’t fall out during the weeding and transfer process.
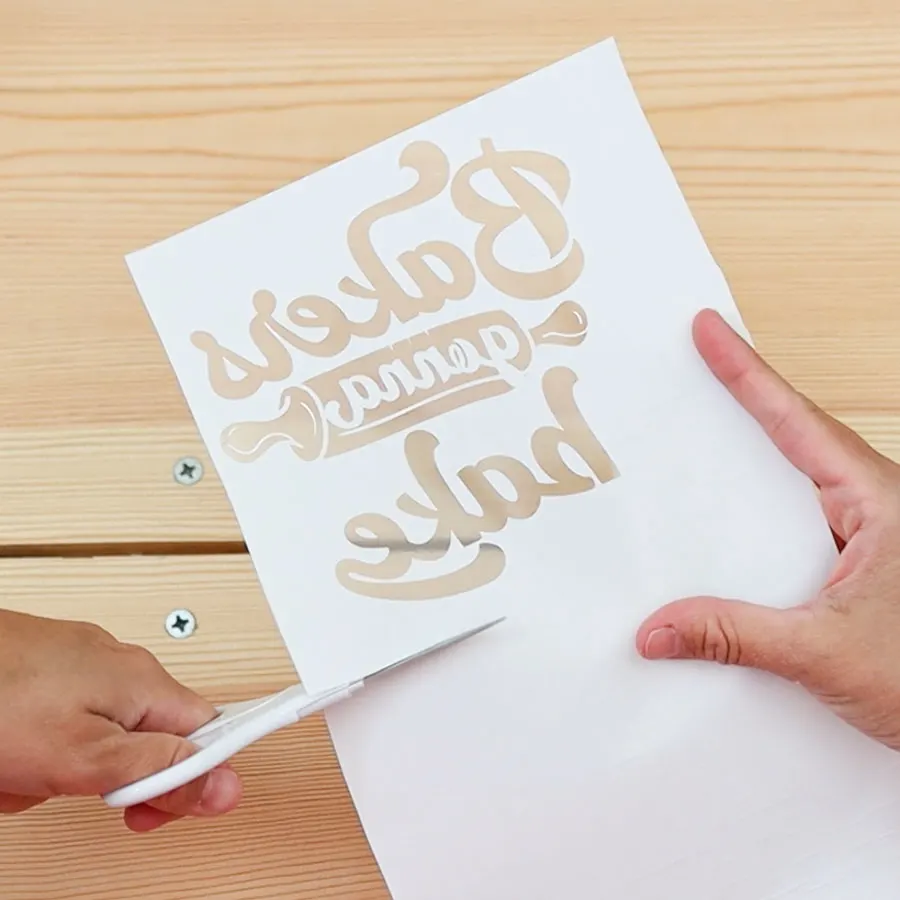
The critical part here is that you need to weed the parts where you want to paint.
It’s some sort of reverse weeding.


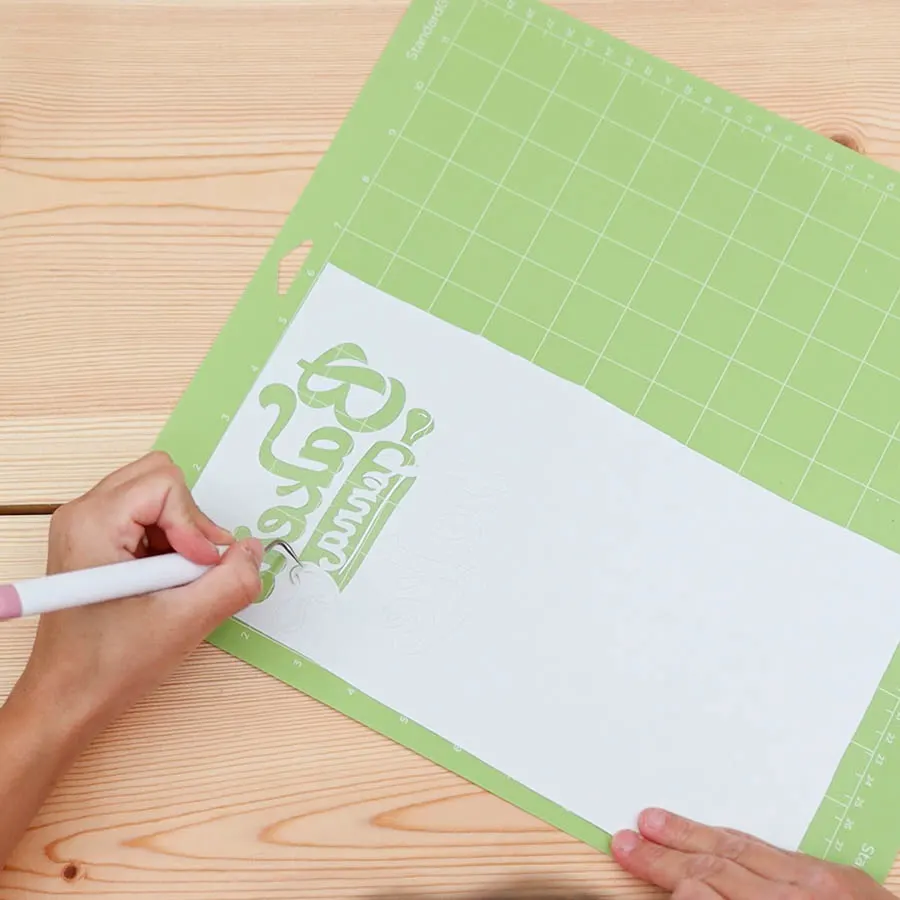
After you weed, bend the mat and remove the stencil. Be careful, so nothing falls out from the carrier sheet (heat transfer mask).
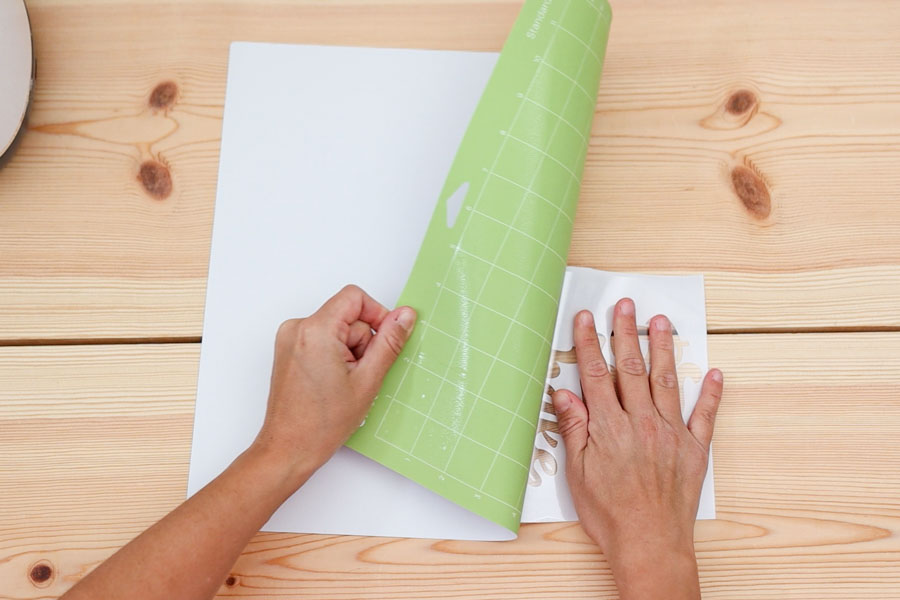
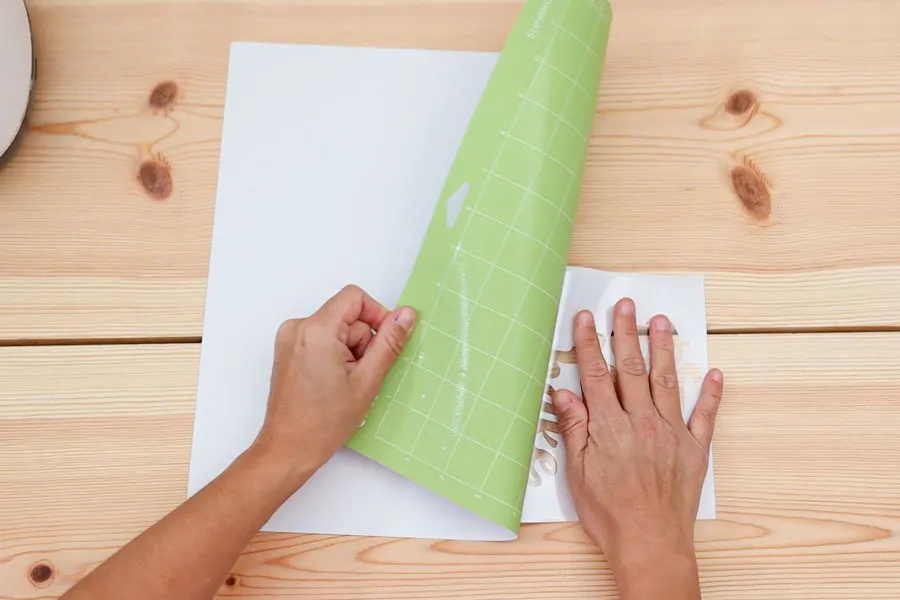
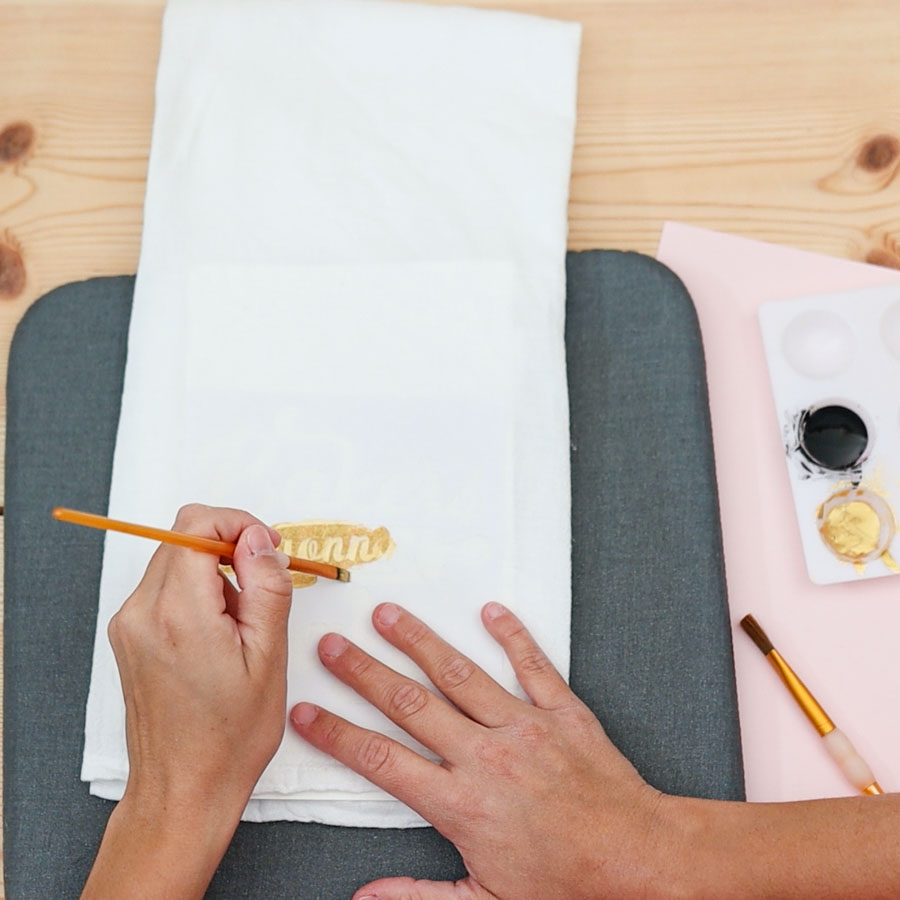
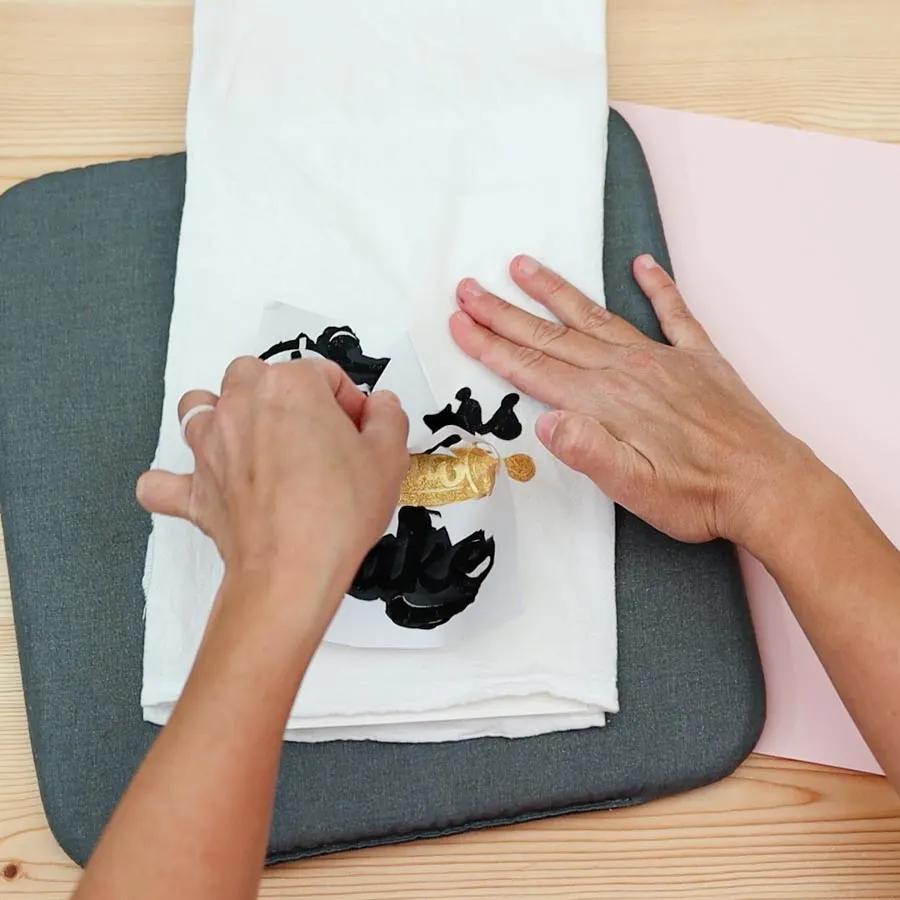
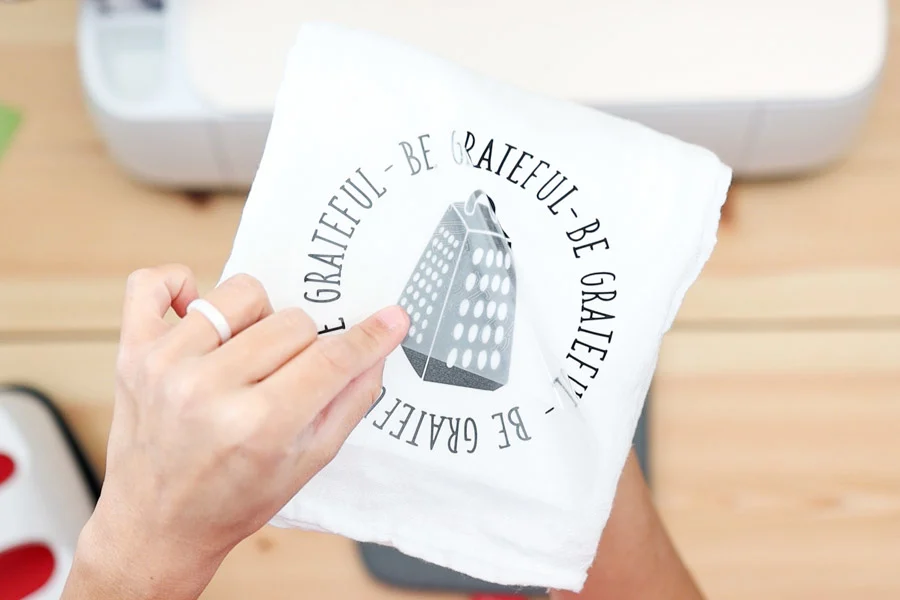
Step 3 – Transfer Stencil & Paint
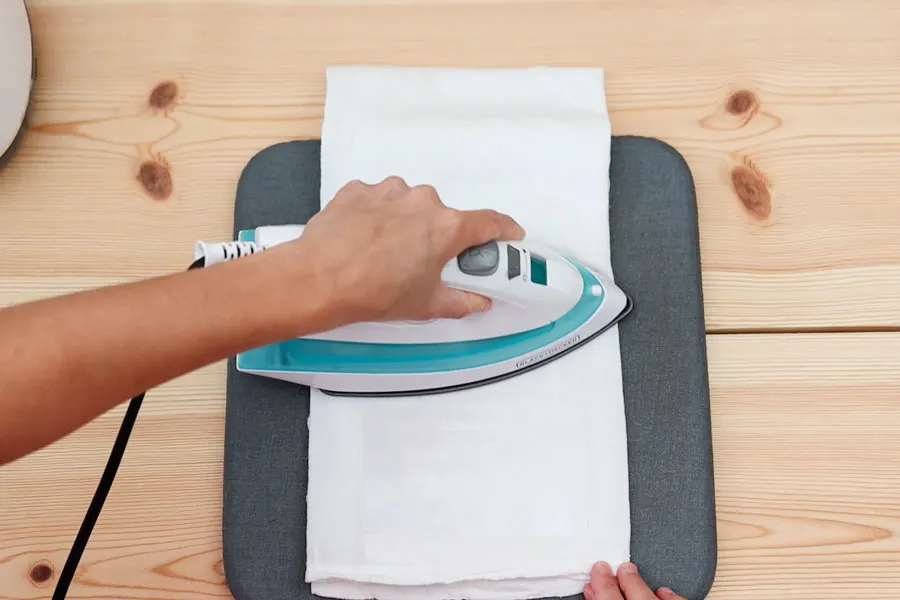
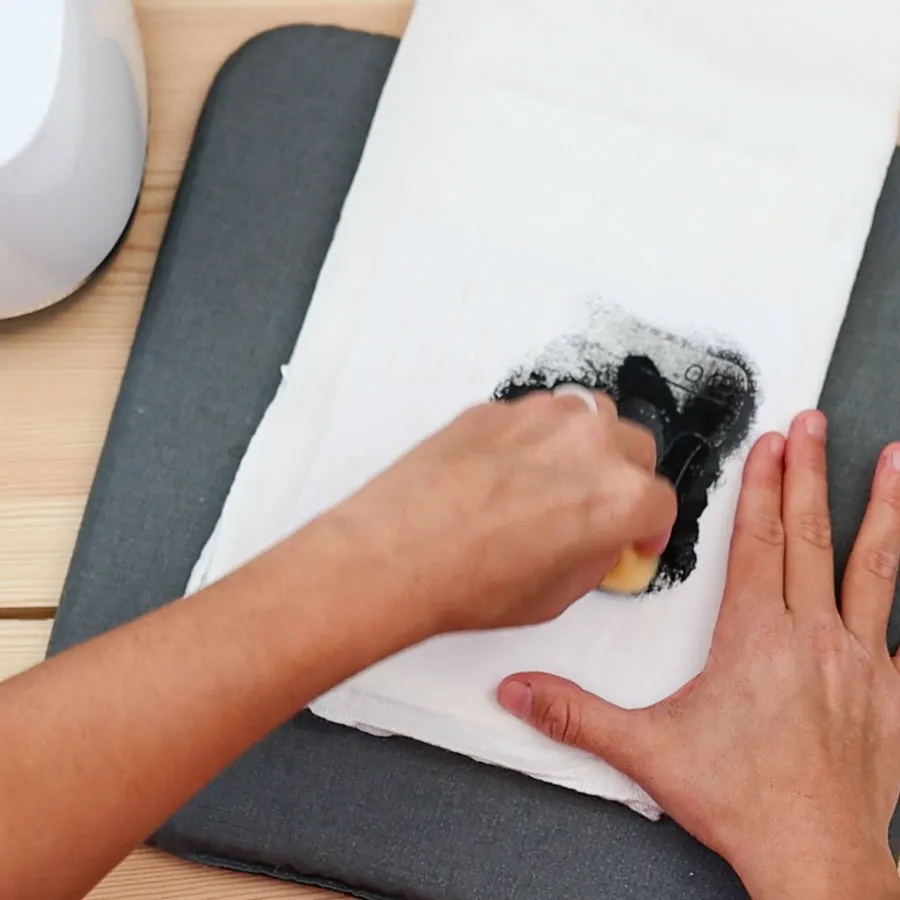
Before transferring your design, fold the towel and place a piece of cardstock right underneath where you’re going to paint to prevent the paint from bleeding to other folds.
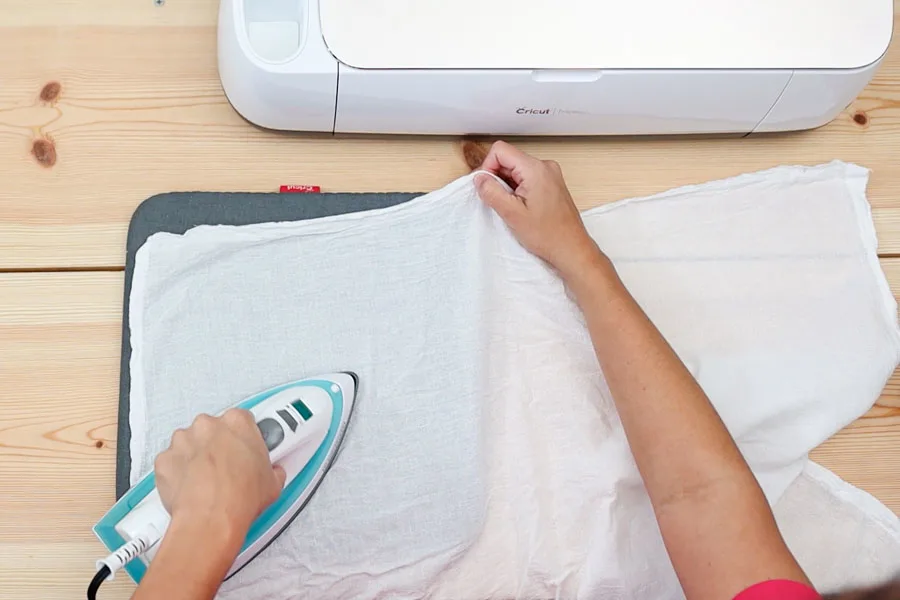
Place the design on your towel and bond it with the fabric using an iron.
Set your iron to high heat. It takes about 10-20 seconds (constant movement) for the freezer paper to adhere to the fabric.
Wait a couple of seconds for the carrier sheet to cool off a bit, and then remove it from the towel, ensuring that everything is bonded and there are no spaces where the paint can sip through.


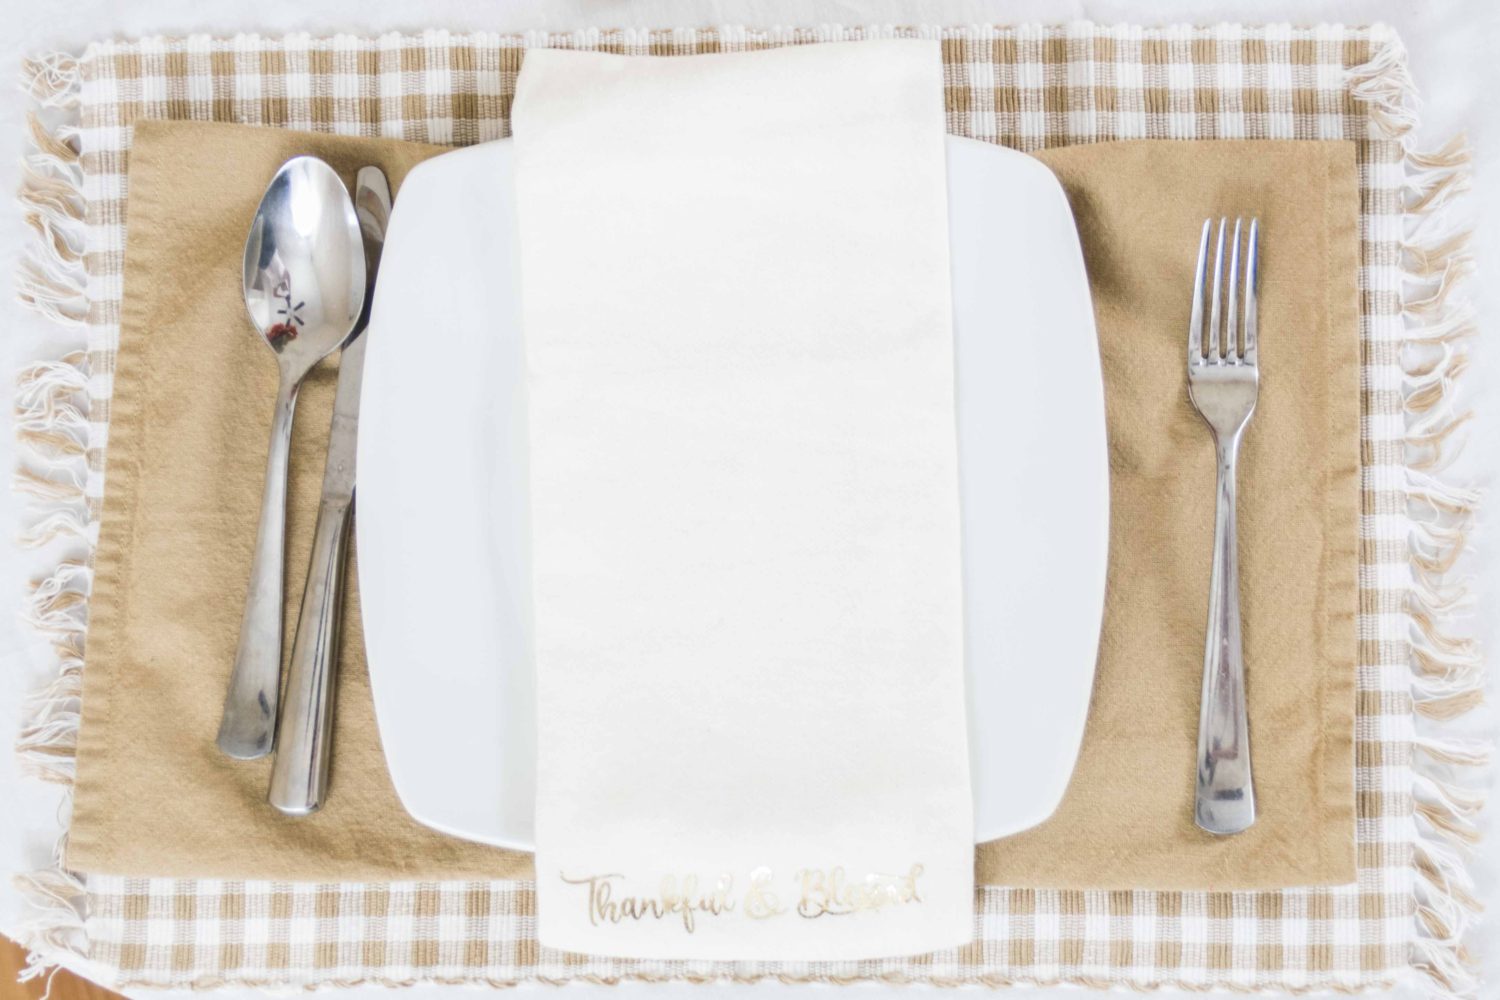
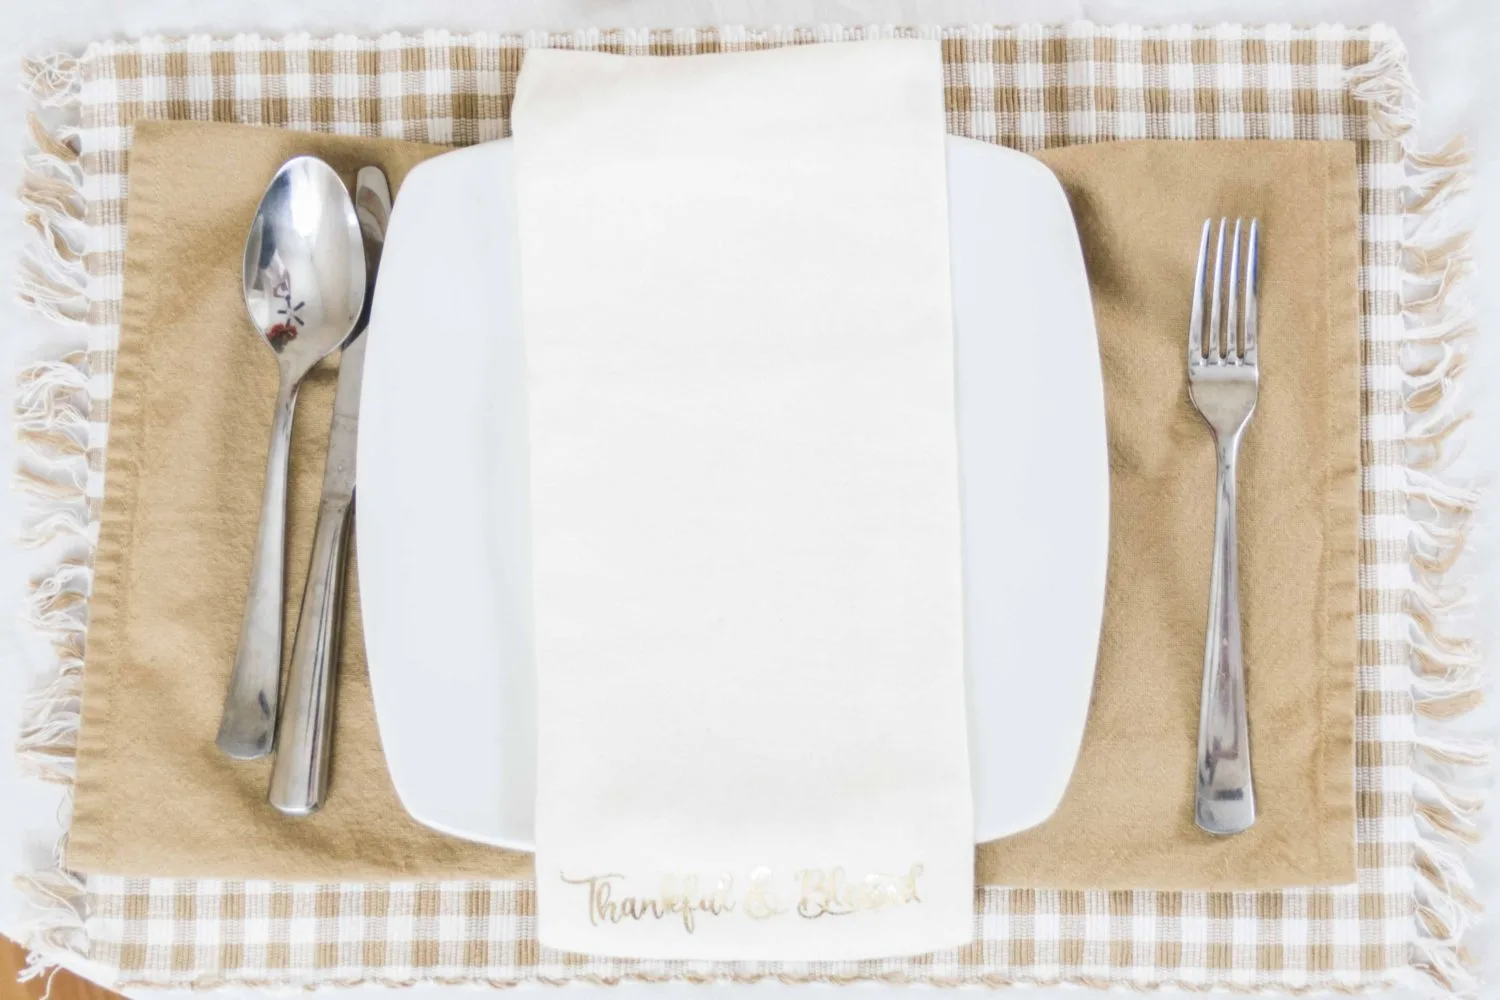
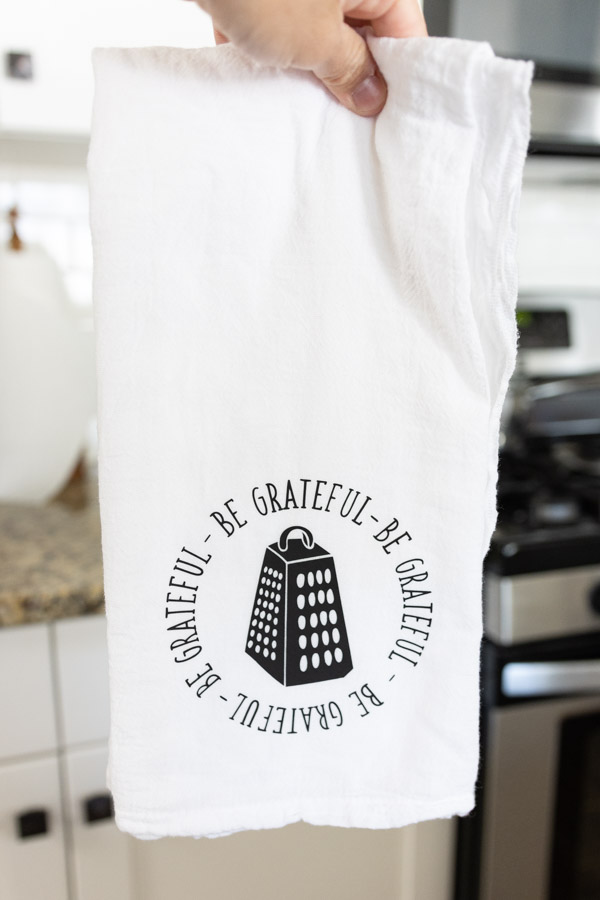
There’s nothing complicated about painting fabric; make sure you buy the right paint for your project, as explained in the materials section. For this tea towel, I used the Sosoft black and gold paint by DecoArt.
Some people like using brushes, other people sponges. I prefer using brushes because I feel more in control of where to paint. Plus, it’s easy to use two different colors at the same time.


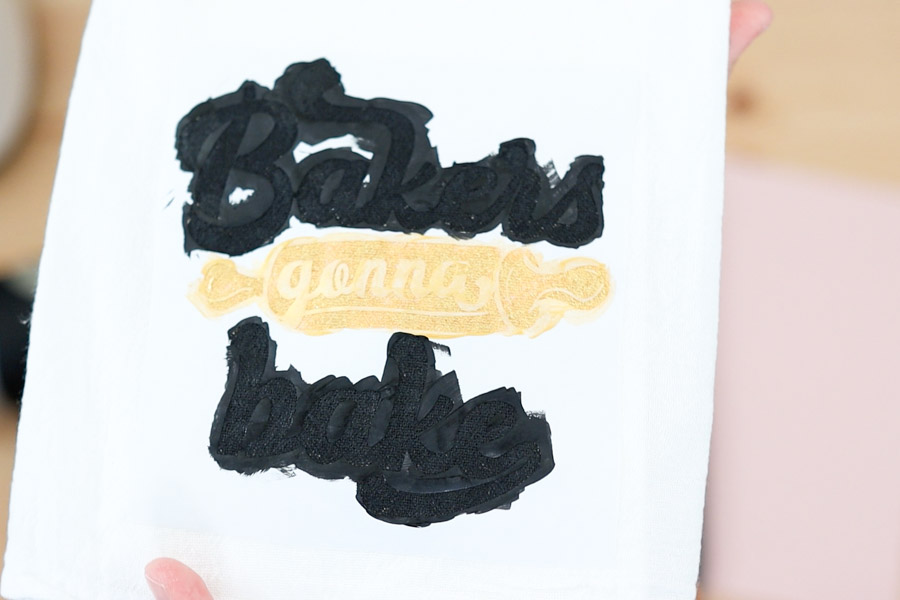
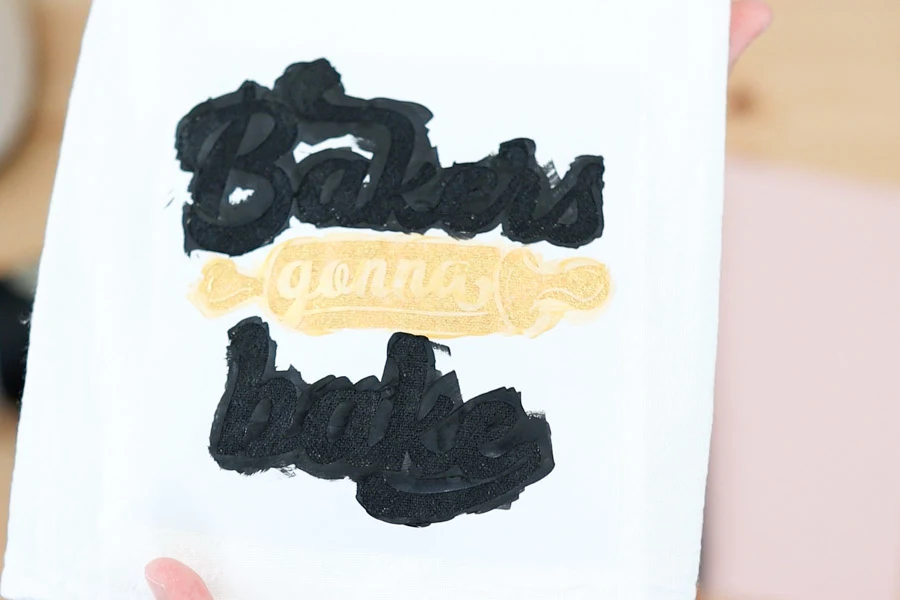
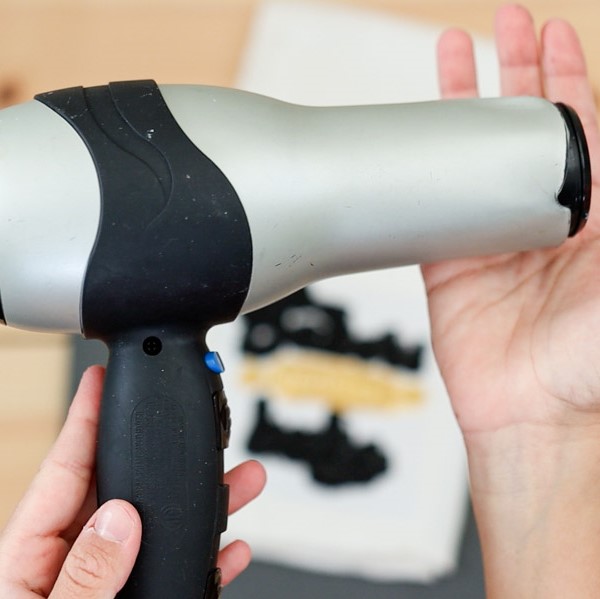
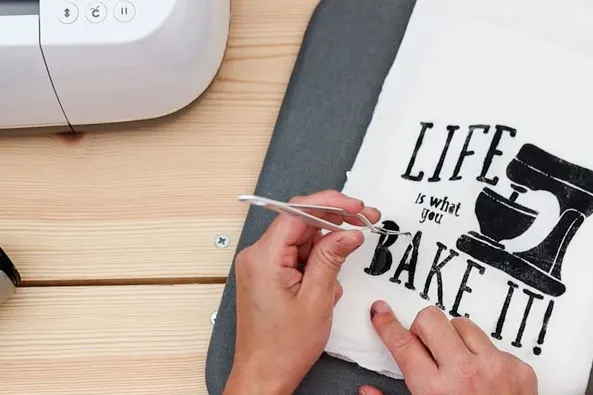
When the paint feels dry to the touch, remove the freezer paper, and wait until it finishes drying before removing the cardstock from underneath.
You can also use a hairdryer to speed up the process, although I wouldn’t use the highest heat setting because it makes the freezer paper harder to remove.


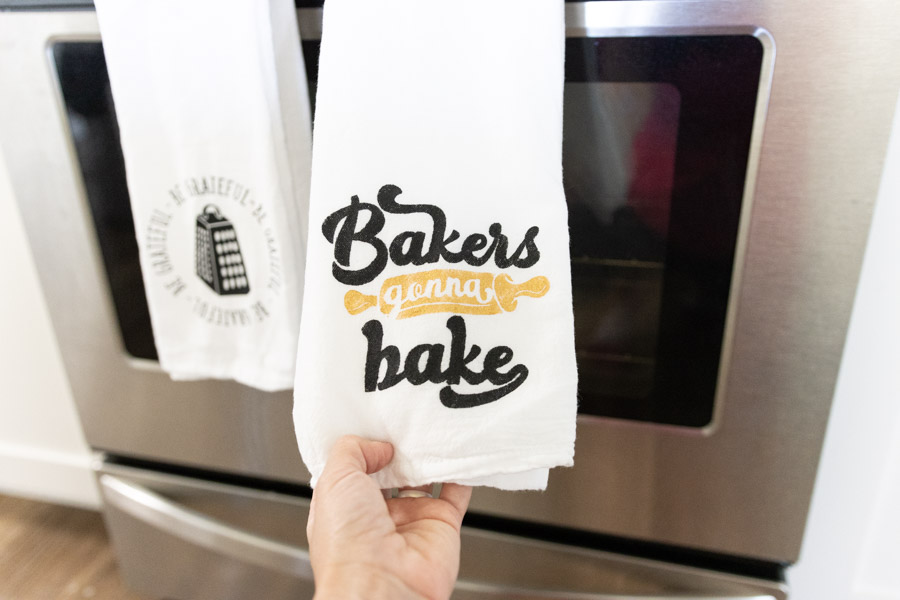
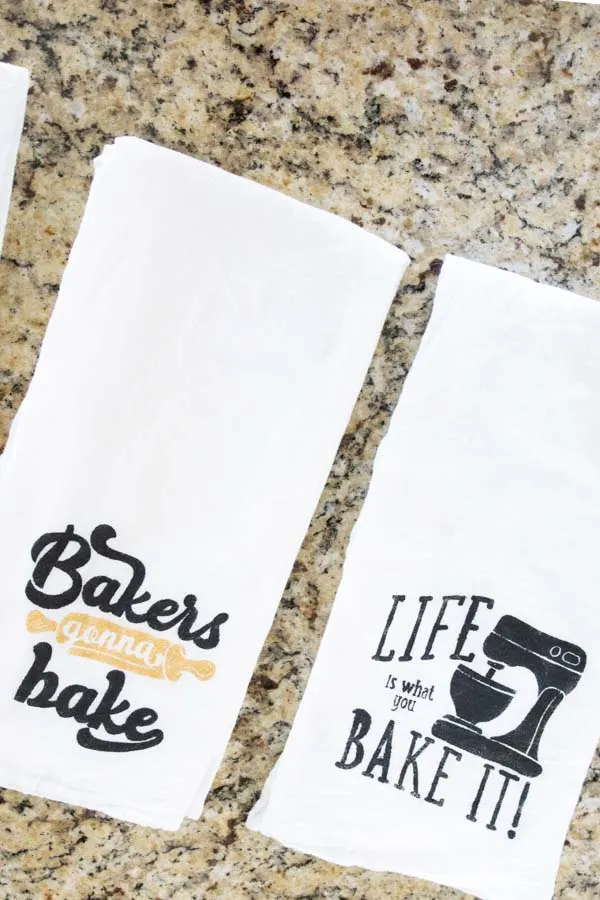
Doesn’t it look great?
Example Using Sponge
Here’s another towel, but this time I used a sponge.
Tip: If your design has small cuts, use tweezers to remove those little pieces of paper from the towel.
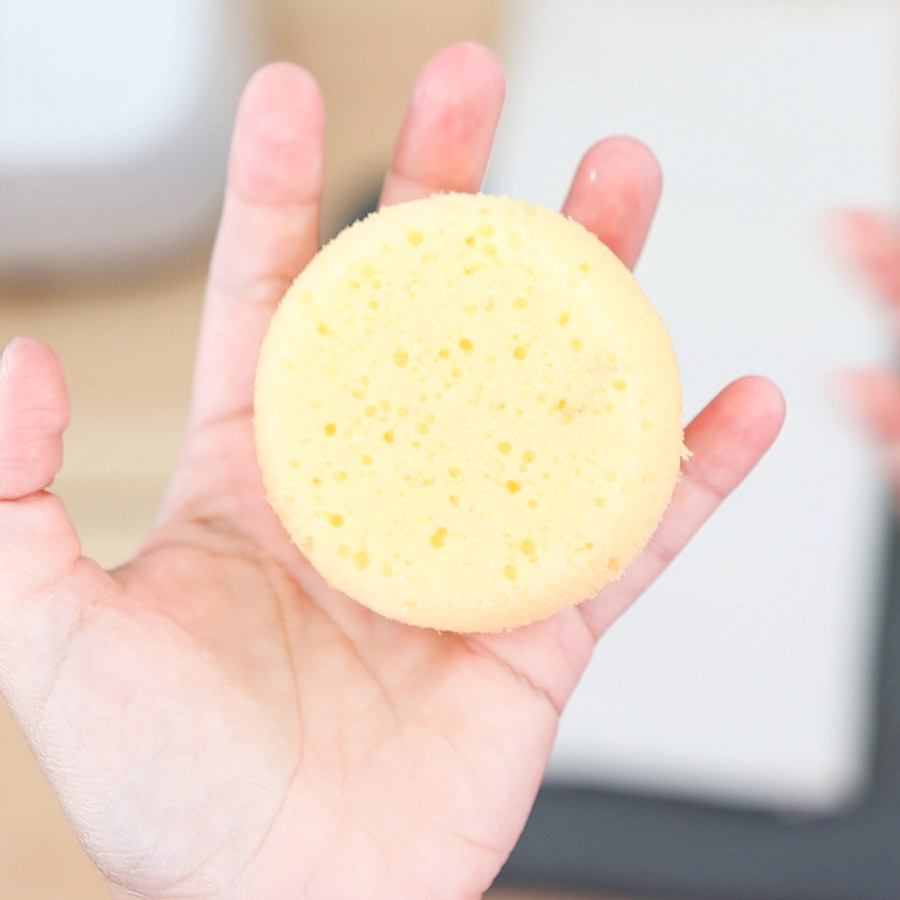


Using the sponge gave the towel a beautiful distressed look. However, there were some areas where the paint bled through the stencil.
In my defense it was my first time using a sponge.

What do you think looks best, painting with a brush or a sponge?
Step 4 – Heat Set your Towel
One of the reasons I love DecoArt fabric paint is that I don’t have to heat set! However, if you’re using another paint brand, I suggest you read and check out the instructions to see the best practices to cure your project.
As a general rule you can use an iron cloth and press the front of the fabric for about 2 to 5 minutes.
For best results, let your project cure for 5-7 days before you wash it. I know it sounds like a lot of time, but you want to give time to the paint to bond with the fabric completely.
Personalize Kitchen/Tea towels with Iron-On
Using heat transfer vinyl is also a great way to personalize tea towels with your Cricut machine.
Use Iron-On if you want your design to look flawless, with no distress look at all. Or if you don’t want to deal with paint at all.
Vinyl projects can peal off with time, therefore, towels made with iron-on require a little bit more of extra care.
Read my full guide on how to work with iron-on.
Materials
- Cricut Machine (Maker, Explore, Joy)
- Fine Point Blade
- Green Mat
- Weeder
- Flour sack tea towels
- Iron-On
- Easypress/household iron
- Easypress mat/towel
- Parchment paper (when using an iron).
- Free SVG template (Download at the end of this tutorial).

Step 1 – Choose, Edit and Resize Project in Design Space
Upload image to Design Space, then “Weld” and resize (as I explained on the freezer paper method). Once happy with the result, click on “Make it” to send the file to cut.
Important: For Cricut Joy, and if using smart iron-on, your design can’t be larger than 4.5 inches wide and 4 feet long. If using Cricut Mat, the size can’t be larger than 4.25 inches x 6.25 (small mat) or 4.25 inches x 11.75 (large mat).
Step 2 – Cutting Settings in Design Space
Every time we use iron-on vinyl, we need to turn mirror-on. Otherwise, your design will look backward after your transfer.
For Cricut Joy select Cut without a mat if using smart materials, or cut on mat if using regular iron-on.

Click on continue to select materials.
If you have an Explore machine, move the smart set dial to custom, and select material from Design Space. For the Cricut Maker and Joy, always select your material from Design Space.
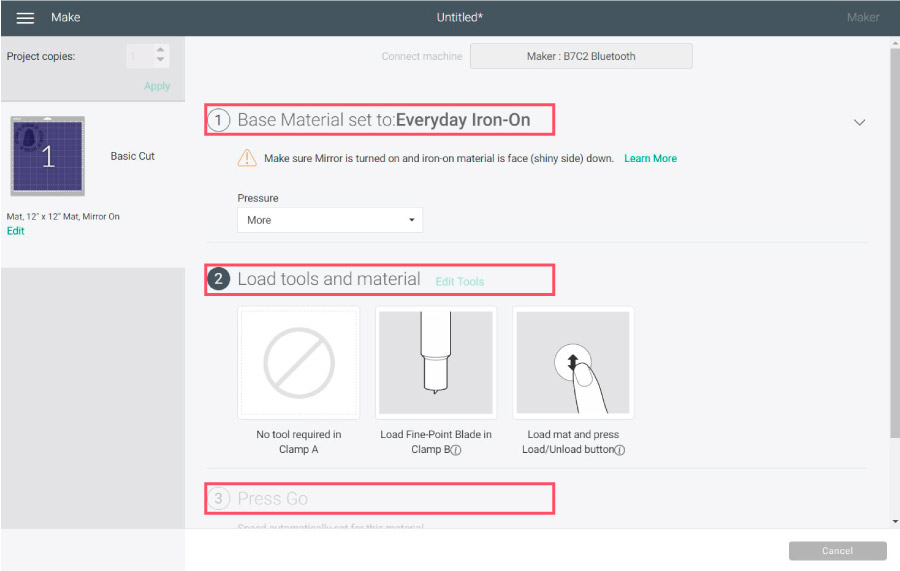
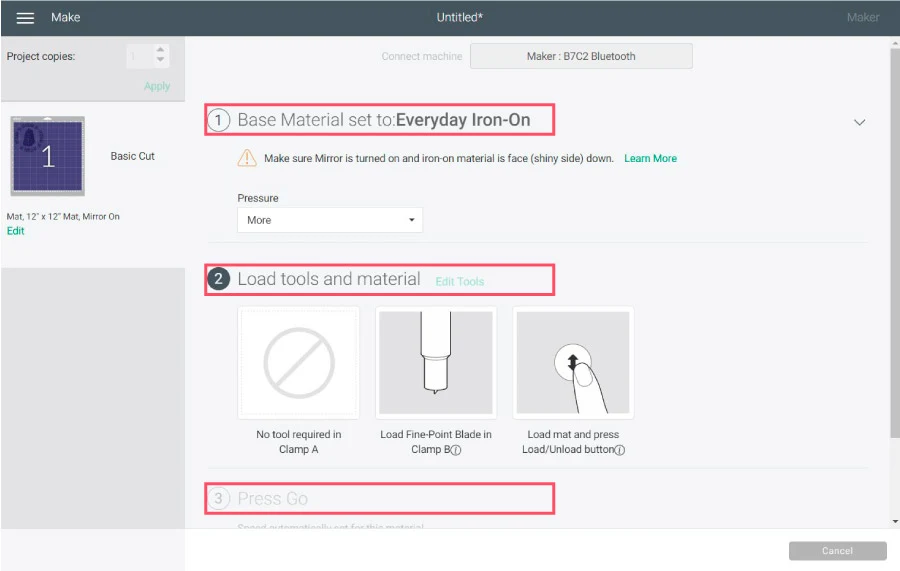
Tip: For Explore machines, always leave the dial on “Custom,” there are so many types of iron-on that you want to choose the exact one you’re working with.
Step 3 – Prep Cricut Mat and Cut, & Weed
Place iron-on on Cricut Mat pretty or shiny side down. Use a brayer or scraper to get rid of bubbles.
Load mat to your machine and press the flashing go button to start the cut. For Cricut Joy, start the cut from Design Space.
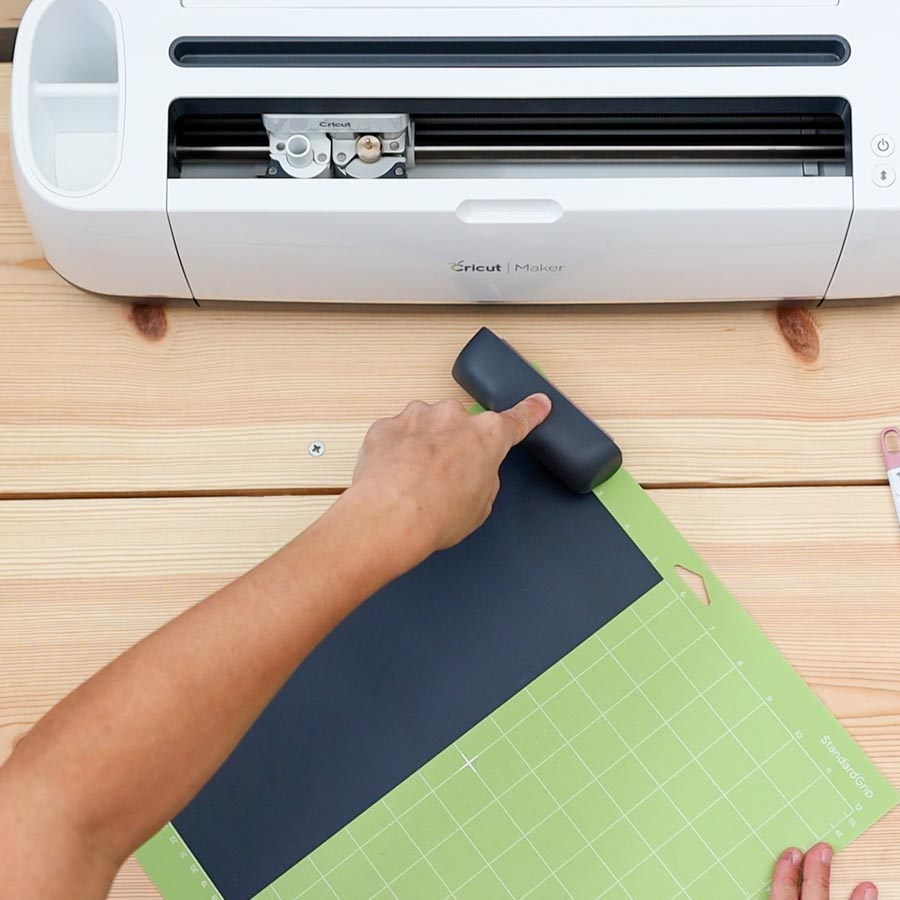
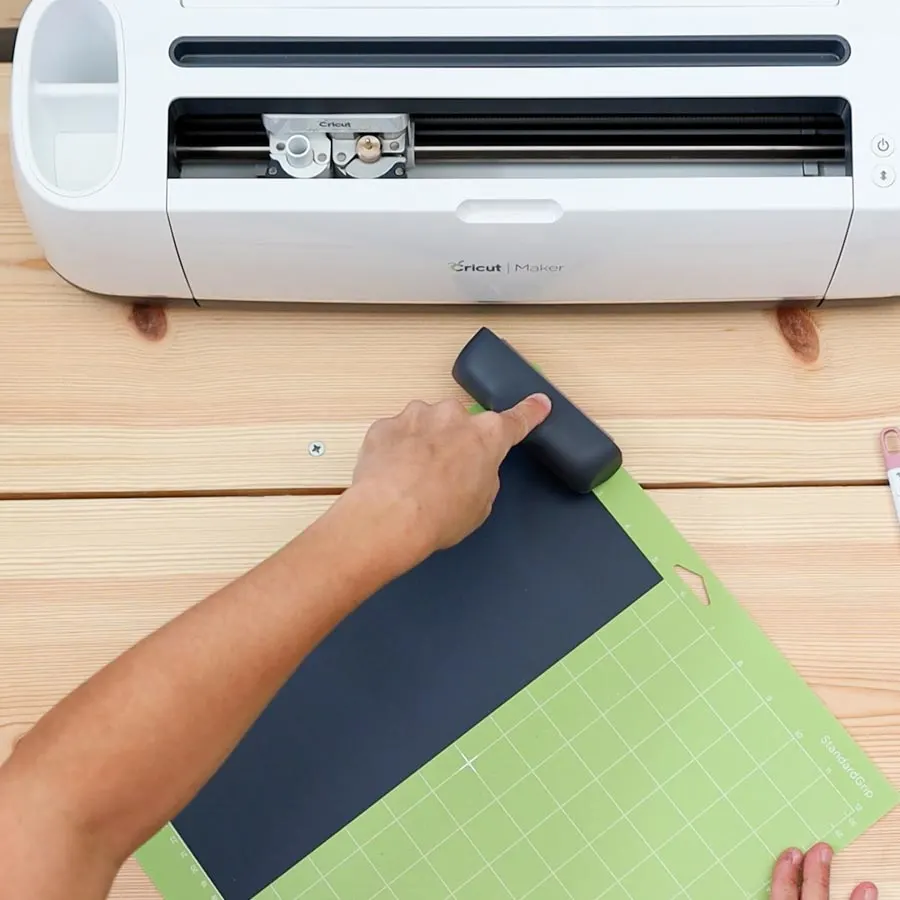
You can remove the vinyl from the mat and then weed, but lately, I’ve been weeding from the mat itself, and it’s amazing because, as you weed, the mat holds the vinyl in place.
Tip: I used a true control knife to cut the excess of vinyl from the mat and save material.
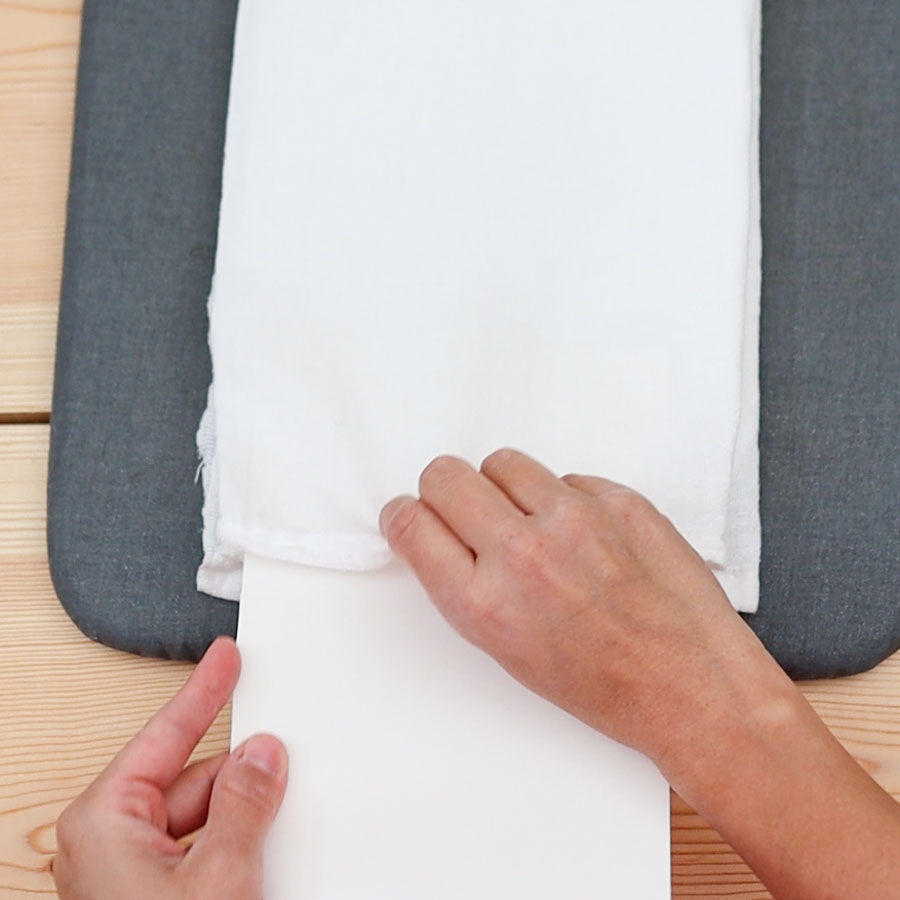
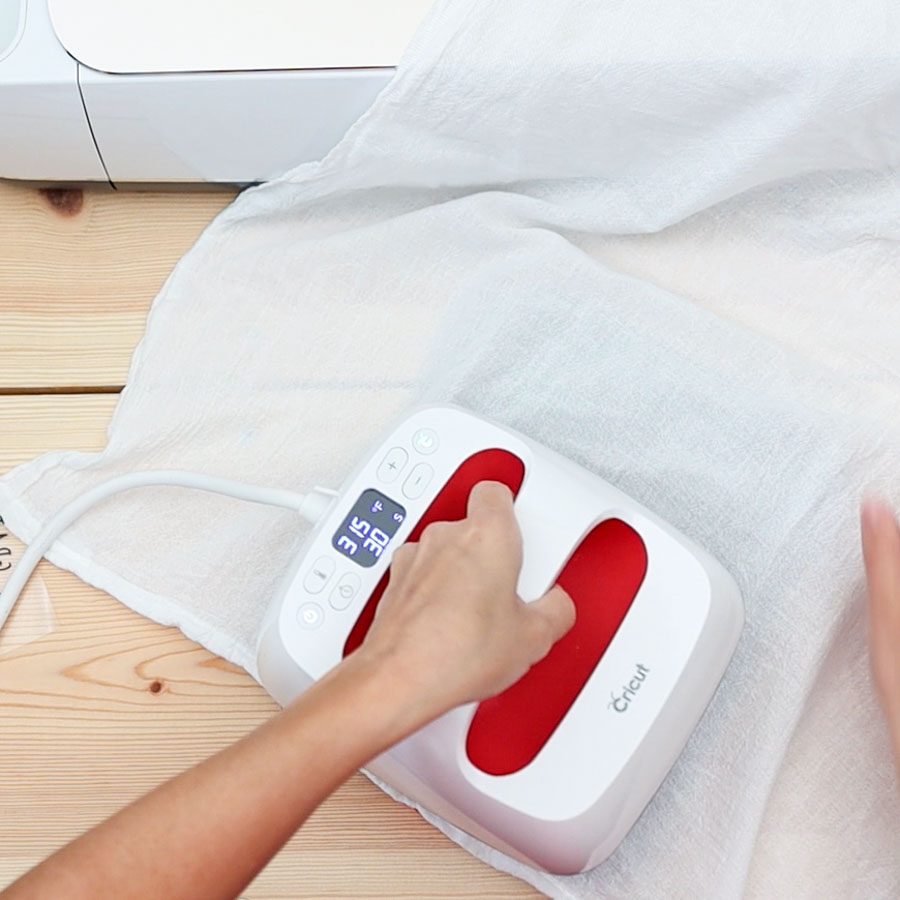
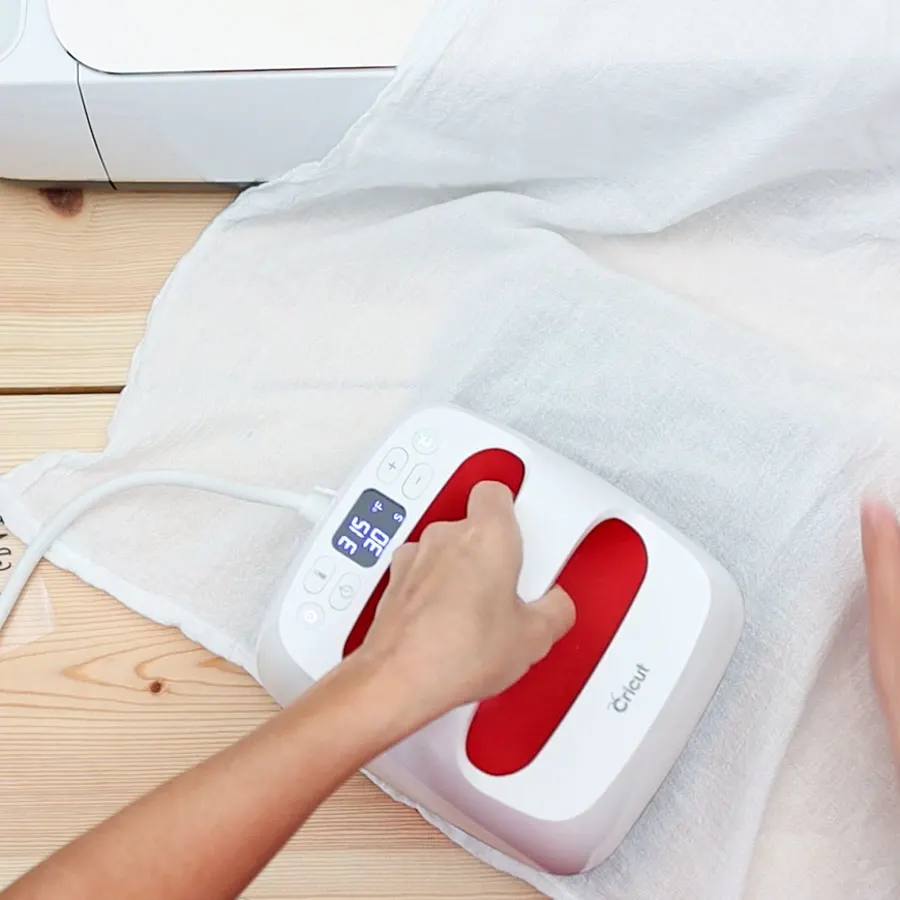
Step 4 – Transfer Vinyl to Tea Towel
It’s time to transfer the design.
When using iron-on, you should always try to press the front and the back. That’s why the towel is extended instead of folded.
First, I folded to find the right spot, and then I extended it. You also want to avoid creating folds that can get in the way of a perfect press, especially if you’re using a bigger press.
I used my EasyPress, but you can also use and iron, and I have the steps for that as well.

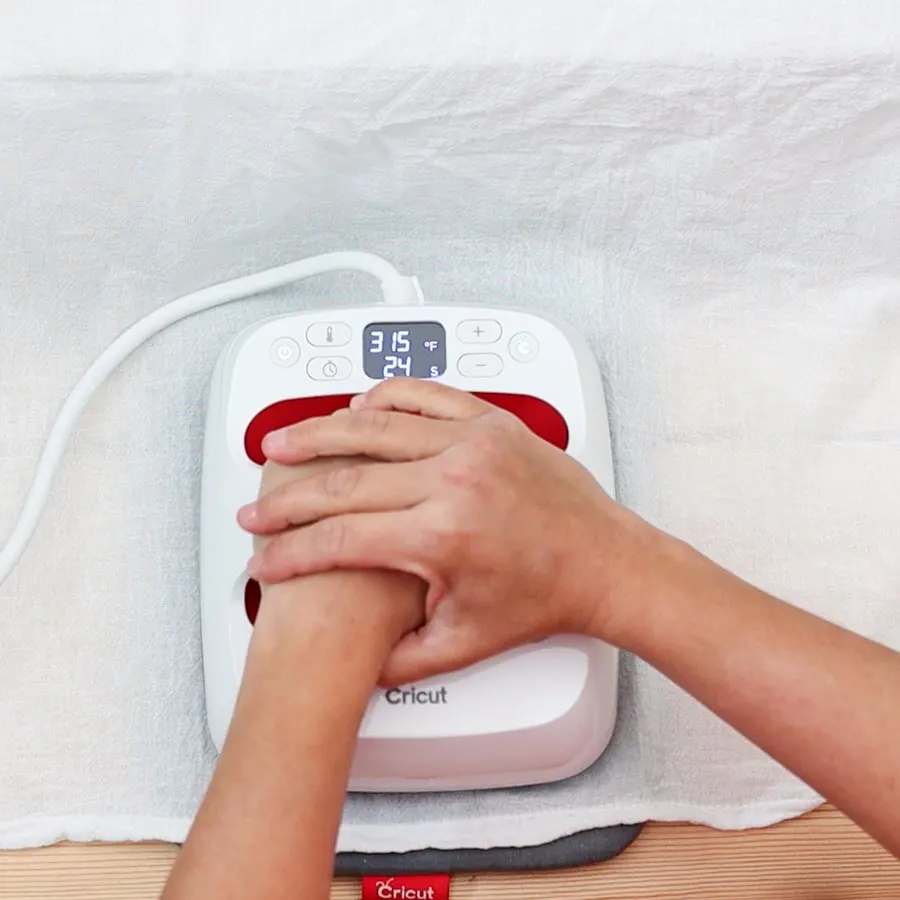
According to Cricut’s heat guide, when you use the “EasyPress” and “Everyday Iron-On” you need to:
- Preheat EasyPress™ 2 to 315°F
- Place 100% Cotton on clean Cricut EasyPress Mat
- Preheat 100% Cotton for 5 s
- Place iron-on face down, liner side up
- Press with Light pressure at 315°F for 30 s
- Flip 100% Cotton over and press for 15 s
- Slowly remove liner when cool to touch
When using a household iron, use parchment paper to protect your design because you usually need to press more than with an EasyPress. Also, use a small towel underneath the project to have a better press.


- Preheat iron two notches down from the highest heat setting
- Preheat your surface for about five seconds and get rid of any visible wrinkles and moisture.
- Place HTV on the area you want to place and cover it with parchment paper.
I like to press all parts of the design in order, so I know every part of the HTV will receive heat. I usually do four presses each one of them for about 25 seconds.
- 1st press: Vertically on the left side of the design
- 2nd press: Vertically on the right side of the design
- 3rd press: Horizontally on the top of the design
- 4th press: Horizontally on the bottom of the design
Flip the towel and press for 15 seconds. For instance, press 15 seconds on the left side and, other 15 seconds on the right side.
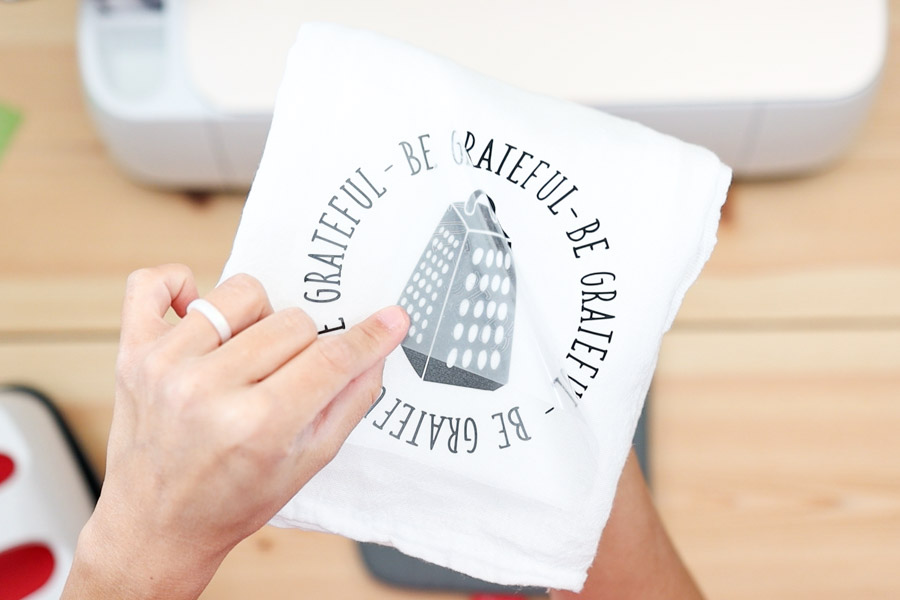
Peal when it’s still warm to the touch.


Don’t they look beautiful?
Caring for your Kitchen/Tea towels
The care for these towels is the one you would with any other decorating towel you buy at store. You can use it to dry your hands, clean a water spill, etc.
Should you use it to clean grease, and tomato sauce?
I don’t think so. Not because of the designs, but because it’s hard to remove stains from the fabric itself.
For washing, don’t use fabric softener or iron on top of the design. I suggest reading your paint and also the iron-on brand you used for exact instructions.
Cool Ideas for personalizing Kitchen/Tea towels
Here are ideas for you to personalize tea towels.
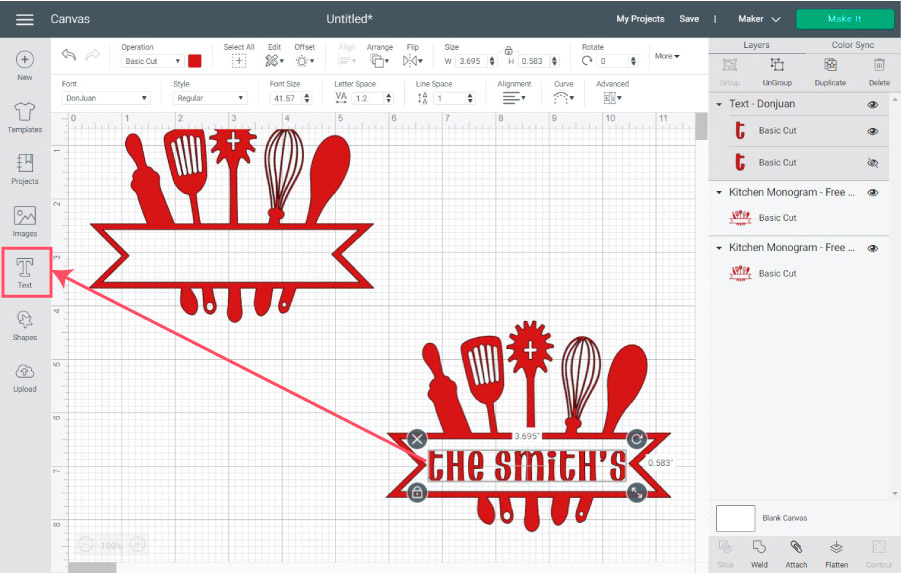
You can use the “Monogram Design” and add your name or last name. This type of design will make the perfect gift!

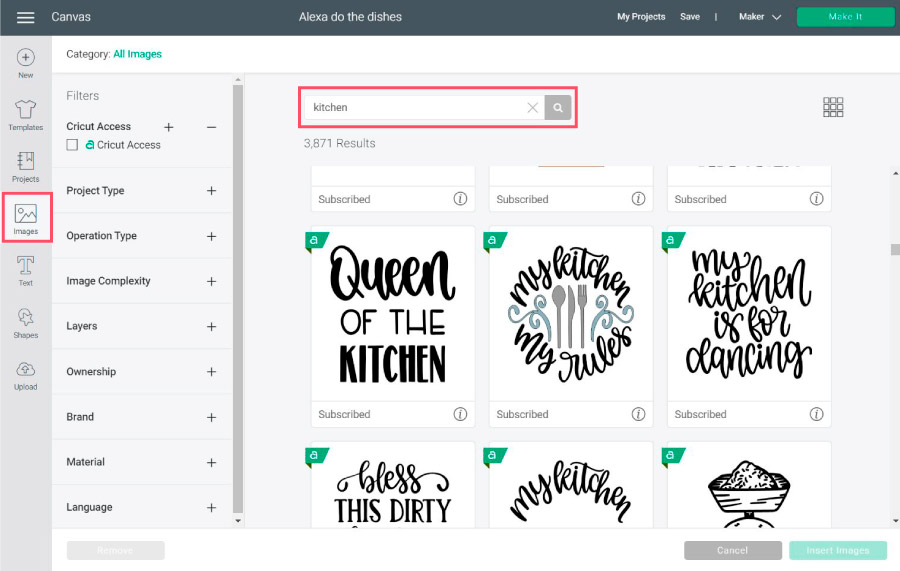
Also, if you’re part of Cricut Access, you can go to images and by keyword to find designs you may want to use on your kitchen towels.
You can also use text!

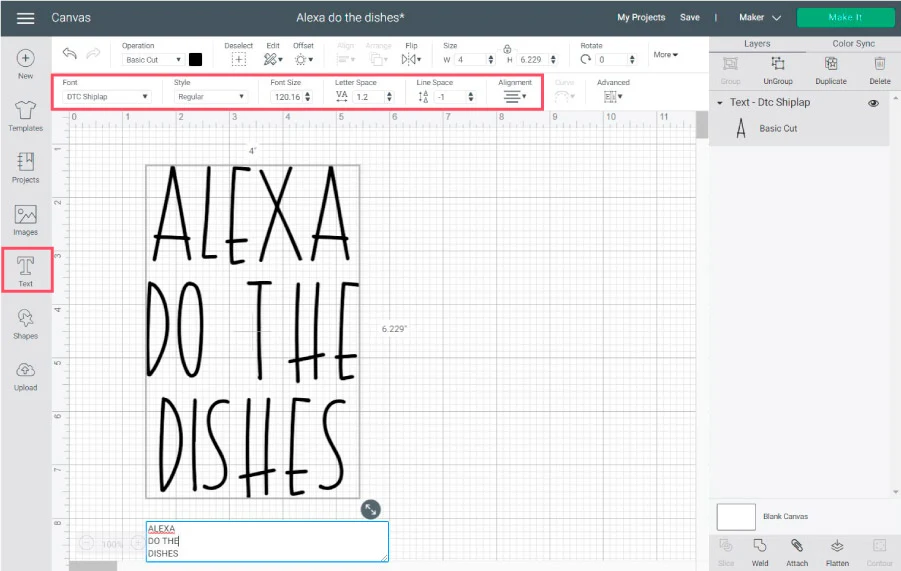
It can’t get more simple than that. The red square shows all the settings I used in the screenshot right above.
Learn how to edit text in Cricut Design Space if you’re new to the Cricut world.
Free Kitchen Towel Sayings Free SVG
As I promised here are the files for you to personalize your kitchen/tea towels!
To download the file(s), you need to be on a desktop or laptop and click on the button to trigger a download file on your PC. However, I’ve noticed that I can also download them from my iPhone.
Depending on your browser settings, your PC sometimes asks where to save the file, although most files will be in your download folder.
If the image opens in a new window (this may happen because of your browser settings), right-click on it, select the option “Save Image As,” and choose where you want to save the file.
SVG files look like web page files when you download them.
Oh!
Just so you know, I also have a library full of free SVG files and Printables for all my subscribers, a.k.a. Daydreamers. You can see a preview right here or get access by filling out this form.


Do you know it takes me over 25 hours to complete a single Cricut article? I know it’s wild, but I want to make sure you understand everything!
I would appreciate your support on Instagram , Pinterest , and YouTube as I try to grow my audience and continue producing great content!
Lisa
Tuesday 3rd of January 2023
Thank you for these files and the tutorial. I appreciate your generosity 🌹
Nicole
Sunday 10th of April 2022
When I use the transfer tape/mask, my Maker cuts through the freezer paper and the transfer tape/mask even on the light pressure setting with freezer paper material. Negates the use of the transfer tape. Any ideas how to correct?
Catalina
Thursday 19th of May 2022
Try using copy paper as a materil instead.
Donna
Sunday 5th of December 2021
I have had my cricut for 3 weeks and its time to get serious. Love your files. Thank you so much for the great article and your generosity in sharing. This will be really helpful. Have a great Xmas.
Catalina
Tuesday 26th of April 2022
You're very welcome :)
Krystle
Friday 5th of November 2021
I have a problem when weeding large intricate projects...is there something I can put over the weeded part so my hand doesn't pull up the tiny pieces while I am working on the rest of it?
Catalina
Monday 8th of November 2021
Why don't you use some parchment paper? and tape it to the backing sheet? Just an idea!
Deborah Collins
Monday 18th of October 2021
Thank you so much. I am new to crafting and came across your post. Just what a newbie needed