Hello Daydreamers!
I can’t count how many times I’ve wasted supplies because I rushed into cutting a project without testing my cuts first. Has that ever happened to you?
If that’s the case, I have good news!
In today’s tutorial, you’re going to learn how to test your cuts with your Cricut machine so you don’t waste either your time or materials.

Tip: Check out my “How to add a custom material to Cricut Design Space” tutorial in case you want to add the results of your test cut as new material.
What to Consider when Making a Test Cut with your Machine
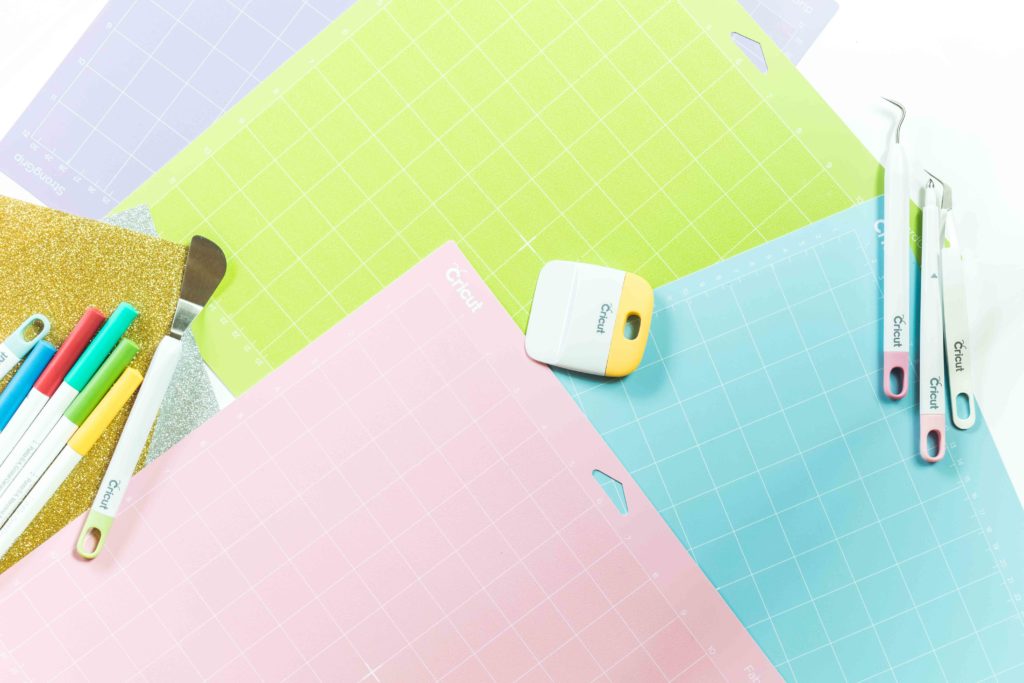
A test cut is quite important, especially if you’re not using Cricut’s materials. And although, simple to do, there are multiple things you need to consider when making a test cut with your Cricut.
- Material
- Mat stickyness
- Blade
- Design
I can give you a cookie-cutter shape to cut in Design Space, but. Truth be told, there are tons of scenarios that will impact the quality of your cuts, and let’s see each variable.
Material
Some materials like regular vinyl are very forgiving and you can get away with them. Other materials like glitter iron-on and glitter cardstock, require you to pay extra attention.

Mat Stickyness
It’s very important to use the right mat for your material. However, something very important to also consider is the stickiness of your mat.
If your mat isn’t sticky enough, the material will move and it will get damaged. It’s happened to me multiple times.
I know mats can be super expensive, but if you buy them at the right time, with the right deals, you can save a lot of money and also time, and energy.
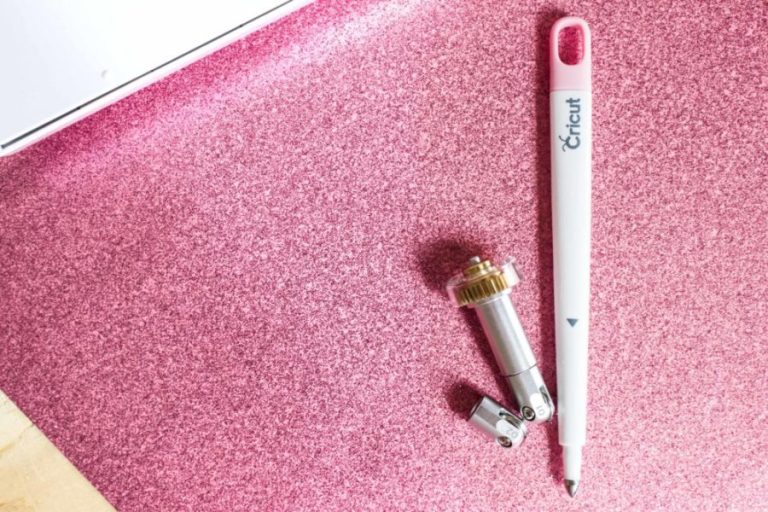
Blade
A newer blade will always cut better than a heavily used one. I don’t change my blades very often, but I do, if I notice that my mat is sticky and my designs are not coming out as sharp as they used to.
Some blades like the knife and rotary blade aren’t meant to cut very intricate designs. Therefore if you want to make a test cut for a particular material that uses those blades your images shouldn’t be smaller than 3/4″.
Learn all about the Cricut Blades.
Design
If you’re planning on cutting a large design, the test cut Is quite easy. Essentially, you’ll want to see, if the blade is cutting through the material properly. Then you’ll want to weed to see if everything is coming out smooth.
If your design is very detailed, try making very small cuts next to each other to see if your project is good to go or if you need to make it a little bigger.
Oh!
Just so you know, I also have a library full of free SVG files and Printables for all my subscribers, a.k.a. Daydreamers. You can see a preview right here or get access by filling out this form.
Making Test Cut in Cricut Design Space
It’s time to learn how to make a test cut.
I like to use at least four shapes.
Click on the “Shapes” icon on the right panel and drop a square, circle, star, and heart.

Resize all shapes to fit inside the square, the last shape should be as little as the smallest cut on your project.

Once you’re done placing all shapes inside the square, select them all and click on “Attach” at the bottom of the layers panel.
After (or before) attaching you can also make the square smaller. You don’t want to waste a ton of material either. Therefore, you’ll want to cut only one little corner of it to see if everything is cutting smoothly or if changes need to be made.

Tip: If you are into cutting with different types of blades and materials you can create multiple copies of the test cut, and change colors so when you click on “Make it” you only cut the “color” that will best fit your project.

Right after attaching, you can click on “Make it” to send your test cut to your machine.
Newer machines will ask how to load your material. On a mat or without a mat. Since it’s a test cut, and you want to minimize product waste. I suggest you use a mat.

If everything looks good click on “Continue.”

I used iron-on for this test cut, so don’t forget to mirror your image.
For machines with a “Smart Set Dial” move it to custom and always select material from Design Space. There’s a wide variety of materials and the dial won’t give you all the options.
Also, look at the “Pressure.” Cricut will always use a default setting; however, you’ll have a better result if you use “More” or “Less.”
For instance, anytime I work with iron-on I set my pressure to “More.”

Place material on the mat, and secure it using a brayer or scraper; then load it to your Cricut machine and press the flashing go button to start the cut.
I decided to cut all sizes to show you what to look for. But in real life, I usually use the smallest cut (I don’t work a lot with the knife or rotary blade) and I adjust as I go.

Unload the mat and check the material.
If working with vinyl or iron-on you want a smooth weeding process. You can weed out any shape you’d like. Or all of them to see how your material behaves with the settings you used.

I repeated the same process with glitter iron-on. However, on the smallest size, the heart fell off during the cutting process and the star didn’t cut all the way through.
If that happens on your test cut, then you need to readjust your design or choose a different material. Notice that when using regular iron-on all cuts looked sharp.

Glitter Iron-On 
Regular Iron-On


Making a Test Cut using Fonts
If your project contains a lot of text, then it’s a good idea to check how the text will look.
Even if your text is “big” let’s say 2 inches wide, the letters contain very intricate cuts, and depending on the font, sometimes those details can get lost.
Just like the test cut with the shapes, add text, only this time try different fonts. Once you pick them, attach all fonts so everything stays together on the mat.

You can also try different sizes as well. I did three different cuts to show you what to look for, but I usually test using my project’s smallest text as a reference.

I used the same steps I covered right above, so let’s jump right into the results.
When using regular iron-on the letters came out great on each size. However, look at the smallest size (yellow circles in the picture below). The insides of the letters “e” were lost. If you’re ok with that, then it’s not a big problem. You can still read the text. However, if you want to keep all details you may want to increase the size of your text or try a different font.
When using glitter iron-on (again check yellow circles) some of the text didn’t cut properly. This goes to show, how much the quality of your cuts can change when using different materials, and how important is to test before making a large project.


I also tested glitter cardstock, and can you believe I forgot to turn mirror off?
Aargh!
The result is quite interesting.
The final cut on the mat looks like the paper got all dragged and that the project is ruined. If you wanted to use the words left on the mat, then yes, you would need to readjust your project. However, if you wanted to use the paper itself then all cuts look crisp and beautiful!


What do you think?
Have you ruined materials for not testing before cutting? Let me know in the comments down below!
Do you know it takes me over 25 hours to complete a single Cricut article? I know it’s wild, but I want to make sure you understand everything!
I would appreciate your support on Instagram , Pinterest , and YouTube as I try to grow my audience and continue producing great content!
Finally, this makes sense to me!! I usually just wing it, but no more!! And those cards are beyond beautiful. I am choosing a couple to try and know I have to search any more for the right card to make this year…..Thank you for all you do!!
So happy to hear!