Hello Daydreamers!
Today we are going to look at the Easypress Mini in such a detail that you’ll know for sure whether you want to buy it or not.
What is the Easypress Mini?
The Easypress Mini is a teeny tiny device that allows you to transfer small projects made with Iron-On vinyl (HTV).
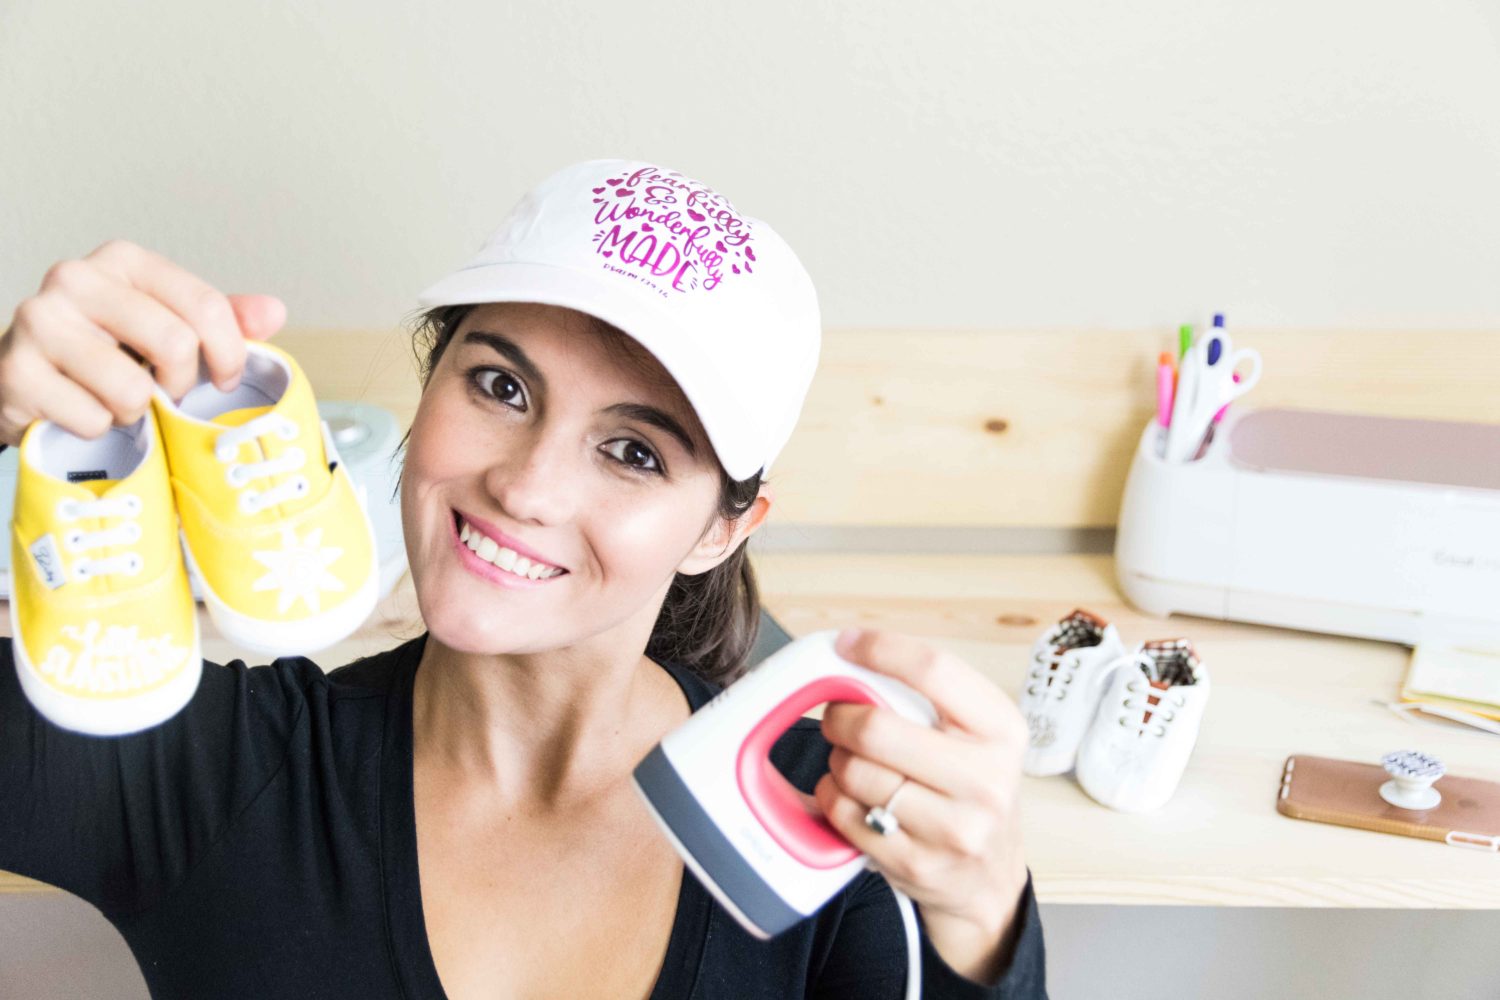
It’s especially helpful if you need to transfer your cuts to small surfaces like baby shoes, hats, pockets, etc.
Many crafters (including me) were waiting for Cricut to come out with this tiny but mighty tool because some projects are pretty much impossible to make because of where you need to place your design (between seams, or unstable surfaces).
Let’s see if whether the Easypress Mini meets my expectations!
In a nutshell, these are the things we will be covering today:
- Easypress Mini Unboxing
- Temperature Easypress Mini reaches in each level
- Projects you can make when using the Easypress Mini.
- Is the Easypress right for you?
- Materials and Considerations when using the Easypress Mini
- Youtube Video if you love watching how-to videos (I’d love to have you as a subscriber)
- Examples of projects made with the Easypress Mini and lessons learned (I will provide you with two SVG files).
- Pros and Cons
Easypress Mini Unboxing and Product Description
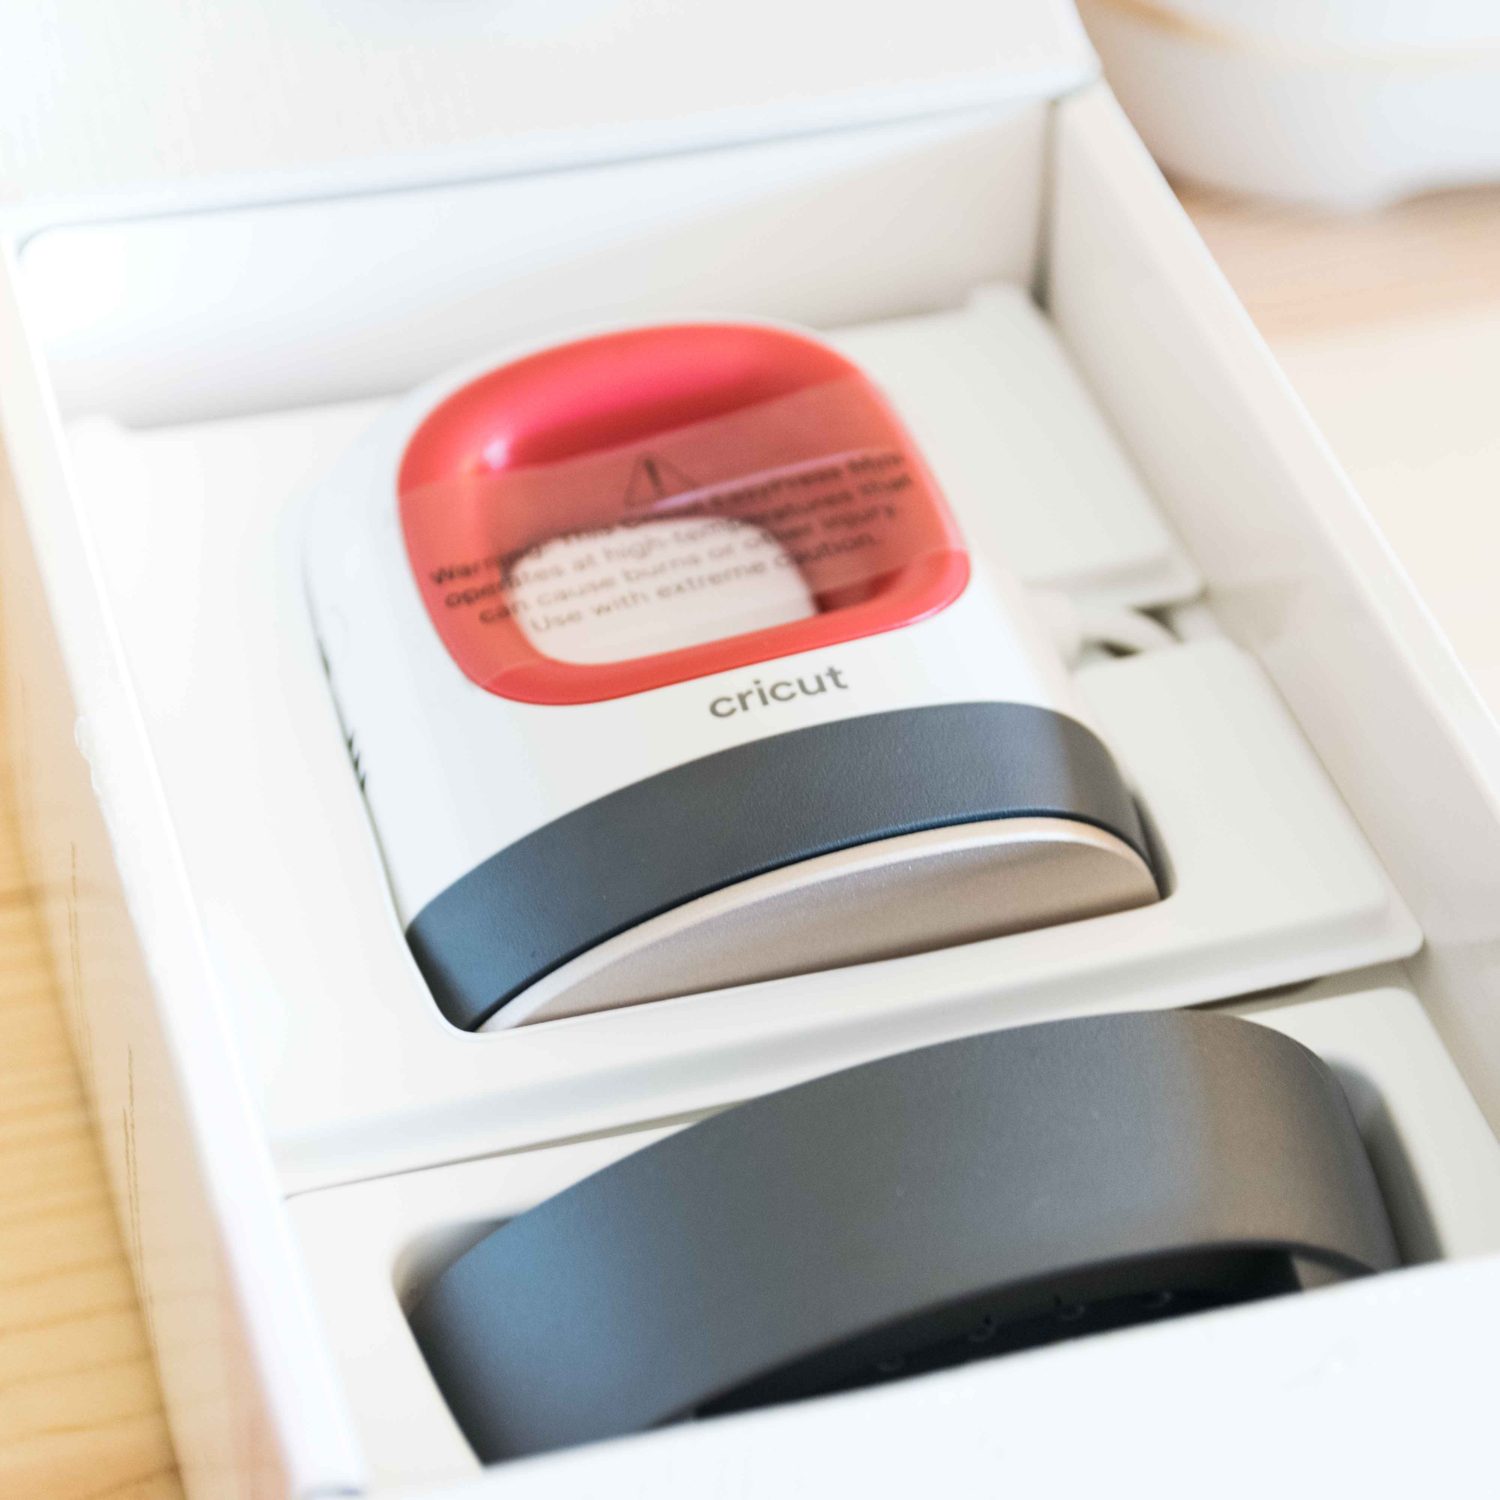
The Easypress Mini comes in a small white box that includes a safety base and the Mini press.
The packaging is well designed, but it doesn’t come with a practice project like any of the Cricut Machines or the regular size press.
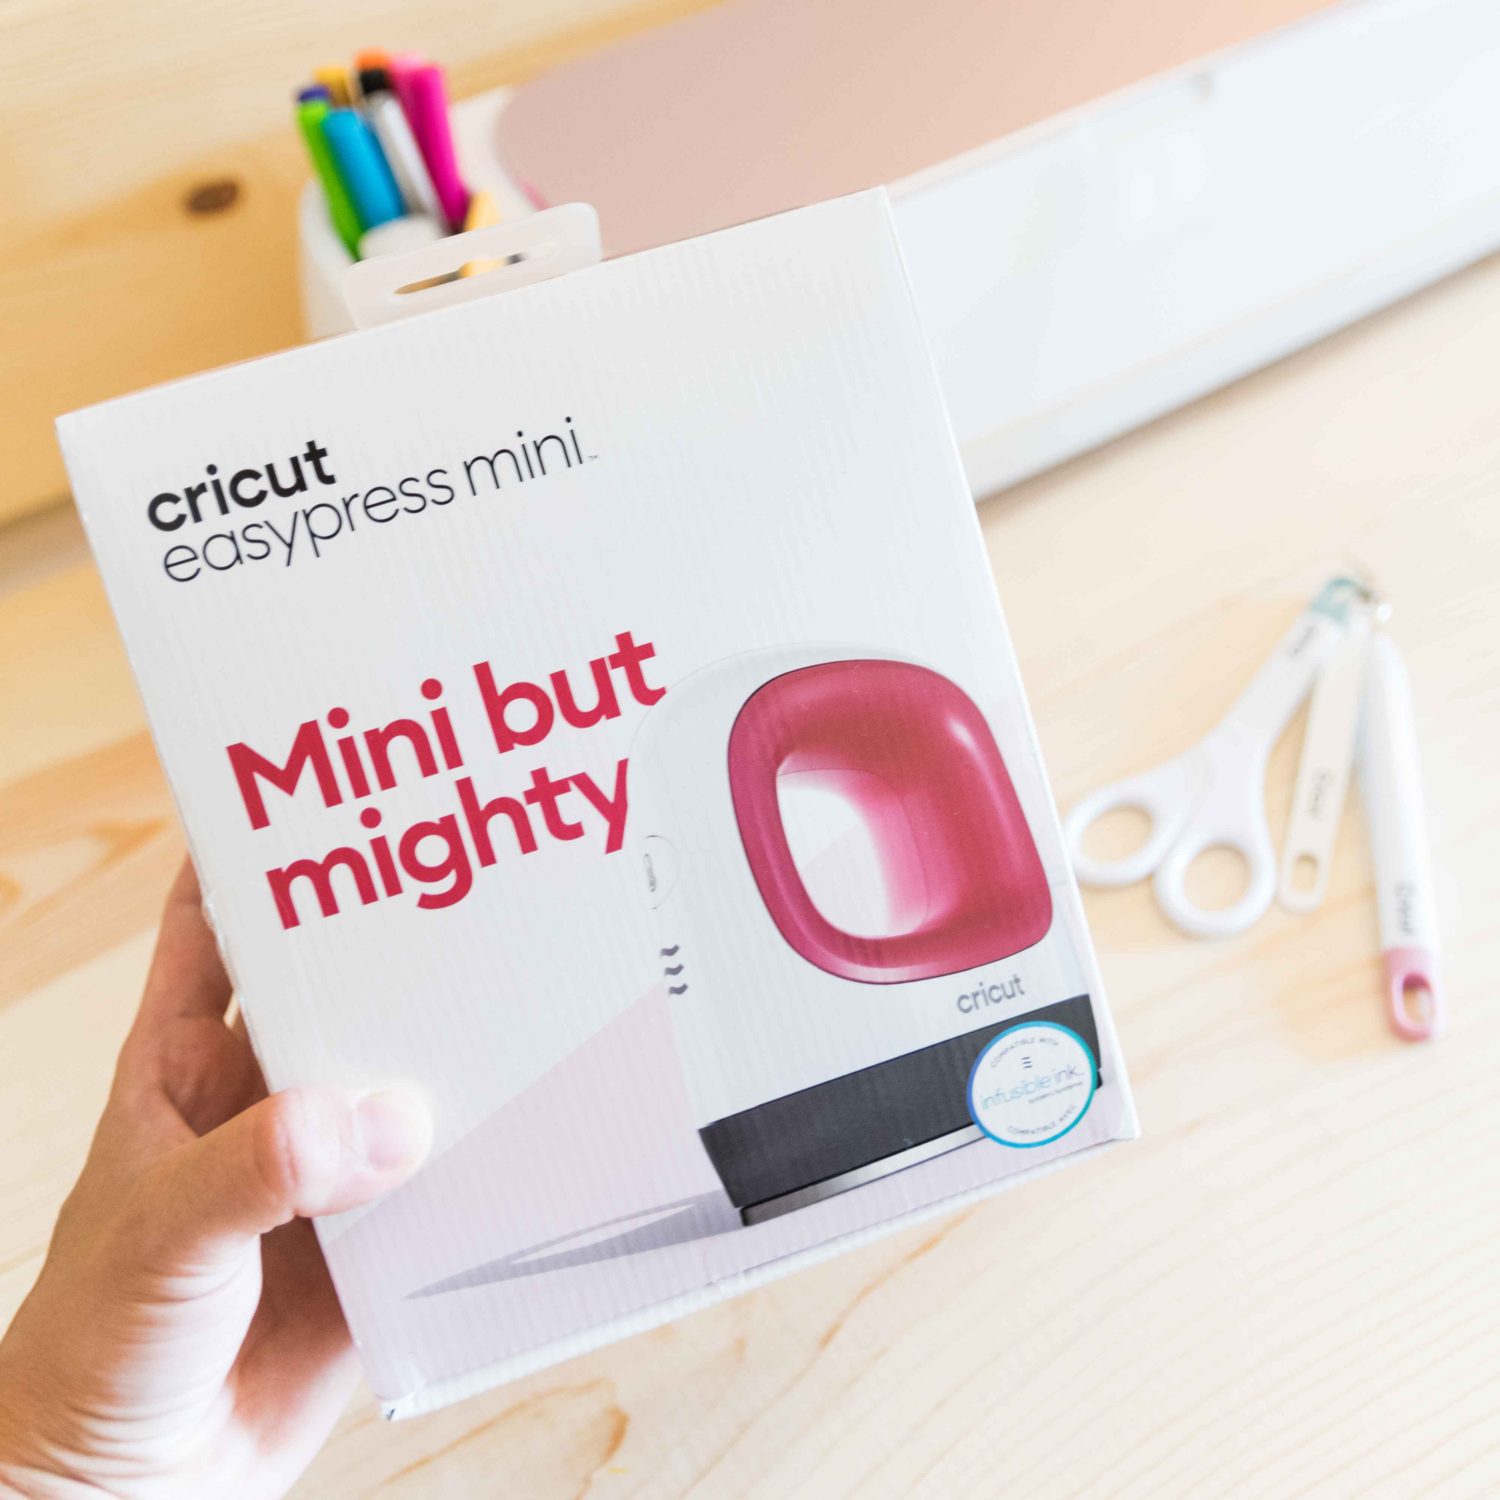
Let’s see the characteristics of this Mini but mighty press.
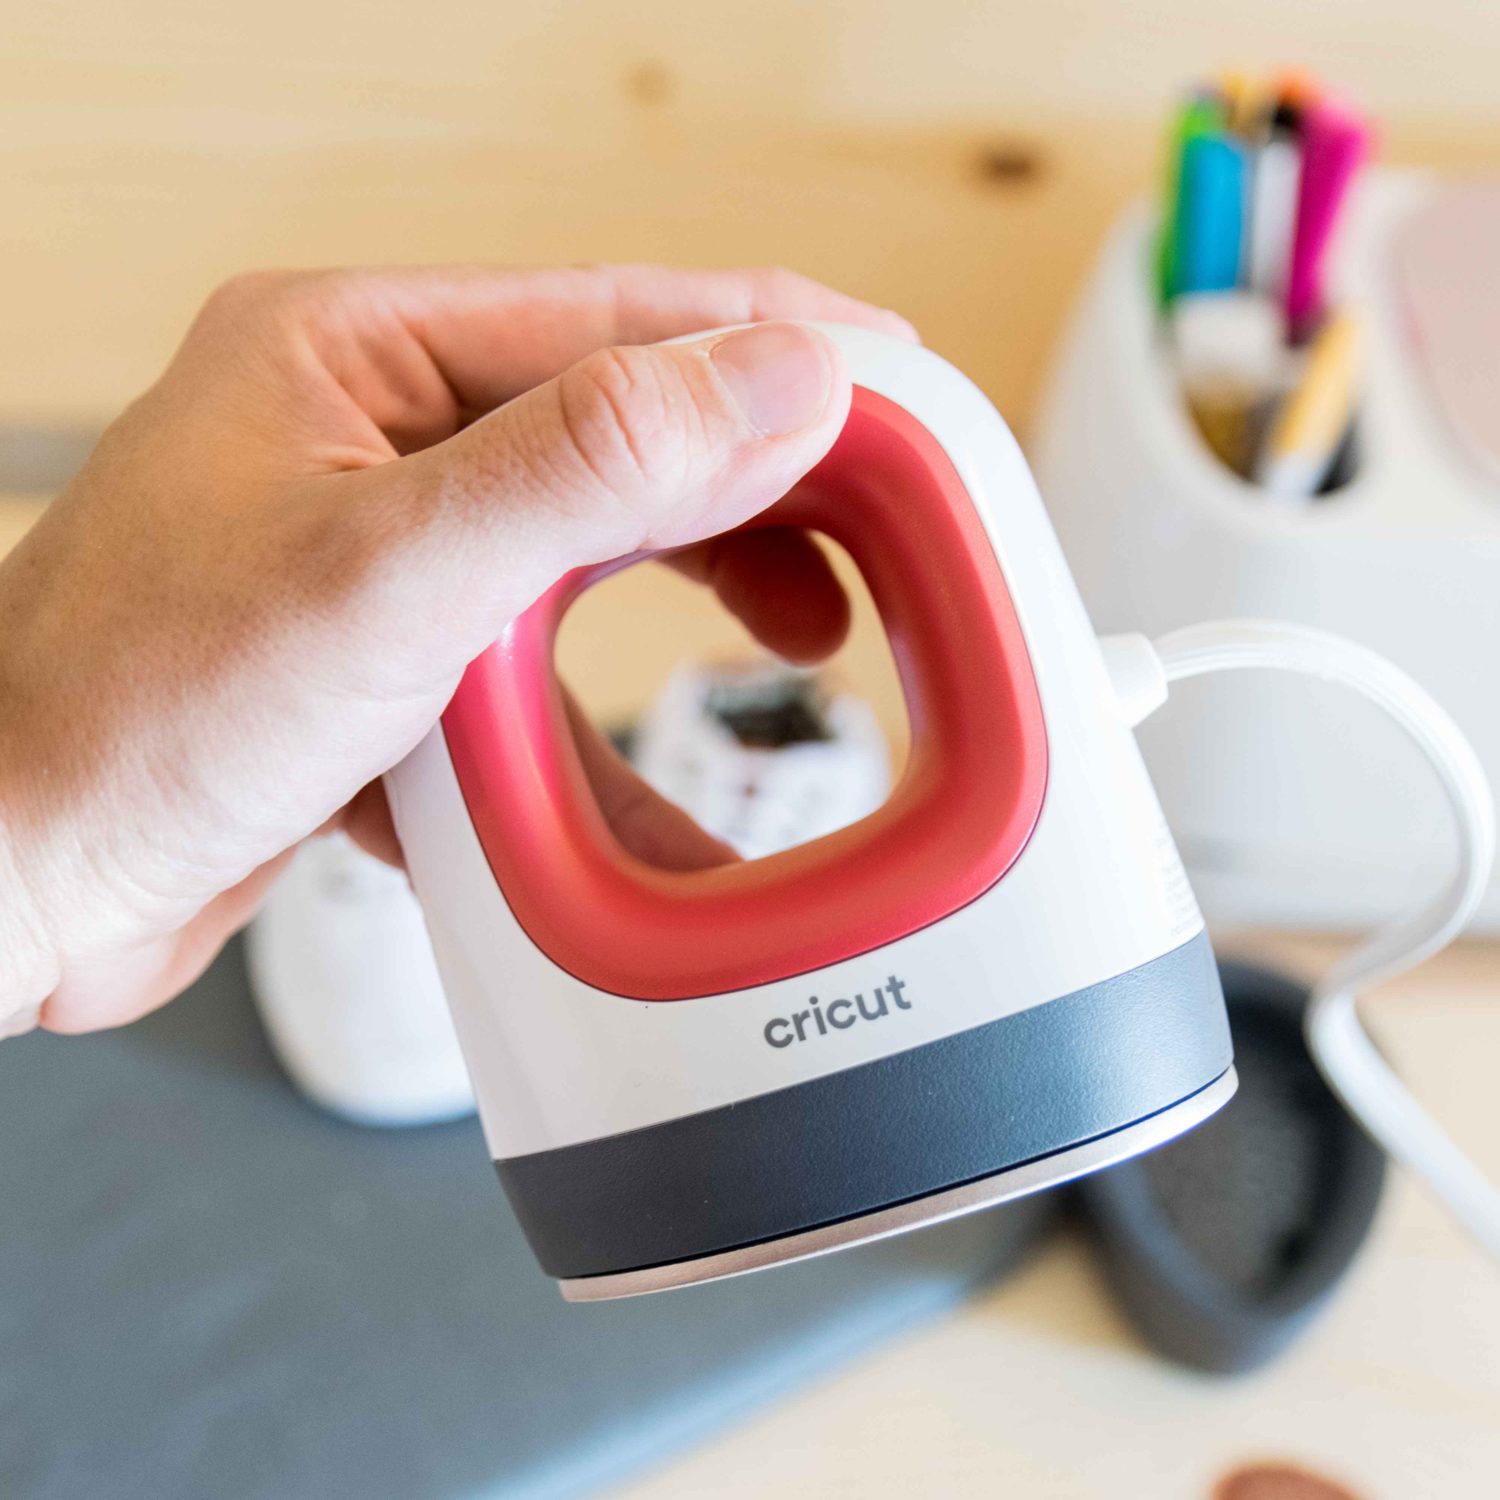
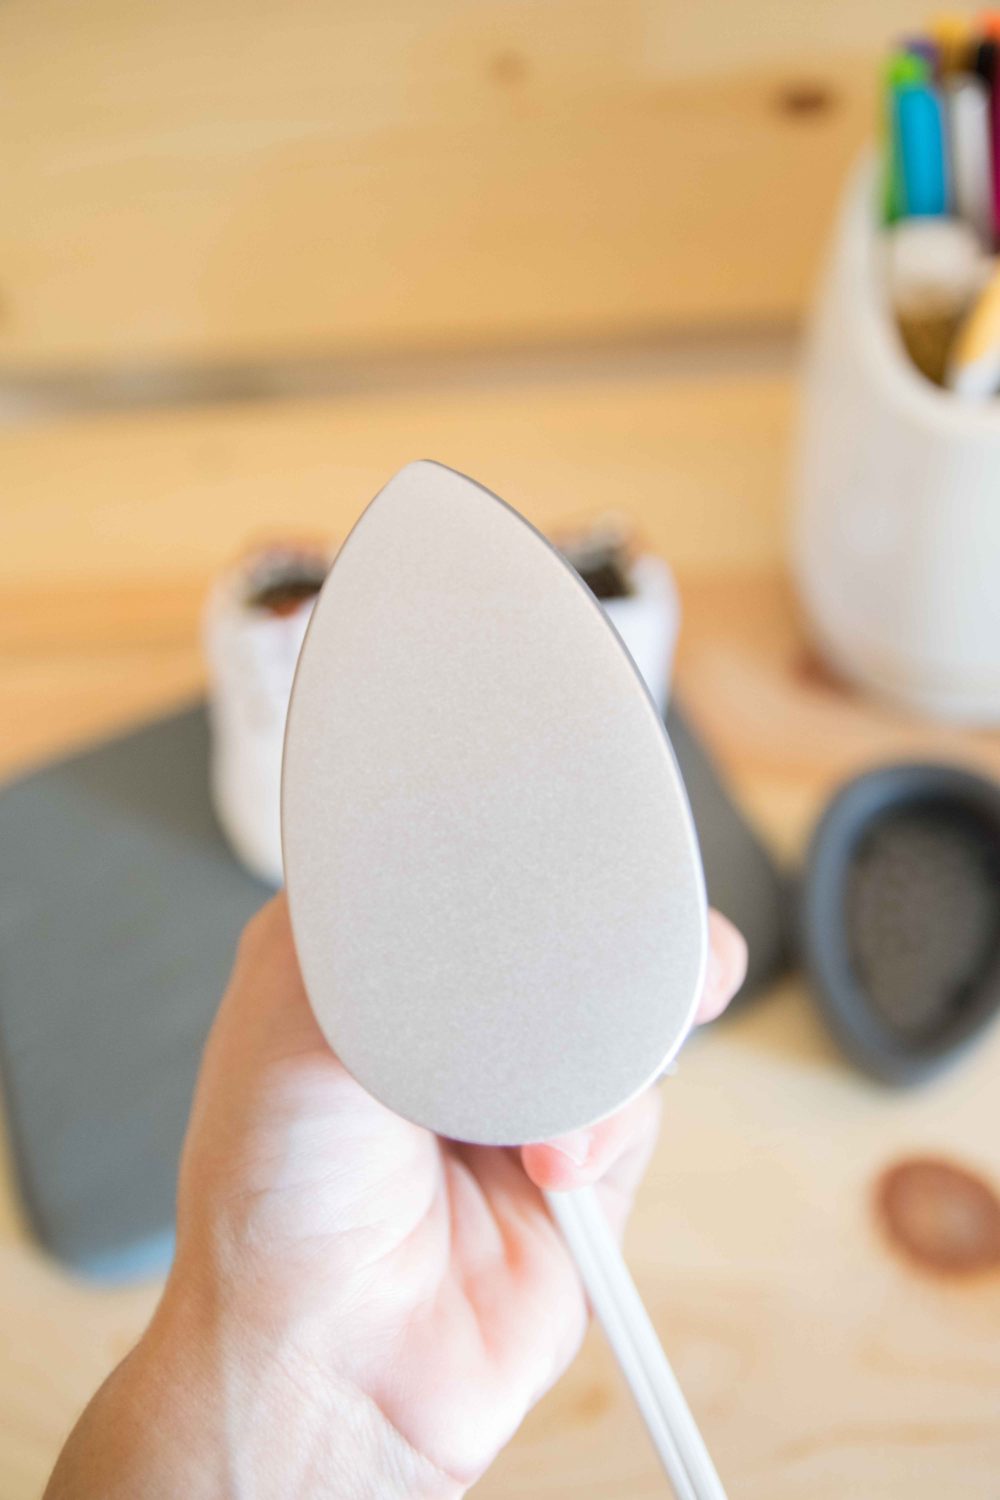
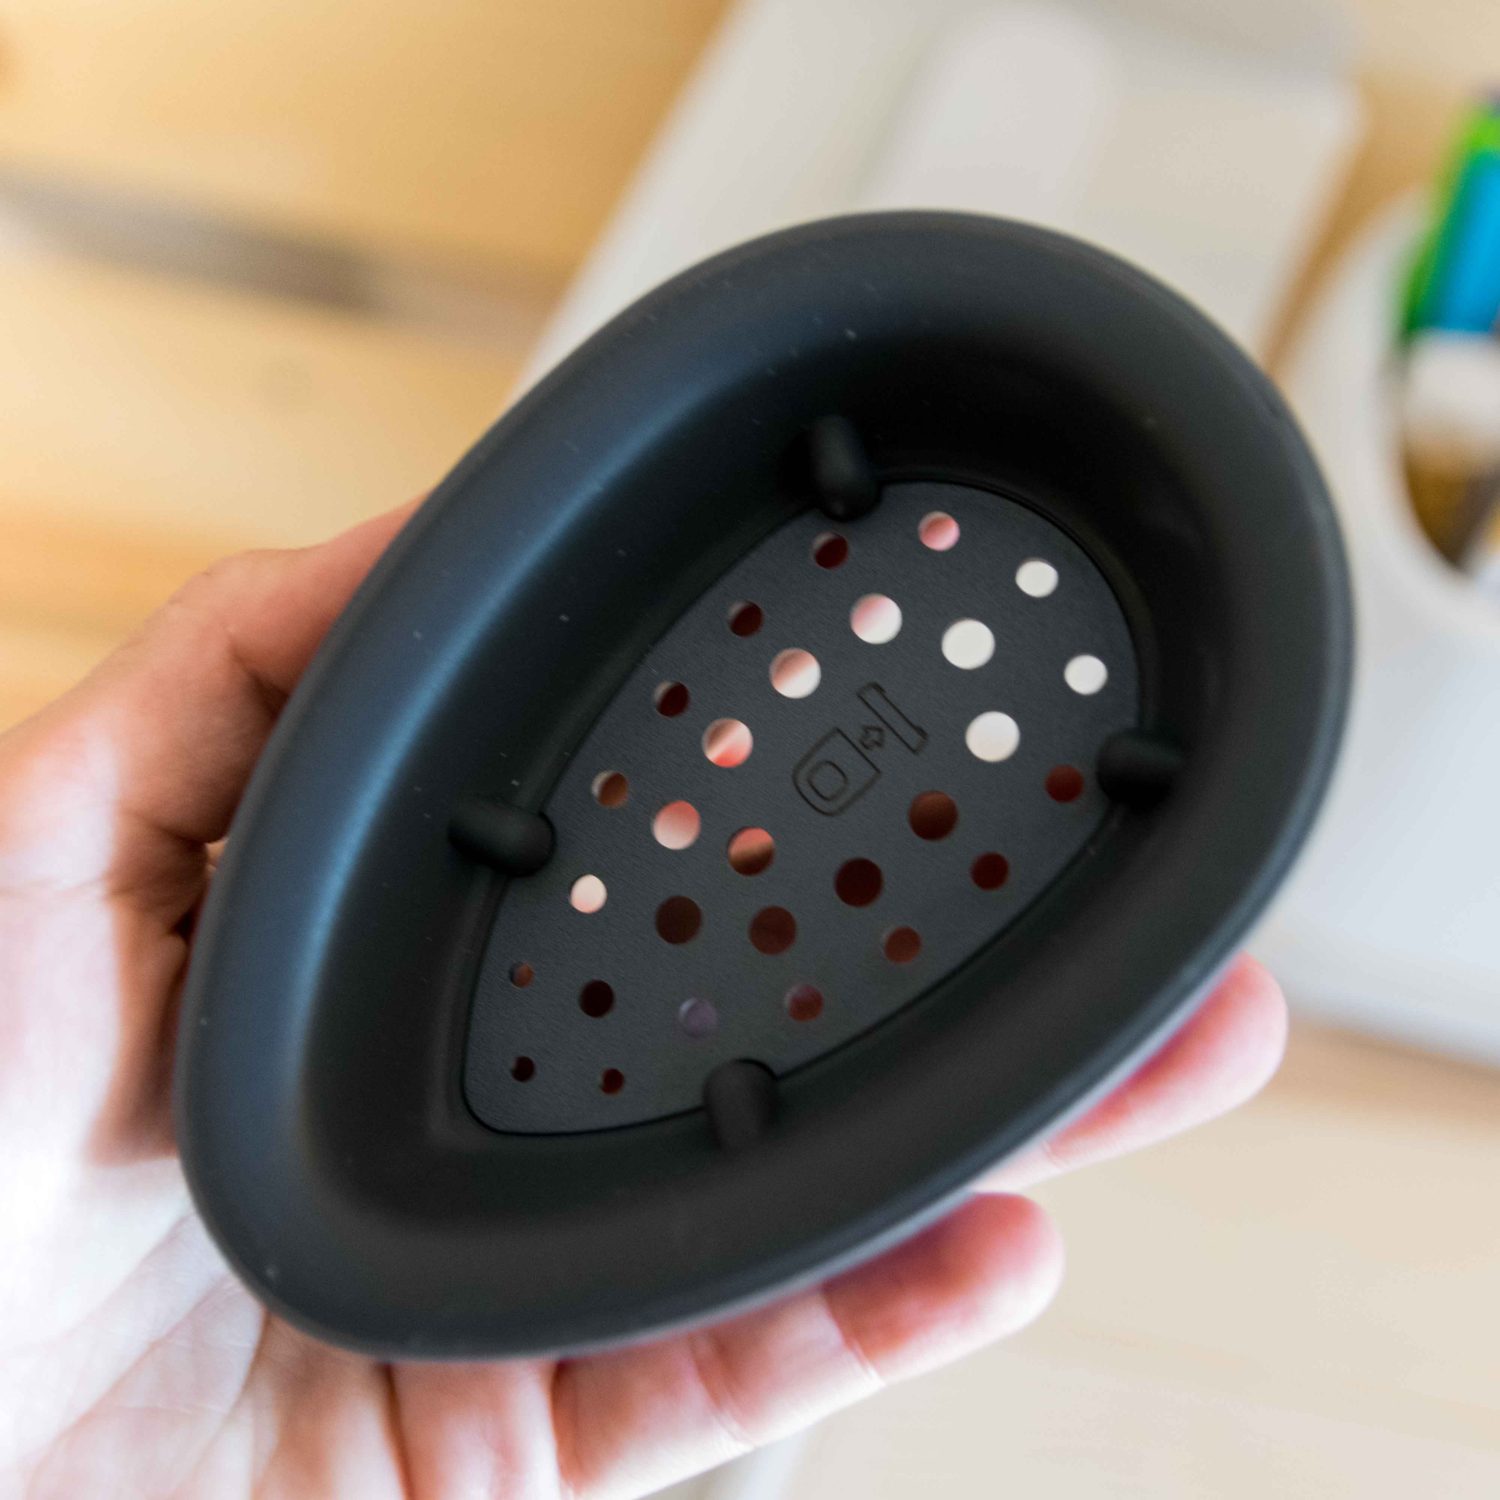
Size and Shape
The size of the Easypress Mini is about 3.25 x 1.92 in, and the bottom of it looks like little iron; it has a comfortable handle that allows you to manipulate the device with ease.
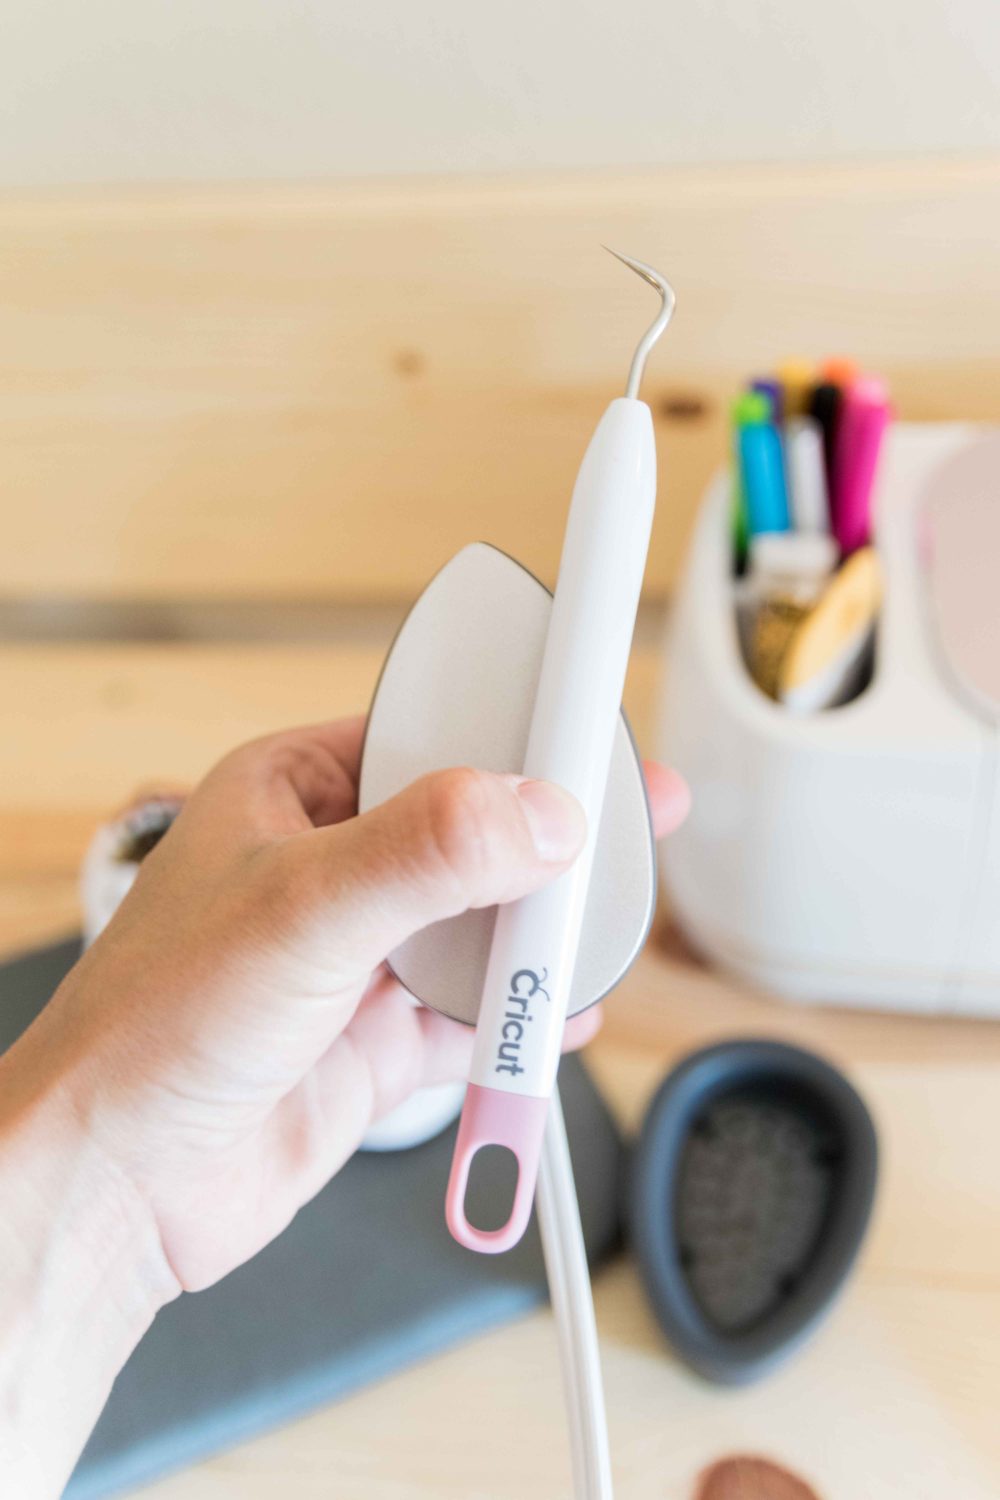
Down below there are a couple of photos where you can see it closer and compare it with the weeder so you can get an idea of how little it is.
Heat Plate
The heat plate of the Easypress Mini has a ceramic-coat that allows it to heat evenly and move smoothly on the surface you need to apply Iron-On to.
Heat Settings
Contrary to the “big” Easypress that shows the temperature your press is at; the EP Mini has three different setting Low, Medium, and high. These settings are compatible with most base materials out there.
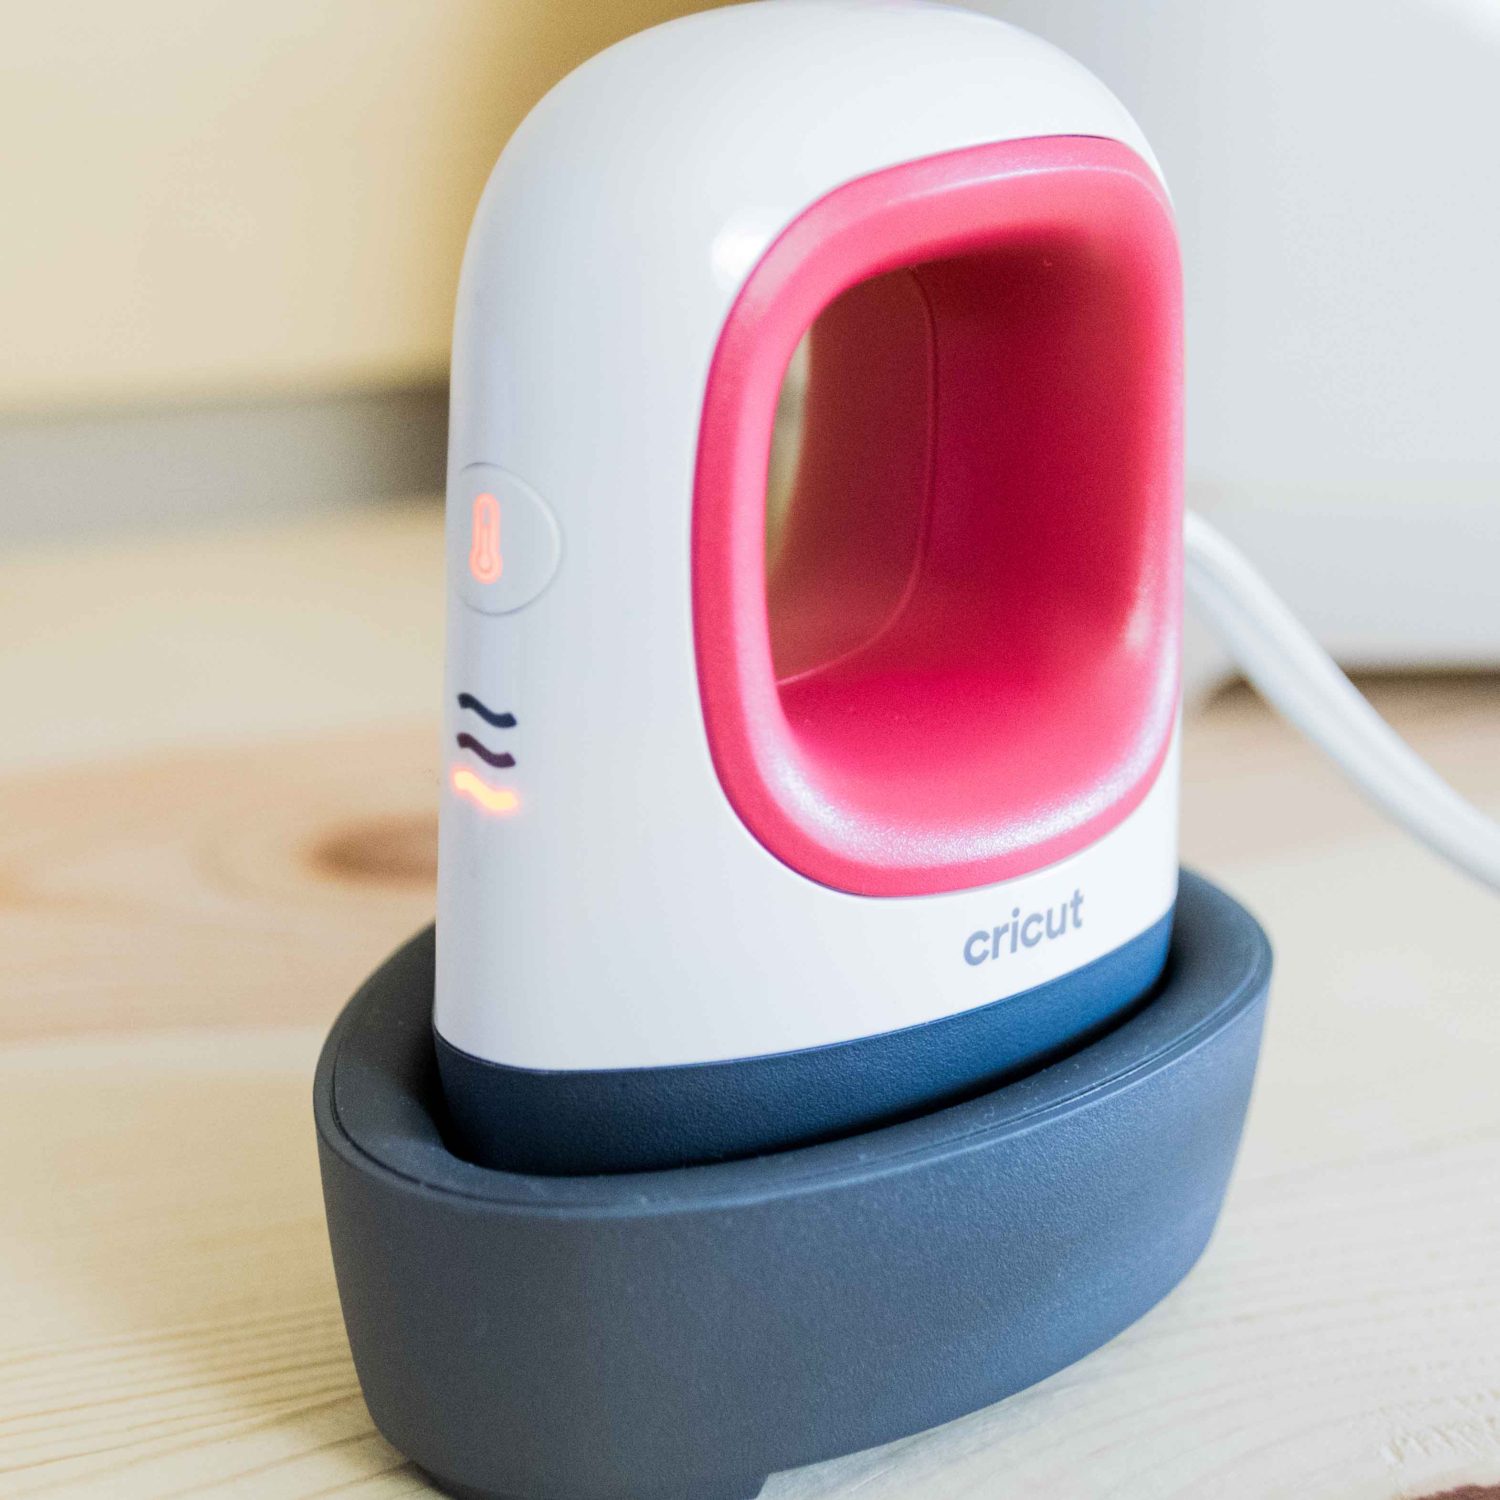
To select the temperature you need for your project, press the ON-OFF button.
One press and it will go to low heat, a second press and you’ll move to medium heat, and, finally, a third tap will set your device to high heat.
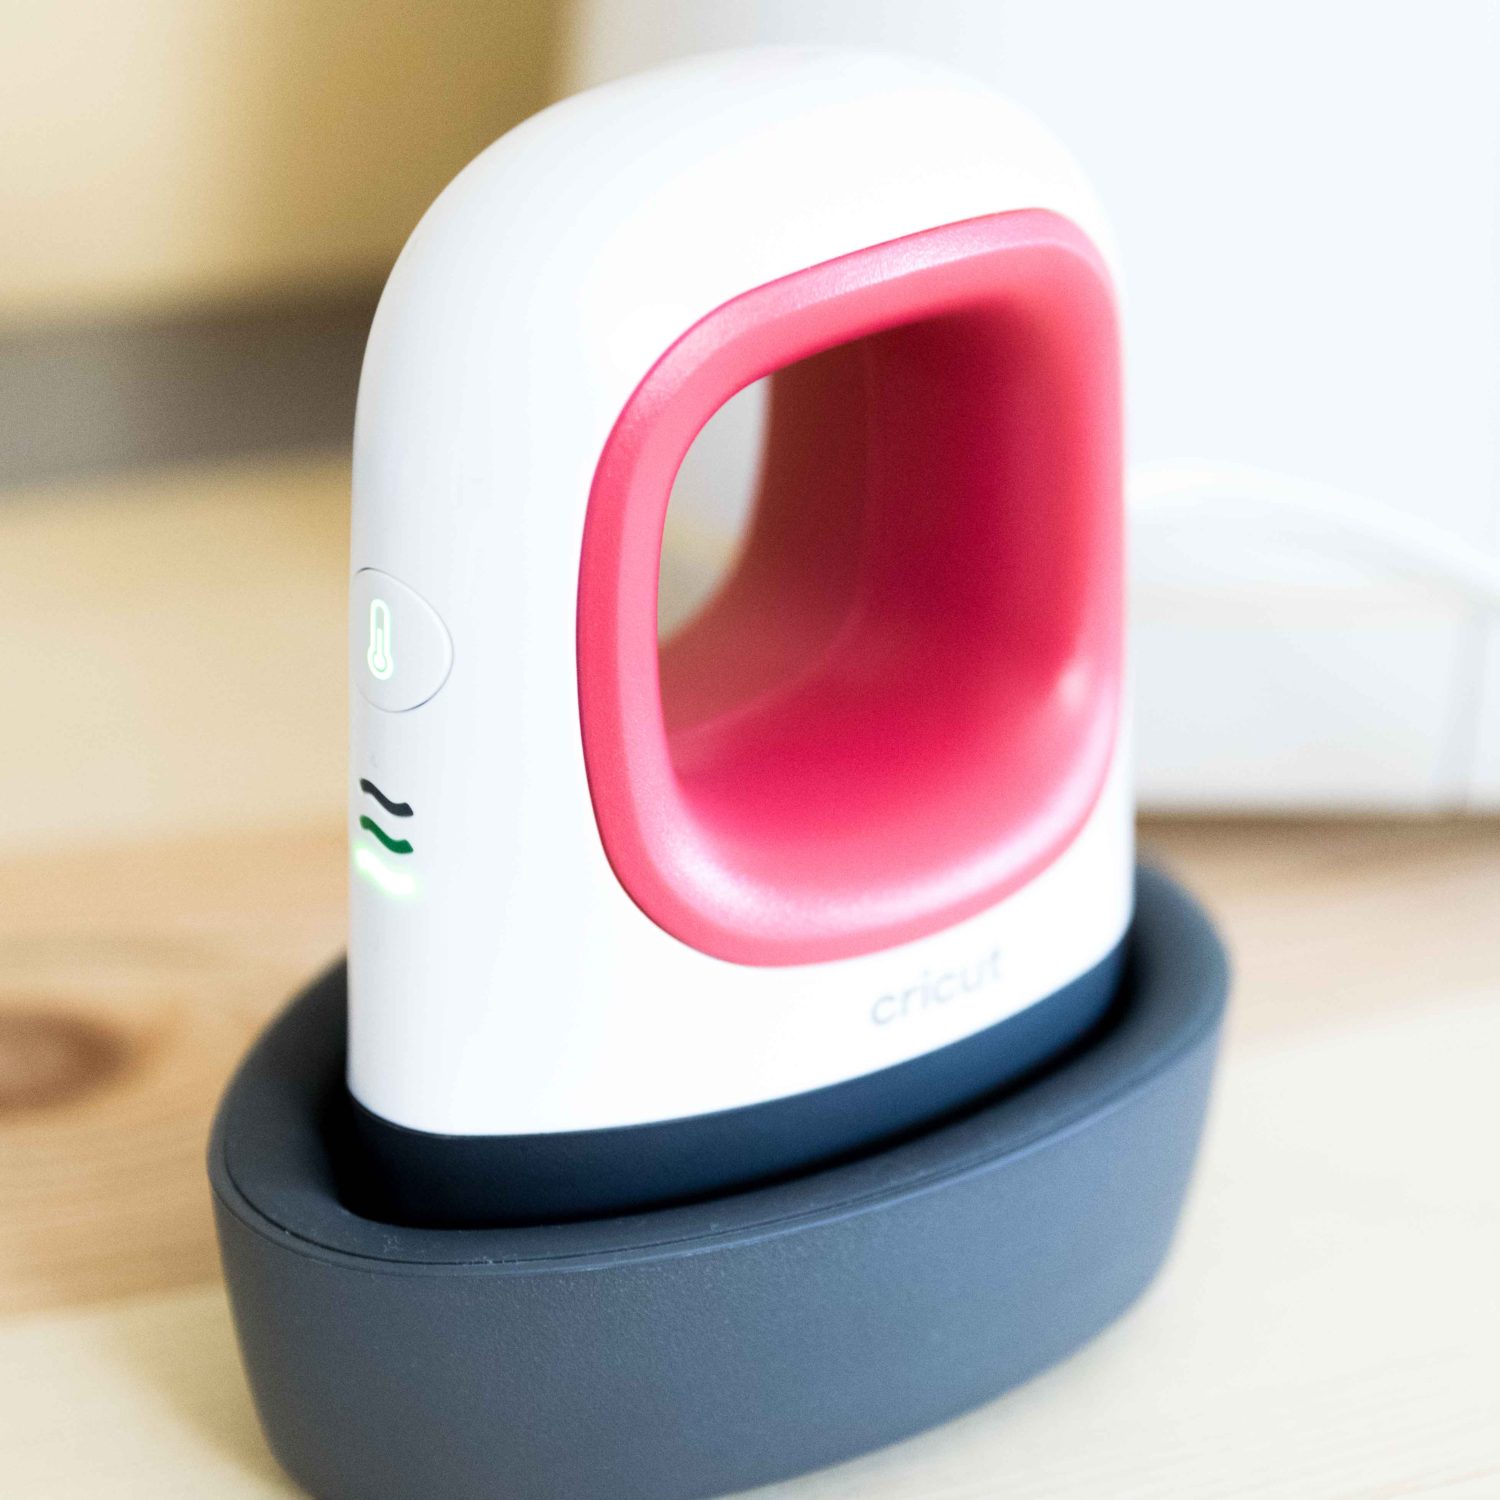
The EP Mini will light up orange while it reaches the temperature you selected, and it will light up green when it reaches it.
I will go in-depth regarding the temperature the EP Mini reaches in the next section of this article
Safety Features
The Easypress Mini comes with an insulated safety base that will keep your surfaces protected at all times. It also shuts off after 13 minutes of inactivity.
Cool, right?
Easypress Mini Temperature
The Easypress Mini has three different temperature settings; Low, Medium, and High.
- Low is for delicate materials such as Foil, and Sport Flex Iron-On
- Medium is for regular materials such as Glitter and Everyday Iron-On
- High is for materials that require a considerable amount of heat to be transferred like Infusible Ink transfer sheets and pens and markers.
The regular Easypress (1 and 2) always shows the temperature; however, the Easypress Mini only shows one of the three levels (low, medium, high).
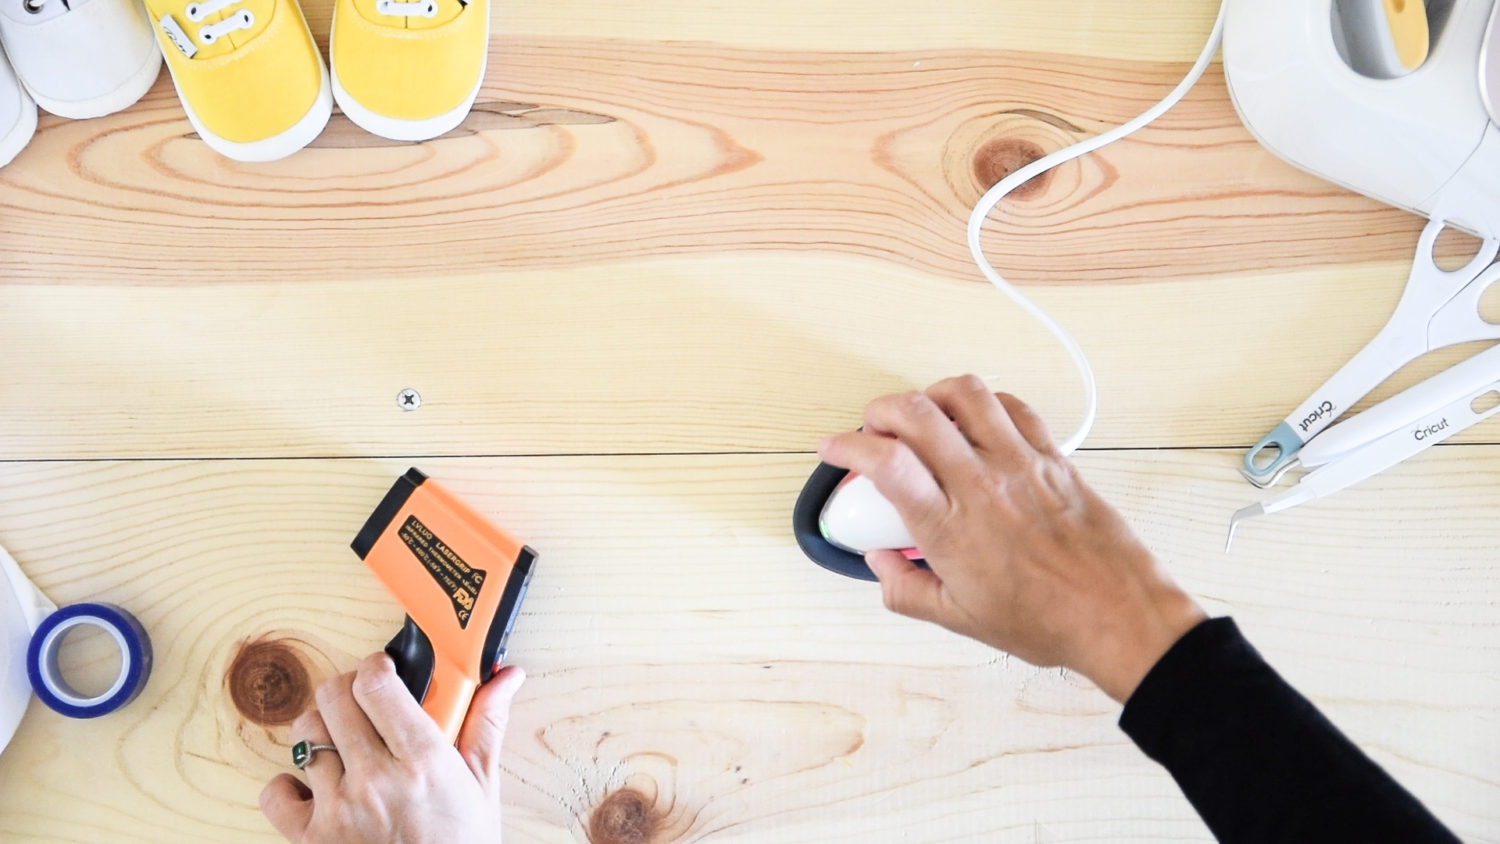
Call me nerdy, but I was inquisitive to see what the temperature was in each setting.
I went ahead, and I bought a Digital Infrared Thermometer to see the exact temperature that the EasyPress Mini reaches in each setting.
This is what I found out.
| Easypress Mini Setting | Temperature* |
| Low | 268 – 275 °F |
| Medium | 305 – 315 °F |
| High | 365 – 371 °F |
It was my first time using this thermometer so there may be some room for error. (Having the device closer or further to the heat plate)
The first temperature measurements were taken when I was filming the video for this article, and the Easypress Mini was connected to an extension cord; the second temperature measurements were taken with the EP Mini connected to an electric outlet.
Note: No matter how close I got to the EP Mini plate with the thermometer, I wasn’t able to get 400 °F.
Don’t worry about this, though!
The Easypress Mini is Infusible Ink compatible with most Cricut blanks (you need to press for more time than you would with the Easypress 2).
Projects you Can Make with the Easypress Mini
With the EP Mini, you can reach those tiny little spaces that are surrounded by seams, and buttons.
Here are some of the things you can use or decorate with the Easypress Mini:
- Shoes
- Hats
- Small pockets
- Everything baby
- Earrings
- Headbands
- Stuffed animals
- Small bags
- Paper (small cards)
- Bows
- Doll Clothes
- Pressing seams for sewing projects
- More!
Is the Easypress Mini right for you?
As with everything in life, it depends on the type of projects you like making.
If you are into personalizing small surfaces like hats, baby shoes, bibs, doll clothes, etc. I think the Easypress Mini is a great little tool to have in your collection. I know it’s not the cheapest accessory, but what is cheap in the Cricut world? lol
You can also get a mini iron, I was going to, but I read in some reviews that they can ket smoky, and for me, that’s a no-no-no! Now, I don’t think this always happens, but I like brands that I can trust when using something that gets hot.
By the way, this article is NOT SPONSORED, I bought this product with my own money.
I just love Cricut!
Check out the Easypress Mini price in Cricut’s website.
Materials and Considerations when using the Easypress Mini
The MOST IMPORTANT thing to consider when working with the Cricut Easypress mini is the heat guide!
In this guide, you can select whatever machine you have and the materials you are working with to find what to do in each case scenario.
If you don’t follow the precise instructions, you may not have success during the transfer process.
When Cricut brings the level and amount of time you need to press, don’t leave just yet; scroll down to find all the steps. I forgot to do while filming my video, and I don’t want this to happen to you.
Other important things to have along with the Easypress Mini are:
- Heat Resistant Tape to secure your projects against your surface.
- Easypress Mat to protect your surface or to press. It’s quite helpful when working with hats.
- Heat resistant gloves optional but helps to protect your hands. I don’t know why but I sort of freak out when holding something little that gets too hot.
Note: Using gloves doesn’t mean you can touch the hot plate; they add an extra protection layer.
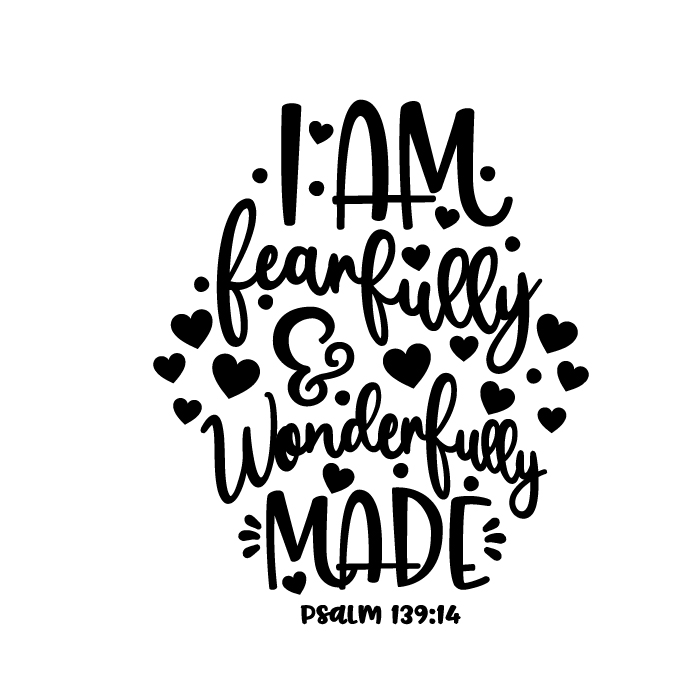
Free SVG Files
If you want to follow along get the SVG files I used for this project. Just click on the buttons down below to save them to your computer.
Note: They will only save from a desktop computer.

Oh!
Just so you know, I also have a library full of free SVG files and Printables for all my subscribers, a.k.a. Daydreamers. You can see a preview right here or get access by filling out this form.
Watch the Video
If you are more of a video person, make sure to check out my YouTube video for this tutorial. Don’t worry, though, this article has everything you need to know as well.
My channel is in the very early stages, and I am just figuring it out. I would love to have you as a subscriber!
Examples Using The Easypress Mini
When I found out the Easypress Mini was coming, I decided to put it to the test with some of the most delicate and small materials.
I won’t go into detail on how to cut the vinyl, because I don’t want to deviate from the Easypress Mini, but you can check my T-Shirt tutorial using Iron-On to see what is the process you need to take.
In the following examples, I will show you how to transfer Iron-On to a Shirt Pocket, Baby Shoes, and a hat.
I will also share with the things I had to learn the hard way!
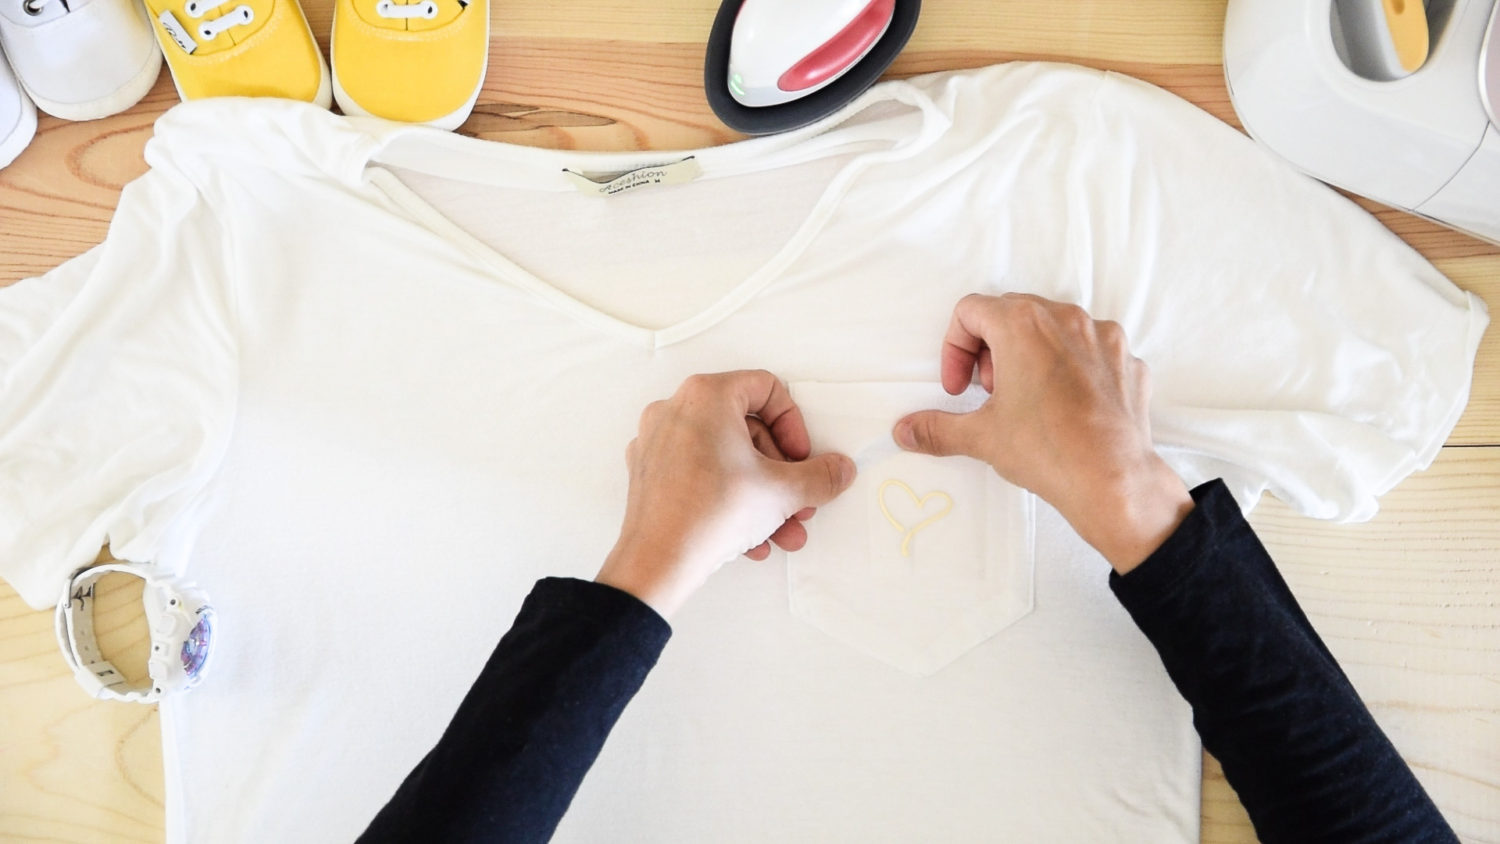
Using the Easypress Mini in a Shirt Pocket
Transfering Iron-On to a shirt pocket is one of the easiest projects to make with the Easypress Mini.
I recommend you start with something easy so you can get a feeling of how the mini-press works, instead of going all-in with expensive surfaces and materials.
Materials:
- Foil Iron-On
- Easypress Mini
- Heat transfer tape
- Cricut Maker or Explore to cut your design
- Prewashed T-Shirt
Step 1: Set EP Mini to the low setting, and when it reaches the temperature, preheat your area for 5 seconds.
Step 2: Place Iron-On cut on the pocket and (if needed) secure it with heat transfer tape avoiding the design area.
Step 3: With constant movement and light pressure, press your design for 25 seconds.
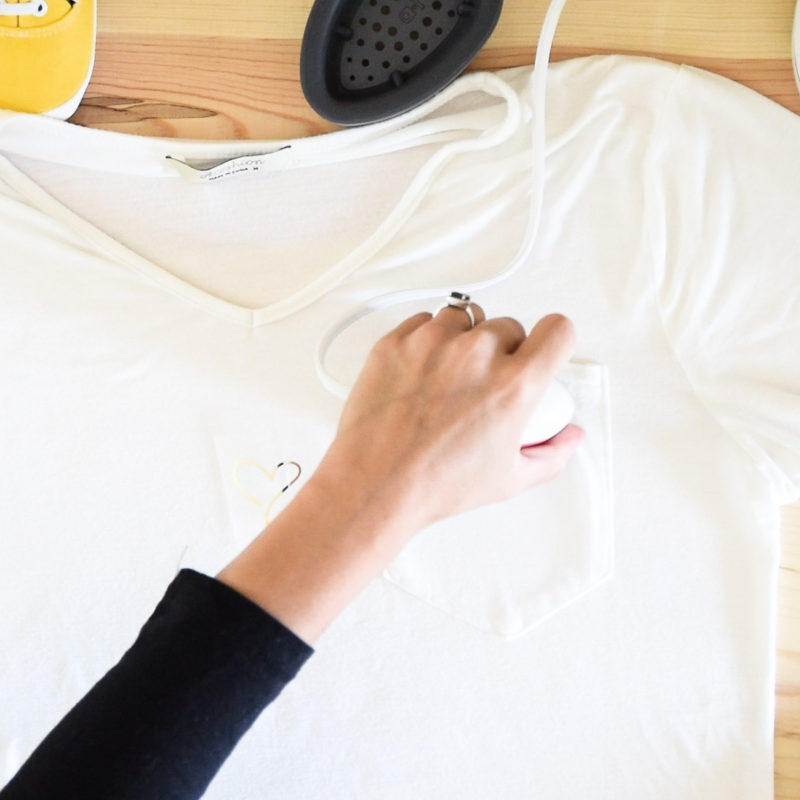
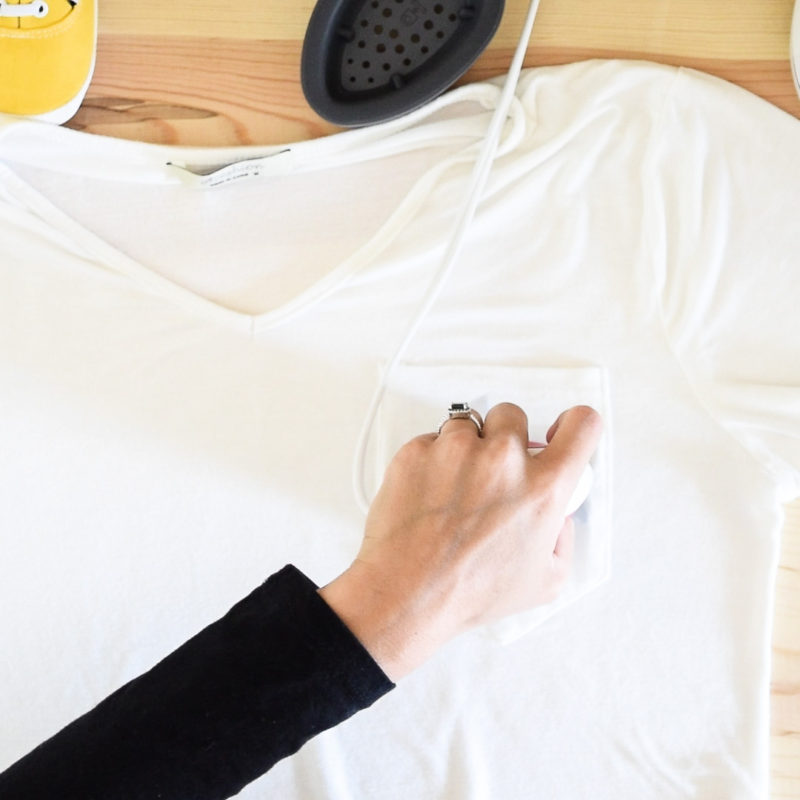
Step 4: Flip shirt and press for another 15 seconds to finish the transfer process.
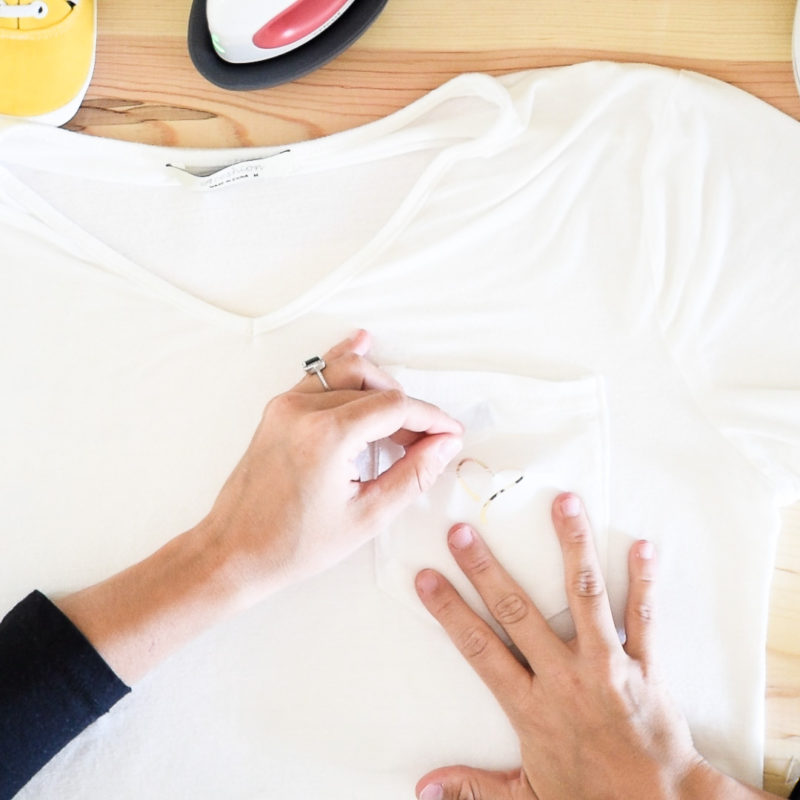
Step 5: Peel off the carrier sheet when the design has cooled off.

Learning Experience…
I didn’t check the heat settings all the way through, and I forgot to press my T-shirt on the other side.
Don’t rush, read the heat guide before transferring your projects.
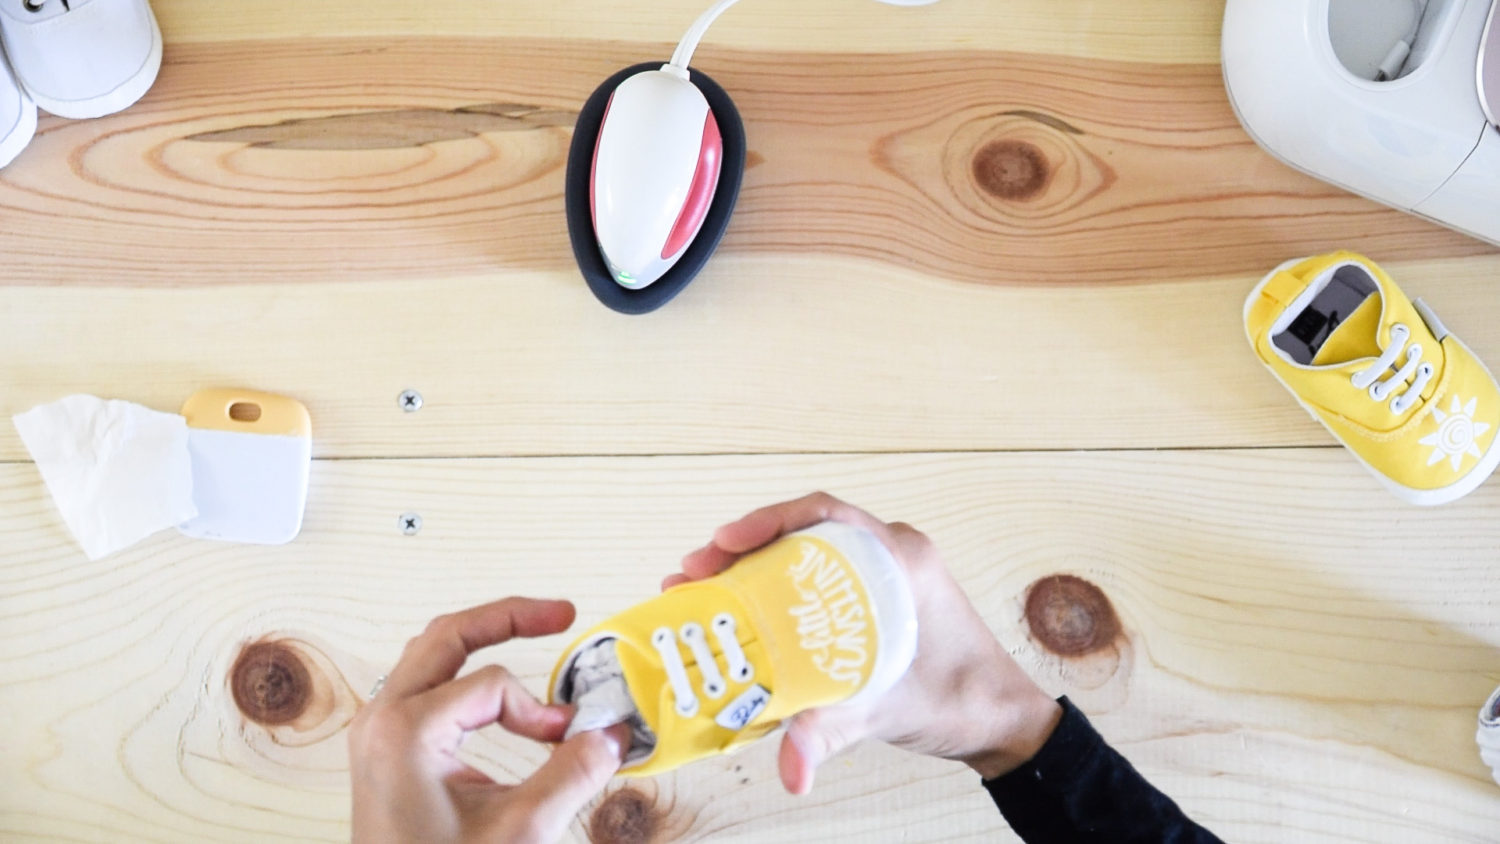
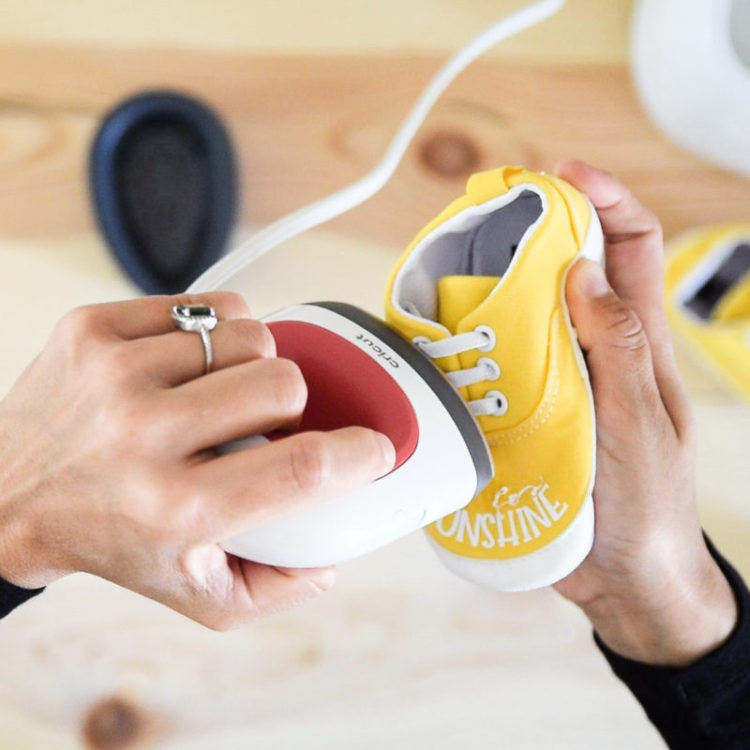
Using the Easypress Mini in a Baby Shoes
I have to tell you that I didn’t have a right-away success when using the Easypress Mini with baby shoes.
Hold on a second…
Let’s not blame the Easypress Mini, the reason why I think it didn’t work the first time is that I forgot to remove the paper that comes inside the shoes, so they don’t lose their shape!
I still want to document the experience because you may find yourself in the same situation.
Tip: If this ever happens to you and there’s some vinyl leftover on your shoe use the EP Mini and press the parts you want to remove.
I learn this cool technique from Karley.hall!
You can see more of my frustration, and what I did to overcome it in the video I linked in this article.
Materials
- White Everyday Iron-On
- Easypress Mini
- Heat Resistant Tape
- Baby shoes
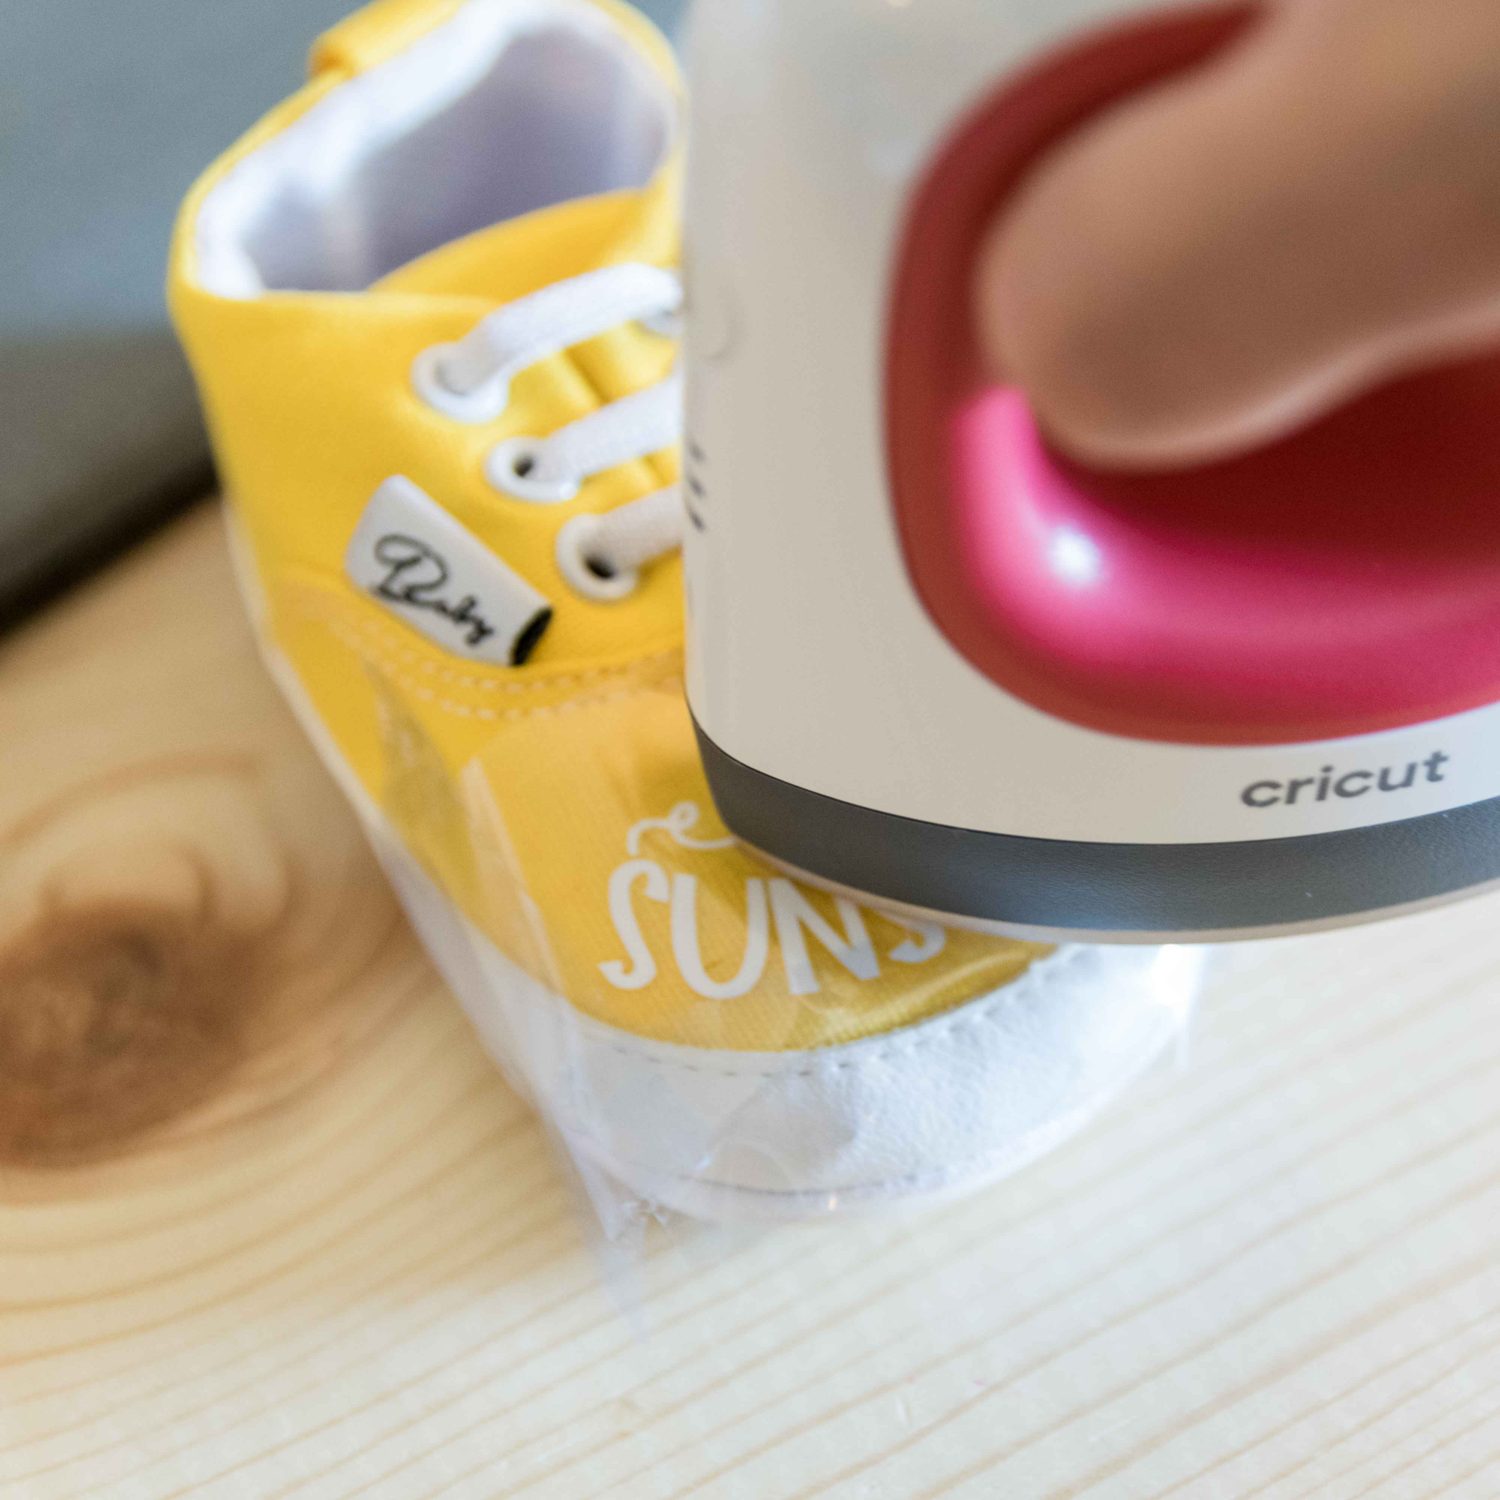
Step 1: Set EP Mini to the medium setting, and when it reaches the temperature, preheat your area for 5 seconds.
Step 2: Tape design to shoes (avoid placing tape on top of the vinyl).
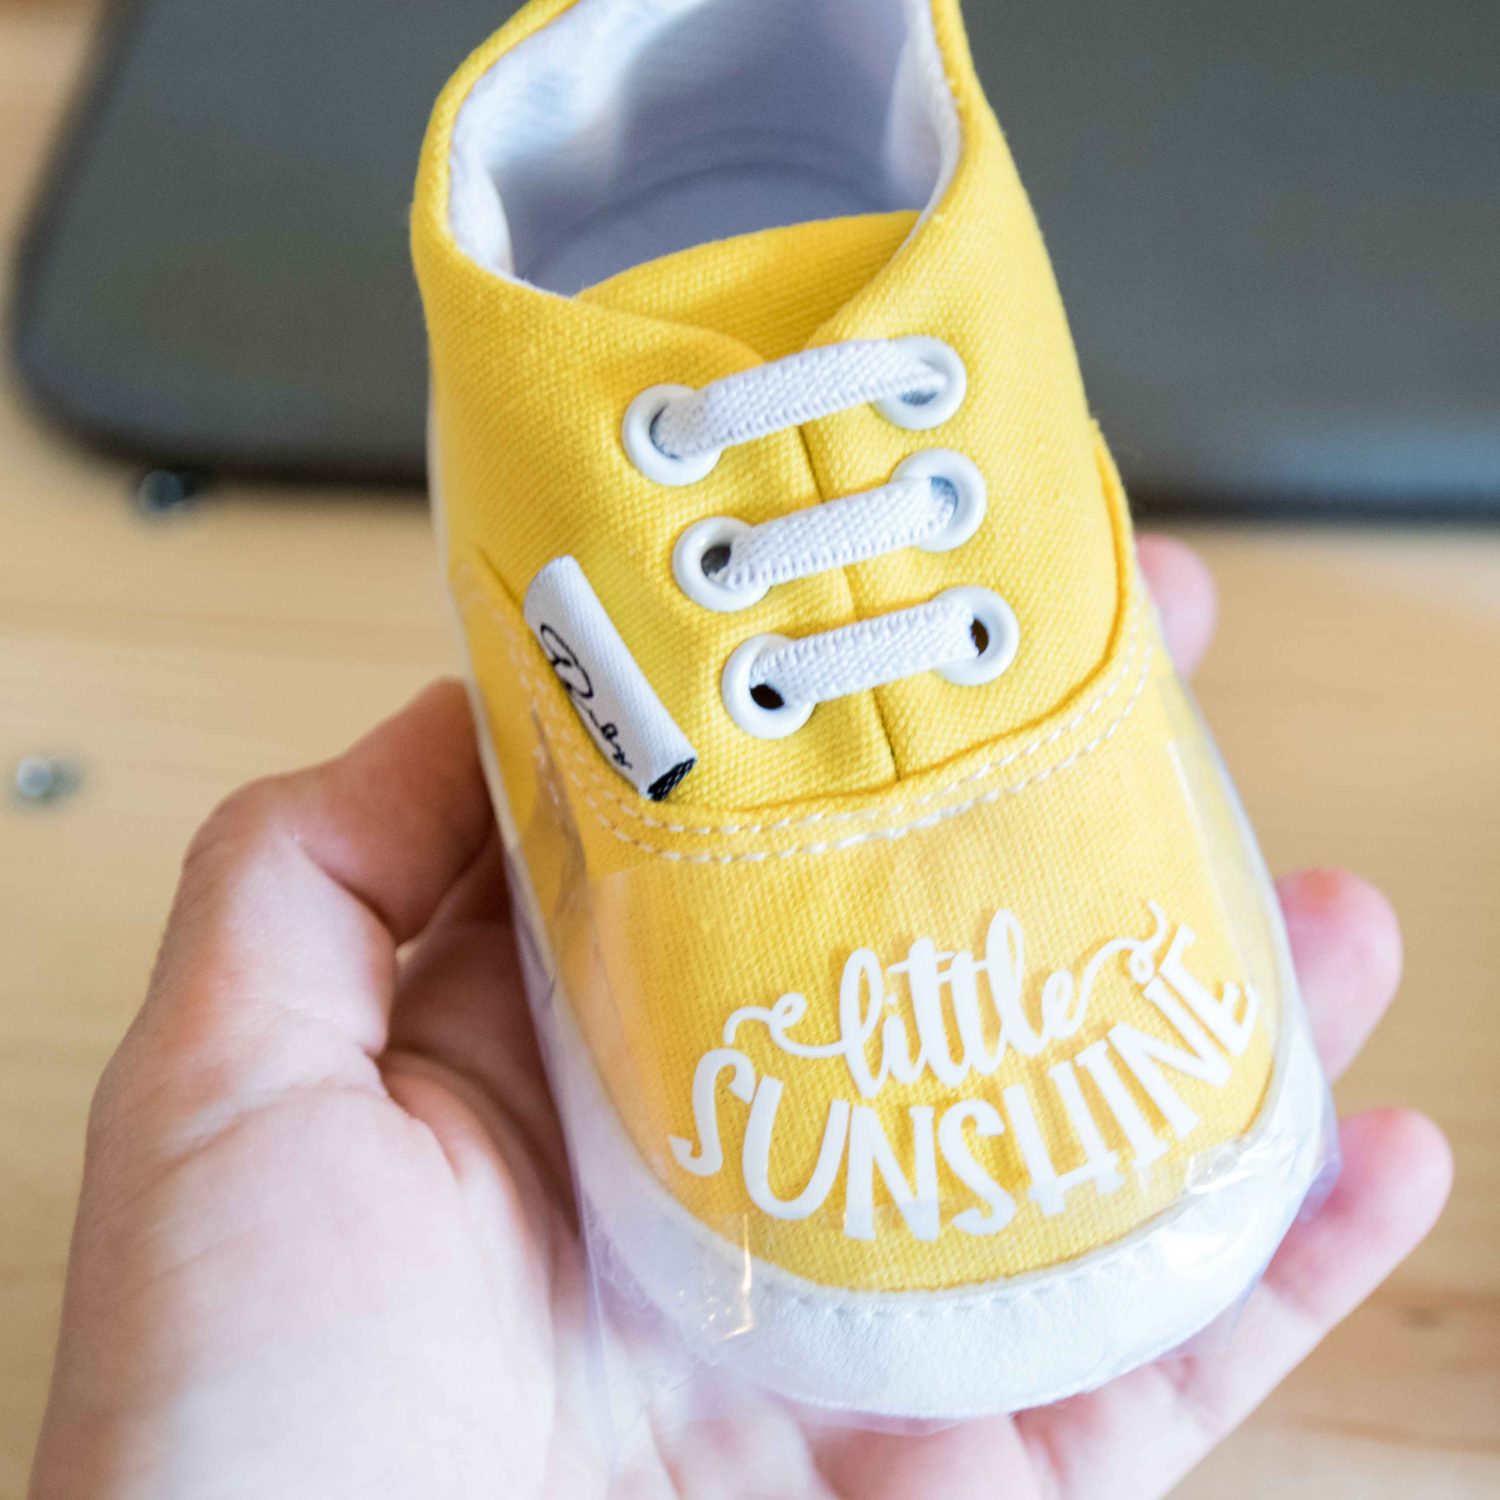
Step 3: With constant movement and light pressure, press your design for 25 seconds. Peel off the carrier sheet while the design is still warm.
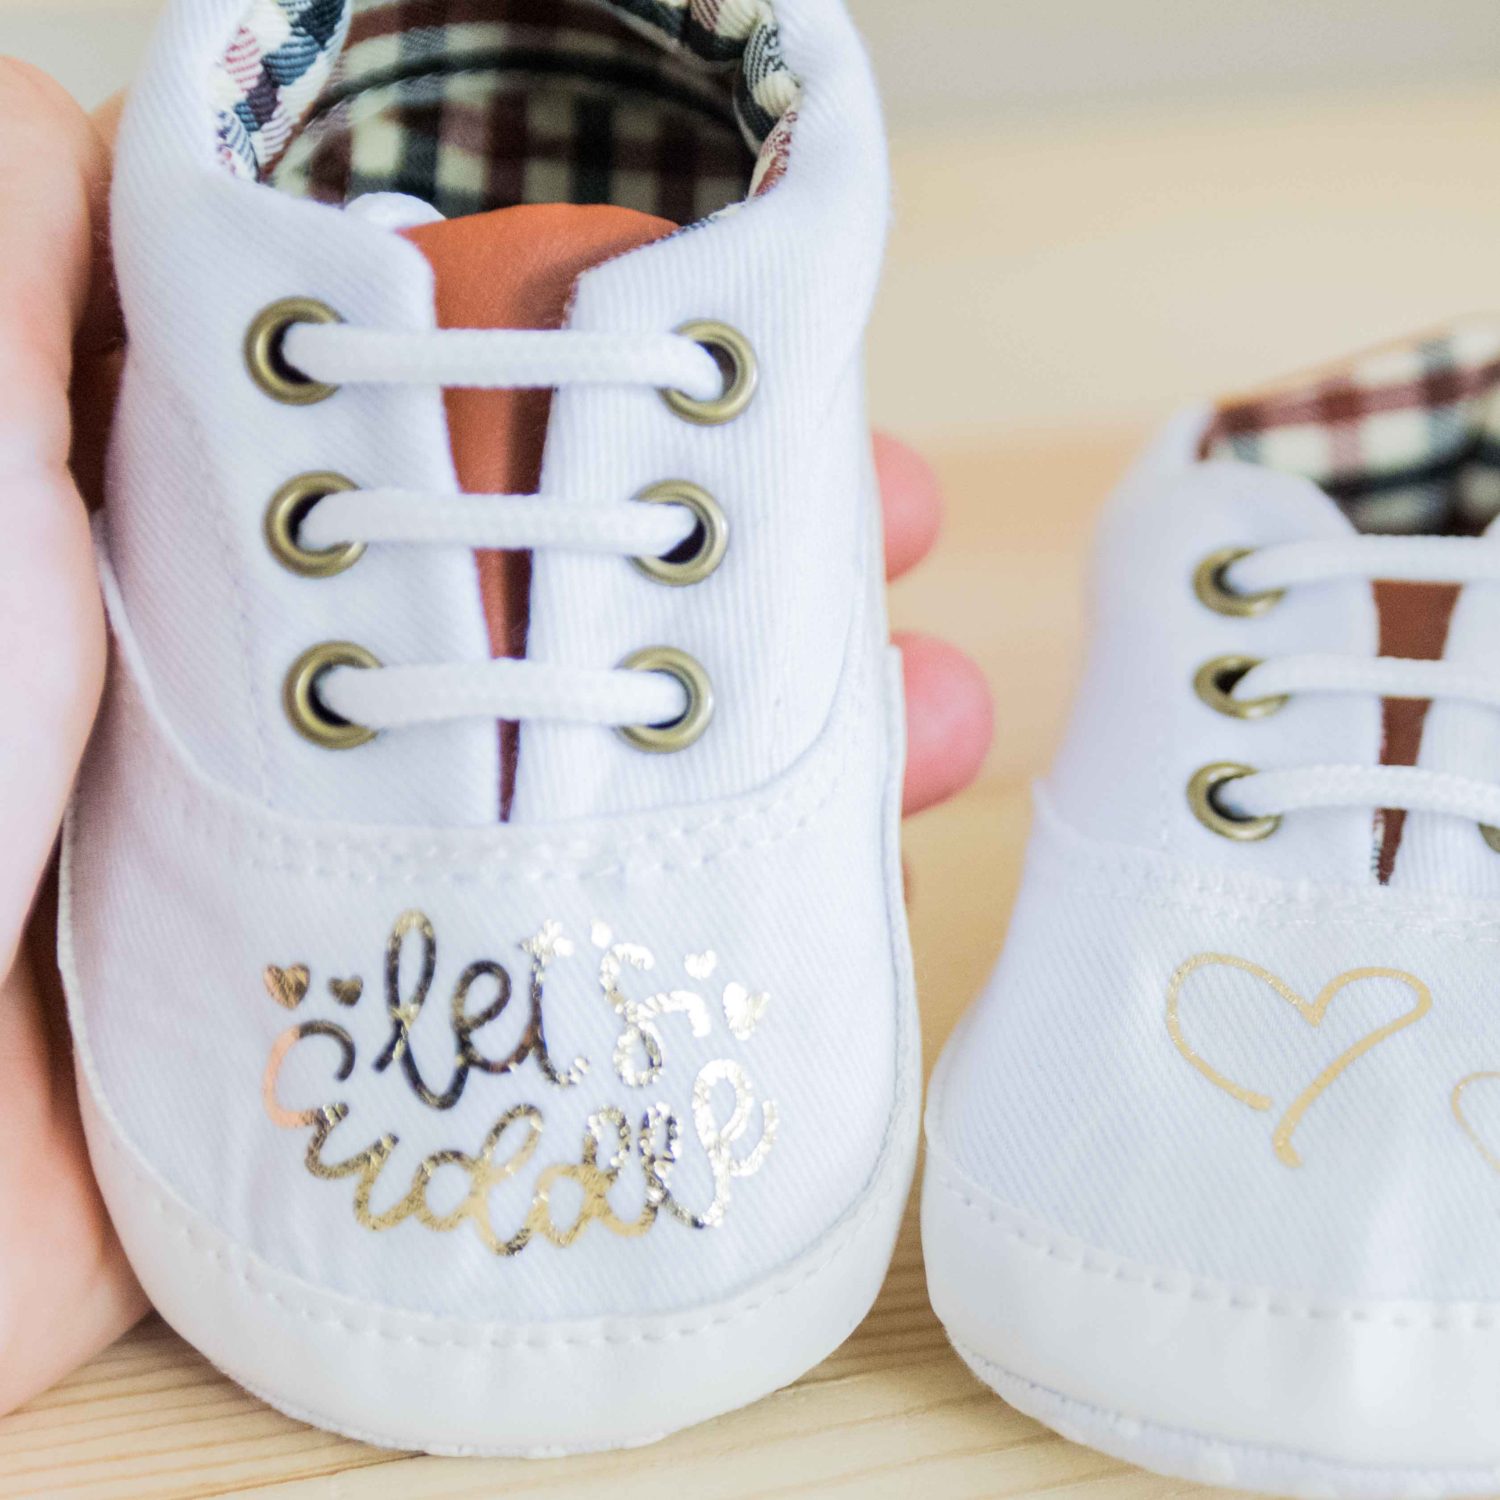
Don’t they look cute?

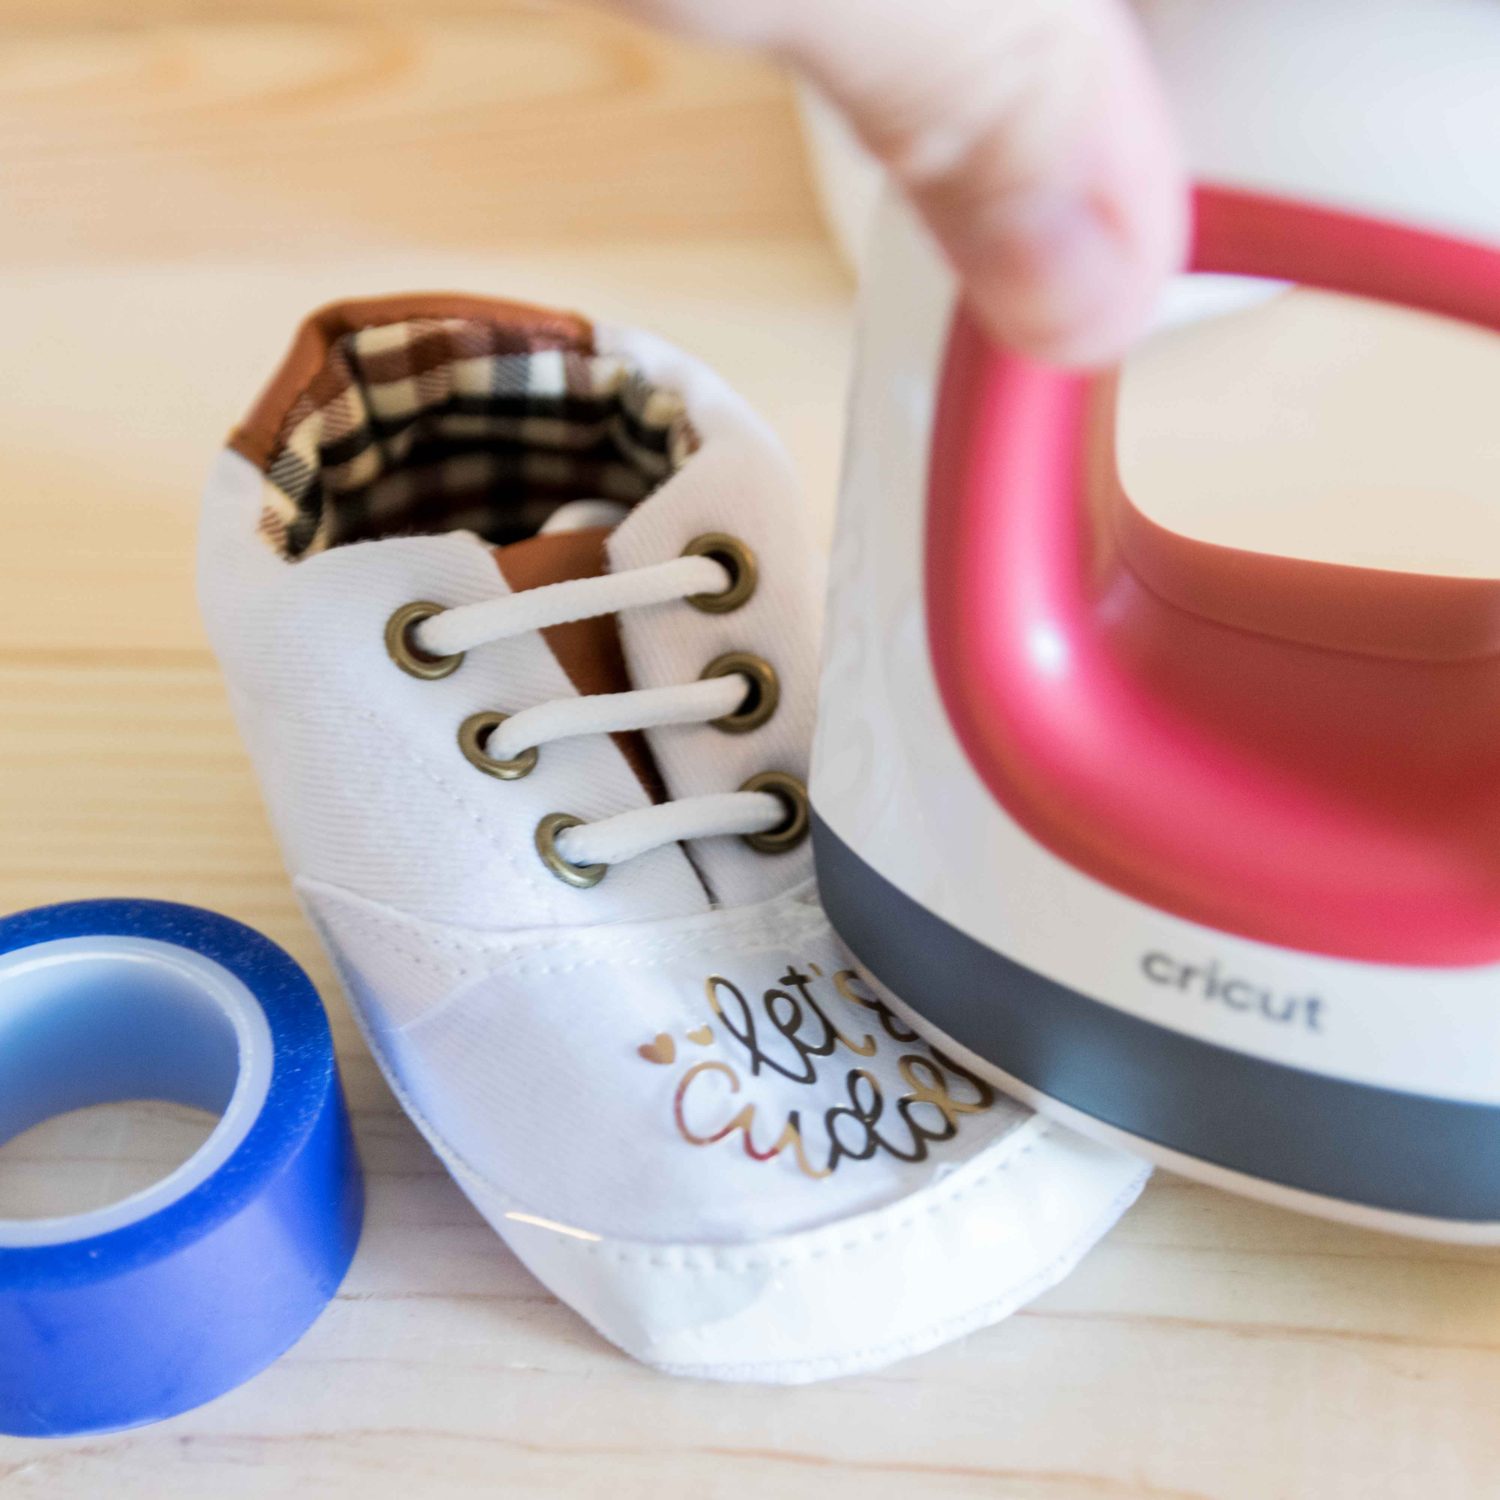
Look at this other pair of baby shoes. I used foil Iron-On and one of Cricut Images.
Learning Experience…
Besides removing the paper that comes inside the shoes (don’t forget that), I recommend you use a more stable type of shoe.
These shoes were very cheap; I didn’t have a use for them apart from this tutorial. So, if you are making them for your little ones pick a better quality shoe.
Also, make sure the tape is not touching your design. You may overlook this, but it’s important because it will interfere with the transfer process.
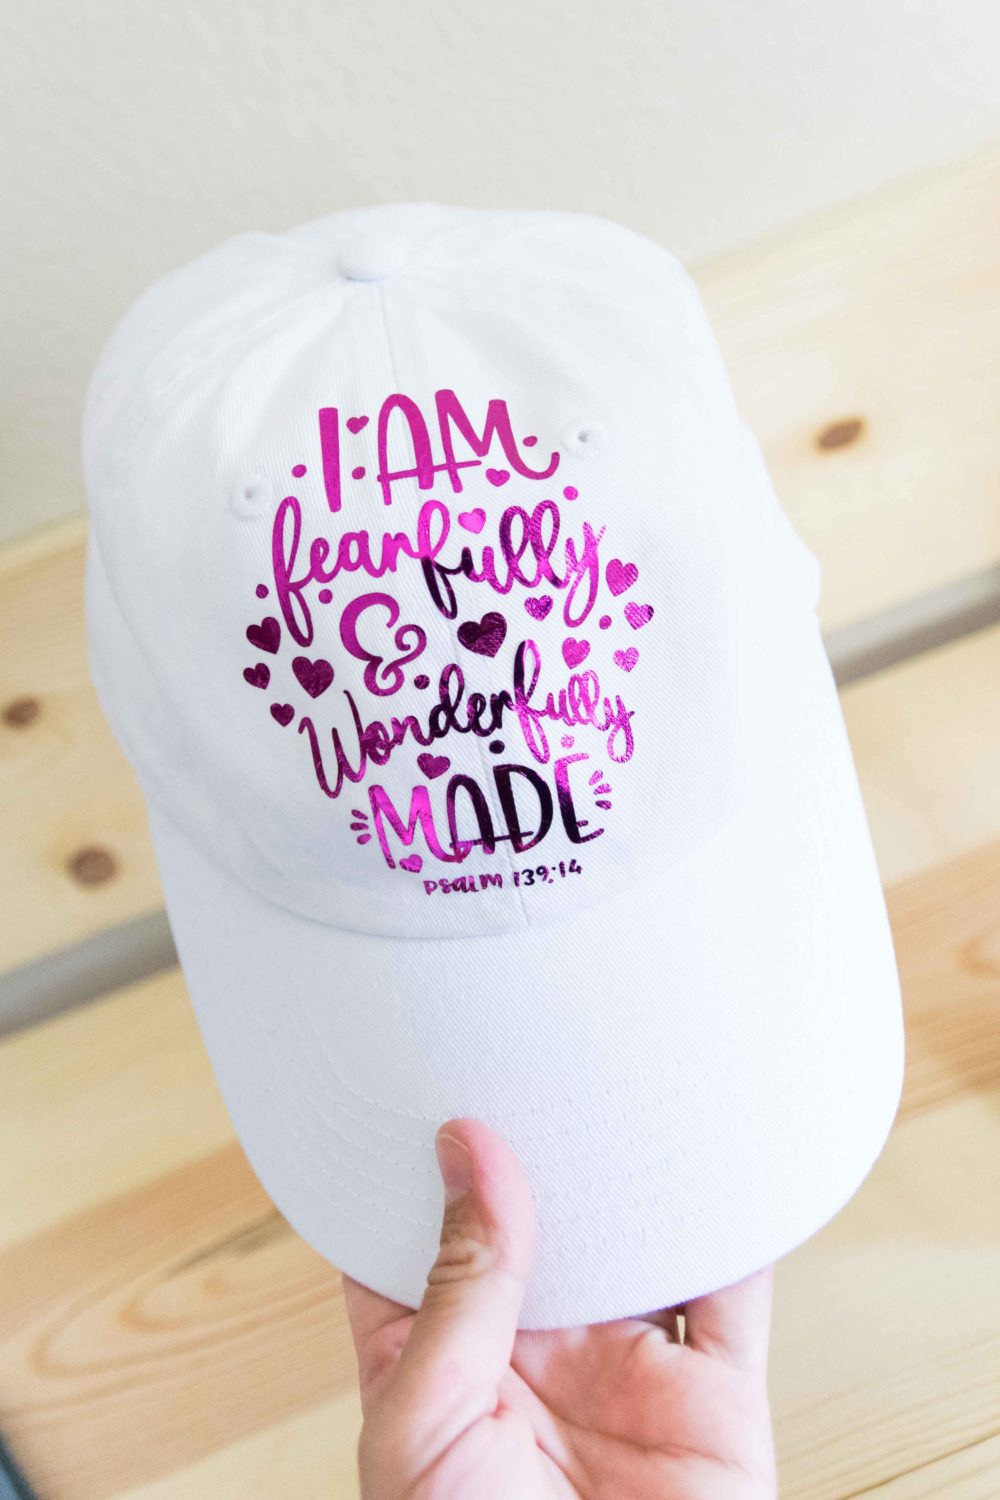
Using the Easypress Mini in a Hat
This is the final test to see if the Easypress Mini is worth it or not…
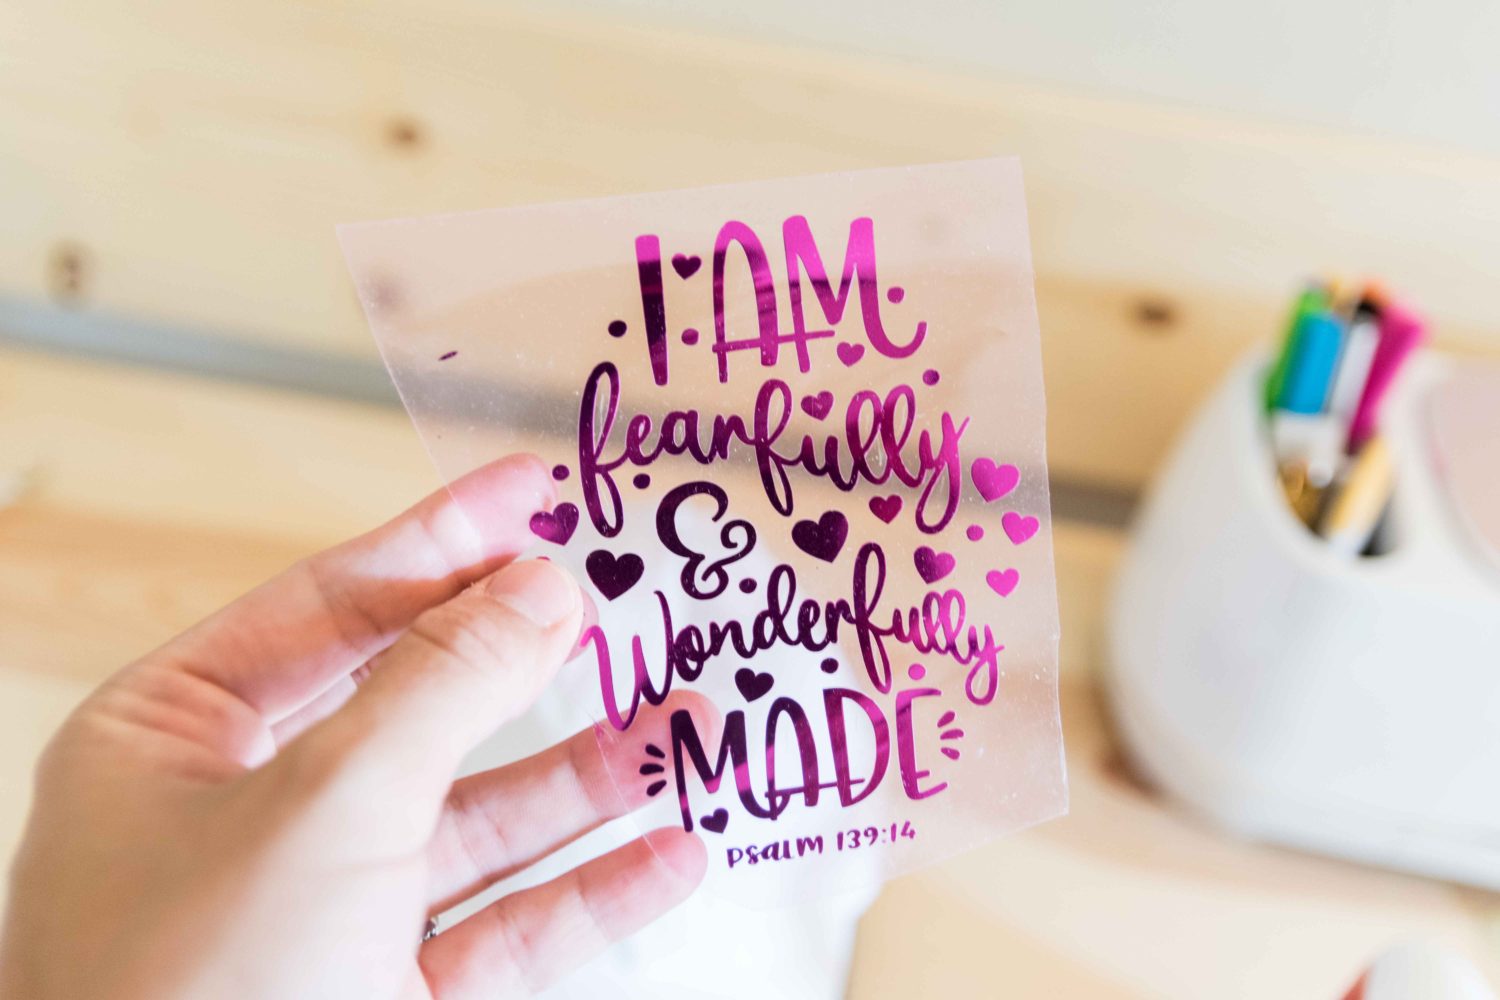
For this hat, I decided to use Foil Iron-On and place it in the middle of the hat (and seams).
Are you ready?
Materials
- Hat
- Easypress Mini
- Easypress Mat
- Foil Iron-On design
- Heat Resistant Tape
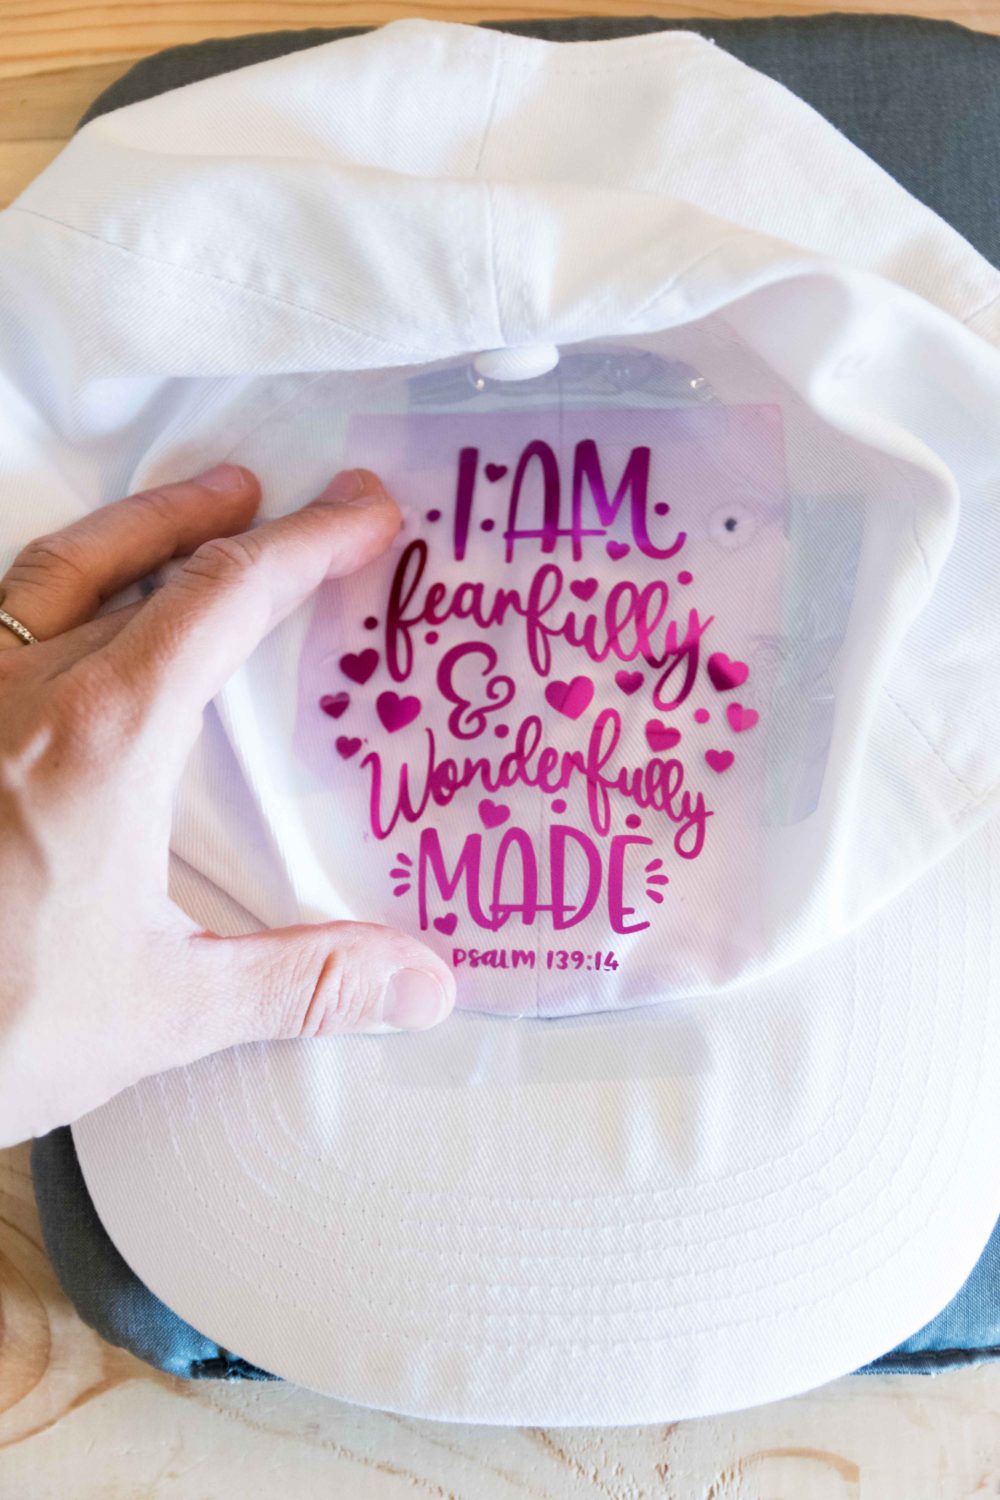
Step 1: Set Easypress Mini to low, and preheat your hat for about 5 seconds.
Step 2: Tape your design to the hat; it’s hard to tape it, but take your time and make sure that is it won’t move when you press it.
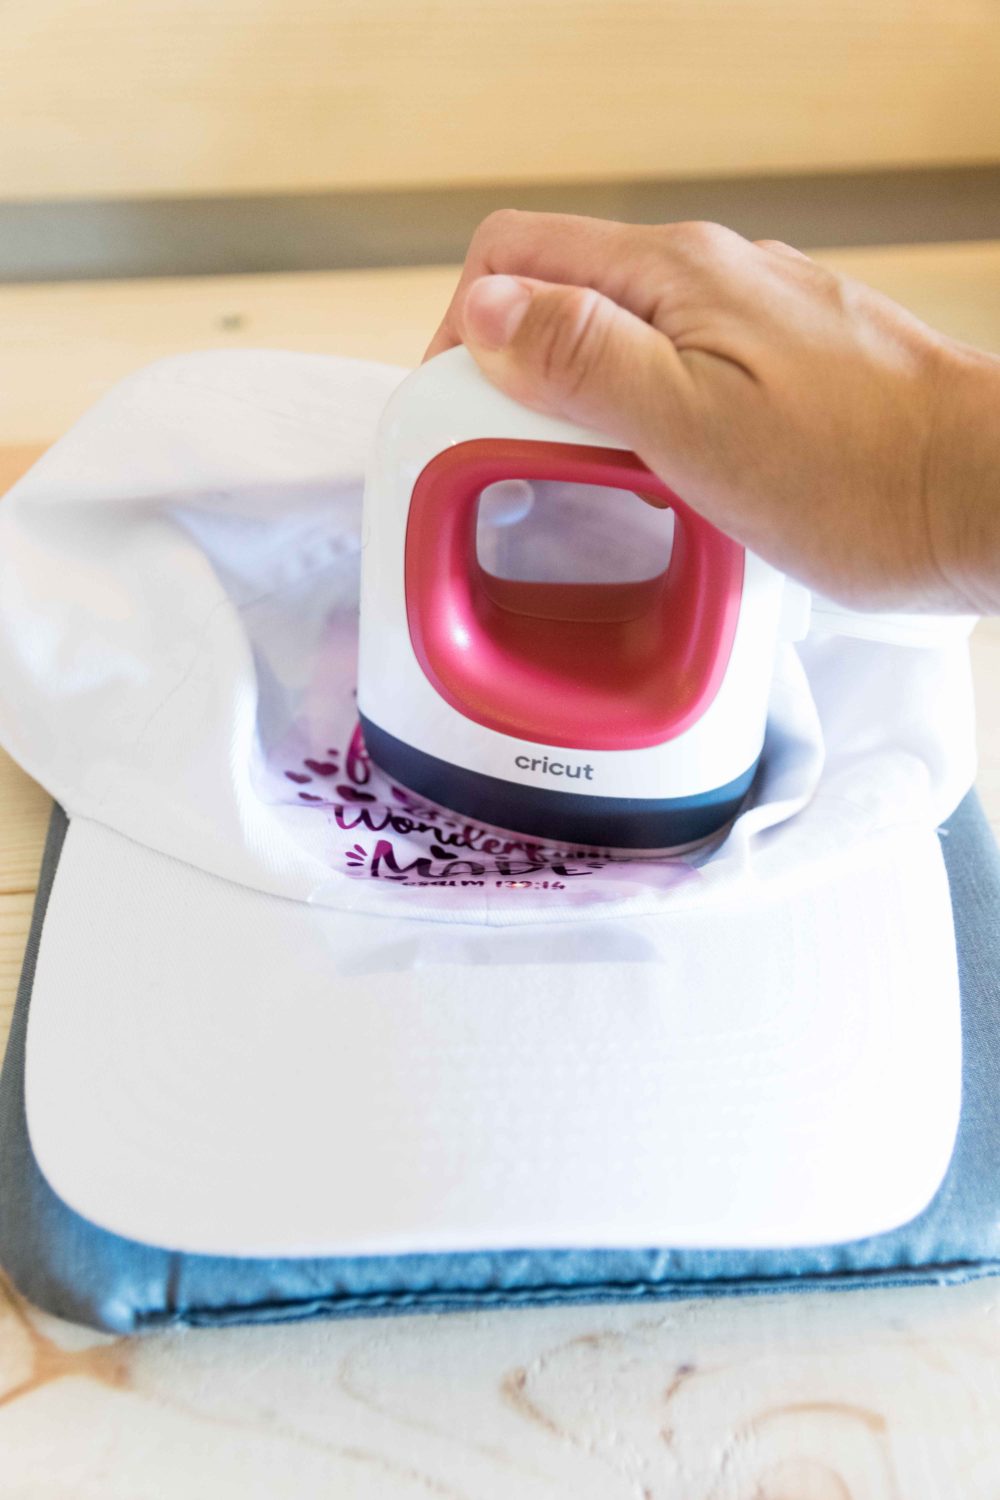
Step 5: With constant movement and light pressure, press your design for 25 seconds. Peel off the carrier sheet when the design cools off.
Tip: If your design is more significant than the EP Mini, focus on the top first, and then of the lower part.
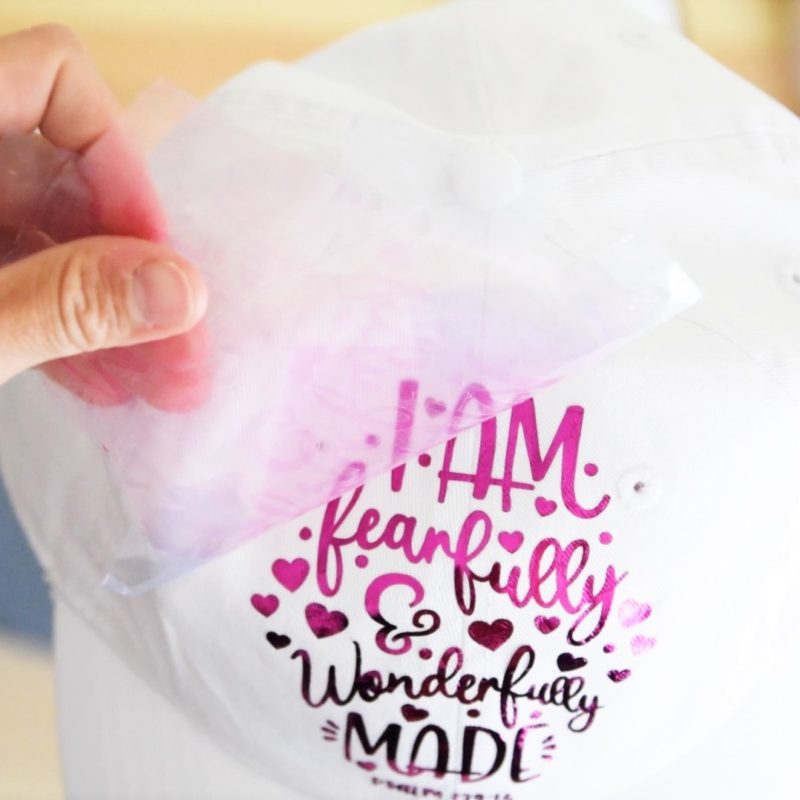
Doesn’t it look AWESOME?
Learning Experience…
Although this was the toughest project, it came so much easier for me because I had practiced with the t-shirt pocket and the baby shoes.
However, I noticed that some of the little intricate pieces of the design didn’t transfer right away. If your design has multiple pieces, take your time and go through all of the tiny parts.
Also, sometimes, the time will be more than the 25 seconds that Cricut recommends in the heat guide.
Pros & Cons of the Easypress Mini
Let’s conclude this article, and see some of the good and bad of the Easypress Mini.
The Pros
- Easy To Use: The use is very intuitive, and when you combine it with the heat guide, you can just have fun crafting and no worrying about the minutia.
- New Possibilities: Create projects that are pretty much impossible to make with the regular Easypress or a household iron.
- Safety First: Safety is essential to me, and at all times when I was manipulating the Easypress Mini, I felt very comfortable.
The Safety base is also a great addition because you need to put the device down while working on multiple projects. - Easy to Store: No matter how small your living and storing arrangements are, you can find a spot for this little tool!
- Fair Price: Honestly, for what you get I think Cricut has a reasonable price for the Easypress Mini. Especially when you compare it to other tools and materials like their mats, and blades.
The Cons
- Costly: Although I think the price of the EP Mini is fair when compared to other Mini Irons, it can be almost three times more expensive.
- Restricted Use: It’s designed to work with small projects. There’s is not a way to scale up the size of the projects. The EP Mini is a device you buy because of this feature.
As for me, the Easypress Mini is Daydream Into Reality Approved!
What do you think?
What are your thoughts about the Easypress Mini?
Do you have any questions? Let me know down below in the comments!
Hi! I saw some video of someone using it also for mugs, do you think it’s possible to use it for materials that are not made of textiles? Like for examples plastic? I’d like to personalize a Tupperware and the result with the vinyl is not really good, do you think it can be used this way too?
Thanks in advance for the reply!
I think the plastic won’t resist the heat and melt in some spots.
I love my mini press. I highly recommend it. I got mine last year for Christmas. I have used it more than my easy press. I hope they update the maker to make it easier for senior crafters. Especially those of us that are some what electronically challenged or intimidated
I love the mini. I have been using it to personalize the many masks that I have made for friends and family. It’s perfect for pressing the masks as well before I sew the layers together. So happy I had it as I started my mask making journey.
The EP mini is amazing! I love mine.
Thanks for your videos. I recently got the EP Mini.
Can you use it on cloth decals? I like them when I want a 3D effect.
Blessings,
Linda
Yes! I don’t see why not. It works like a mini Iron so you should be good!
I have decided to buy a mini. I already have 2. Easy presses. One I bought a year ago but bought another one because the first one is not hot enough for infusible ink which I love doing. I do not want to buy a cup press so guess I will try the mini for my mugs. I was thinking somewhere I saw where you could heat set in the oven. What about infusible ink a mug and Mini press would that work? Followed you for the last 2 years. I am a Christian too. Jean Culver
EP Mini for mugs and infusible ink I don’t recommend. EP Mini is not compatible with the ceramic coasters, and I am sure it won’t be compatible with mugs. I’ve seen tutorials of people using the oven with mugs and Inf Ink. That’s the way to go!
I hope this helps 🙂
Thanks Catalina, I am trying to get my head around all things Cricut to possibly start a small business. Can you wash the hat and the Tshirt in a washing machine or is it just hand washed. I am also a follower of Jesus. woo hoo xx
I wash everything on my washer. Basically you need to follow the rules of the fabric. However, check out the heat guide from Cricut if you have more questions.
God bless you!
Love your tutorial! Where did you get the T-shirt with the pocket from?
Amazon. Search for t-shirts with pockets. It’s one of the most popular ones.
Can you use the mini press for larger projects like a tshirt and just heat in sections??
You could, but It’s not efficient and you may overexpose certain areas of your projects more than you should. The EP Mini is meant to be for small projects, I large project will take you a long time to complete. You can use your regular iron or one of the bigger presses.
I have the ep mini too, as well as the medium size one. I don’t have to use the mini often but recently had to use it with the conjunction of my other one due to ironing htv on a wooden tray with sides.
Did you like it? I find my self using the mini a lot!
Thank you for your wonderfully informative article and great videos. I just bought the mini (for my birthday) and unpacked it today to put it on my new ironing station amidst unpacking other goodies in my newly remodeled sewing room. I look forward to more videos and articles in the future.
That’s awesome Trish! I am really happy for you 🙂
This was a very informative article ! Gave a lot of detailed information that helped me so much . Very much appreciated and easy to follow . Thanks so much !
You’re very welcome Julie!
I am glad I was able to help.
Would I be able to use this on ceramic mugs
I wouldn’t see why not. Make sure you have heat-protective gloves.
Does the Easypress Mini have the wonderful timer like the larger version? (The timer letting me know I’ve had the heat on there long enough)
I see that it has the temperature, base and handle that are similar to it’s big ‘sister’ but I really appreciate that timer function where I don’t need to count the seconds to leave the heat on (presets like the temp would work?).
How does the Mini handle that feature?
If not at all, any tips?
Thank you so much for this review – I’m very excited to watch your videos. I’ve really enjoyed your site.
Hi Dee!
There are no presets with the EP Mini; you can use a timer or count in your head as well. I’ve noticed that sometimes it takes longer than what the website says. This is my own experience, though!
I hope you have a good day!
I love your article, I actually stumbled upon your site while researching out the cricut mini lol.
I am very happy to hear you liked this article!
Could you use this on other surfaces such as a coffee mug or a wood plaque?
Yep! If using on ceramic mugs, make sure to protect your hands with heavy-duty heat-resistant gloves. The mug will get really hot!
Thank you for the review you posted. I have been curious how “real” users of this little gadget thought. It will definitely be on my wish list for Christmas. I am going to subscribe to your youtube. I really like how you went into some detail about the projects and why they did or didn’t have any issues with using it.
I agree with you, I don’t recommend something without trying it first, I am glad you can appreciate it! Happy to see you over on Youtube, good things are coming over there.