


Hello Daydreamers!
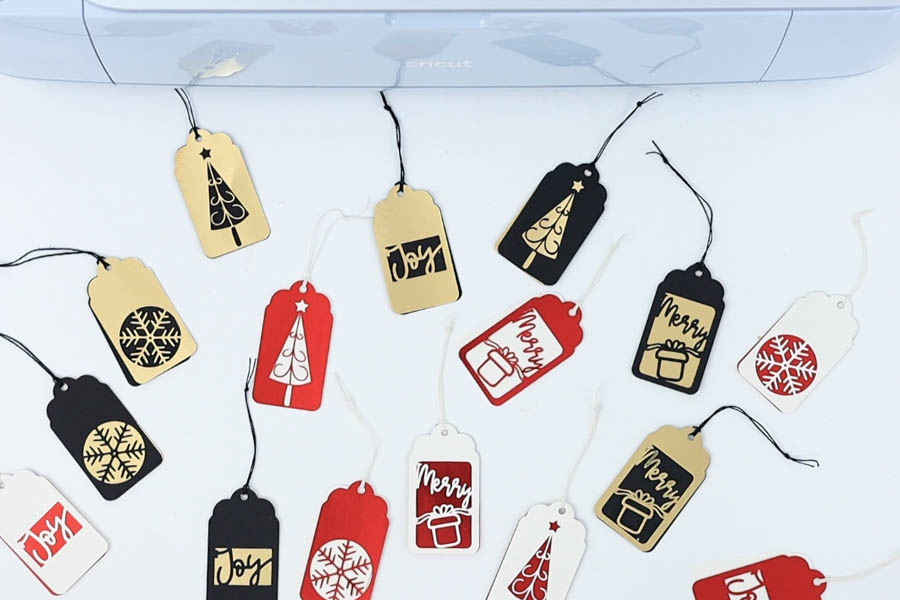
Christmas is just around the corner, and for those who like to prepare in advance, I have the perfect and easiest tutorial for making Christmas gift tags with your Cricut machine.
These gift tags are not only easy to make, elegant, and unique, but they’re compatible with all Cricut machines!
Check out this fantastic article, where I have 25+ Cricut Christmas Ideas, if you want to use your machine this holiday season!
Tip: This tutorial builds upon the skills I teach in every step. If you’re just starting with your machine, I suggest you read and follow each step.
Are you ready?
Let’s Daydream Into Reality!

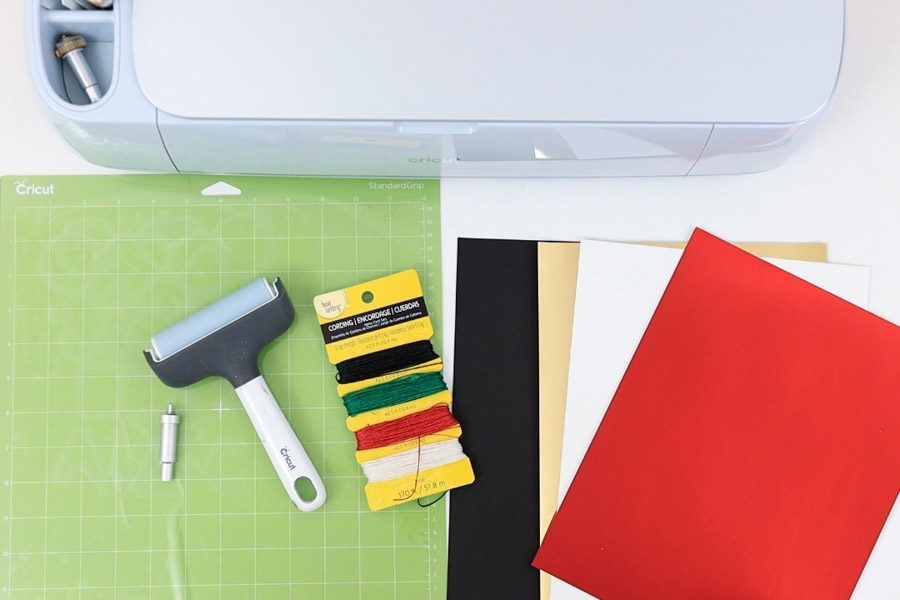
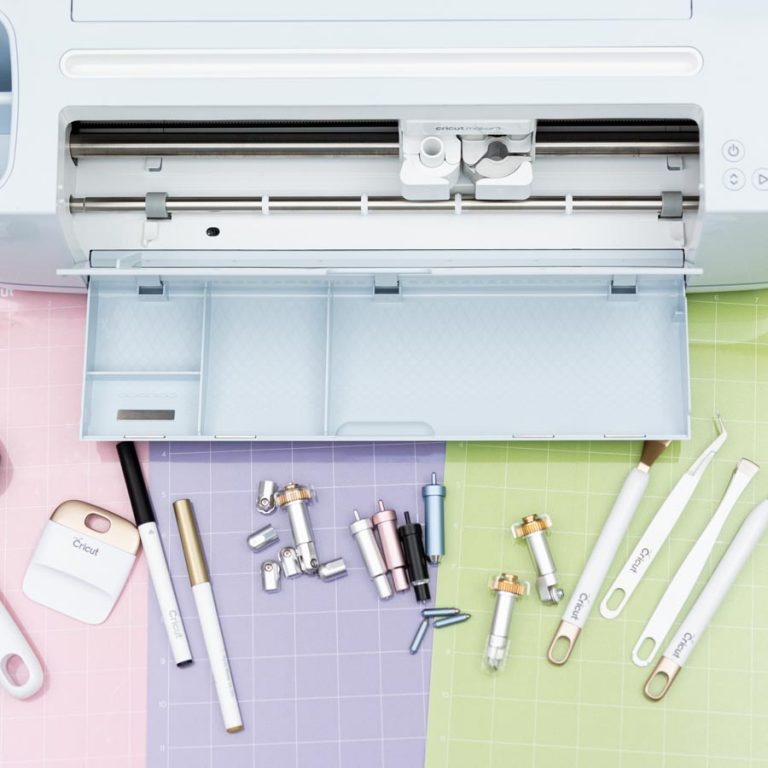
Tools & Materials
The tools and materials you need for this project are pretty simple, and you will most likely have them on hand.
- Cricut machine¹
- Fine point blade
- Standard green mat²
- Brayer³
- Weeder tool⁴
- Twine
- Beautiful paper⁵
- Free SVG (Download on the next section)
1. You can use any Cricut machine for this project. If you use a Cricut Joy, you’ll need the Joy mat and fine-point blade.
2. These gift tags have very intricate cuts; you don’t need a brand-new mat, but you want a mat sticky enough for the paper to stay in place.
3. The brayer is one of my favorite Cricut tools because it allows me to smooth out and stick my material on the mat. You can also use your hands or a scraper.
4. Sometimes, the intricate cuts will stay on the gift tags, so a weeder is necessary to help you get those stubborn cuts out.
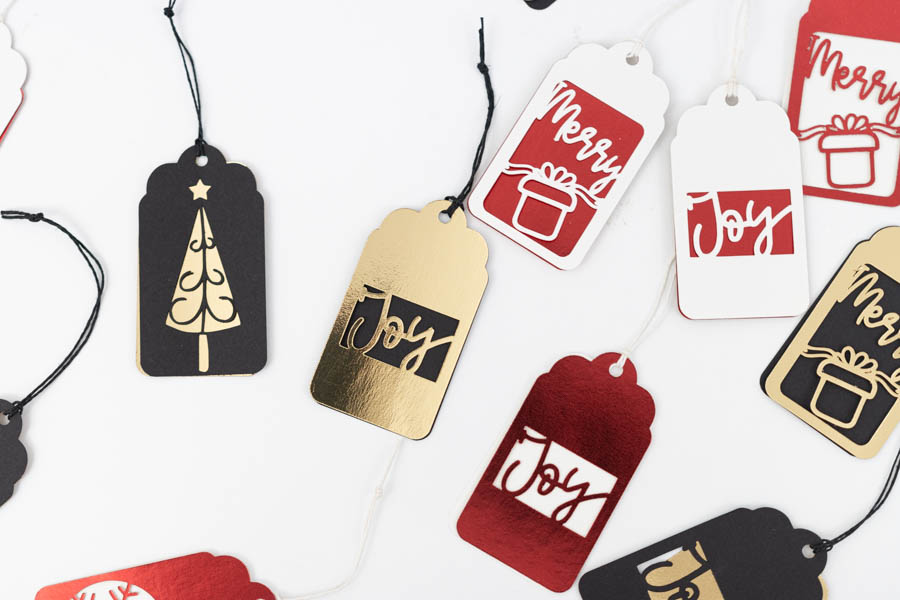
5. Ugly cheap paper equals ugly, cheap-looking gift tags. I use black, white, foil red, and foil gold cardstock.
I will match black with gold, red and white.
Buy Christmassy colors, and have fun matching them. Believe it or not, choosing the right paper combination can be one of the most time-consuming parts of a project.
Take your time, and be picky!
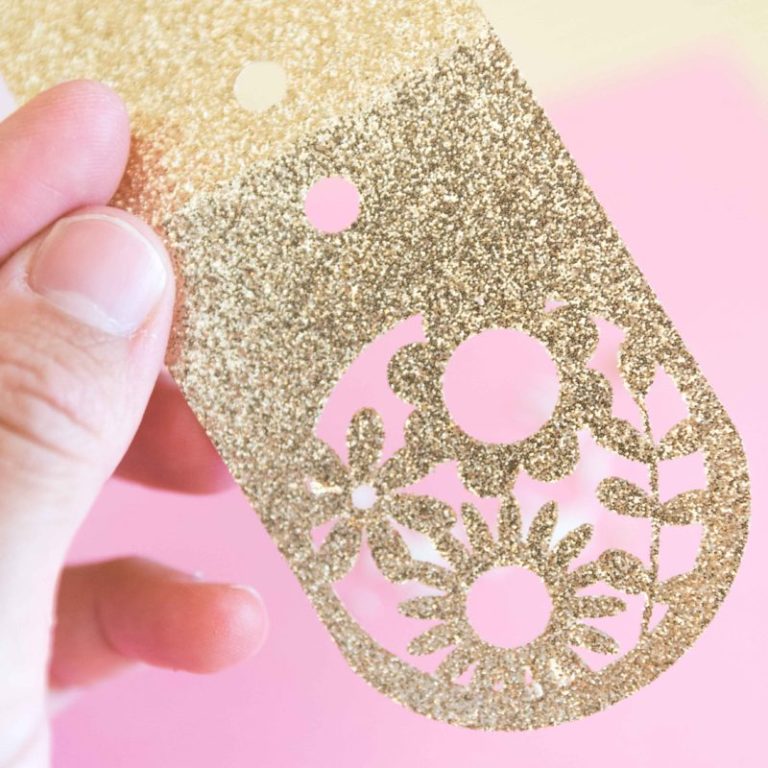
Note: Don’t use glitter cardstock for the front of the gift tags. The cuts are too intricate, and I don’t want you to be frustrated and damage your precious paper. You can use glitter cardstock for the back of the gift tags.
Free SVG Templates for Christmas Gift Tags
As I mentioned before, here is the template for this project.
To download the file(s), you need to be on a desktop or laptop and click on the button to trigger a download file on your PC. However, I’ve noticed that I can also download them from my iPhone.
Depending on your browser settings, your PC sometimes asks where to save the file, although most files will be in your download folder.
If the image opens in a new window (this may happen because of your browser settings), right-click on it, select the option “Save Image As,” and choose where you want to save the file.
SVG files look like web page files when you download them.

Oh!
Just so you know, I also have a library full of free SVG files and Printables for all my subscribers, a.k.a. Daydreamers. You can see a preview right here or get access by filling out this form.
If you’re into printables, I have 50+ Free Printable Christmas gift tags for you to use as well!
Youtube Video!
Coming soon!
Don’t forget to subscribe in the meantime!
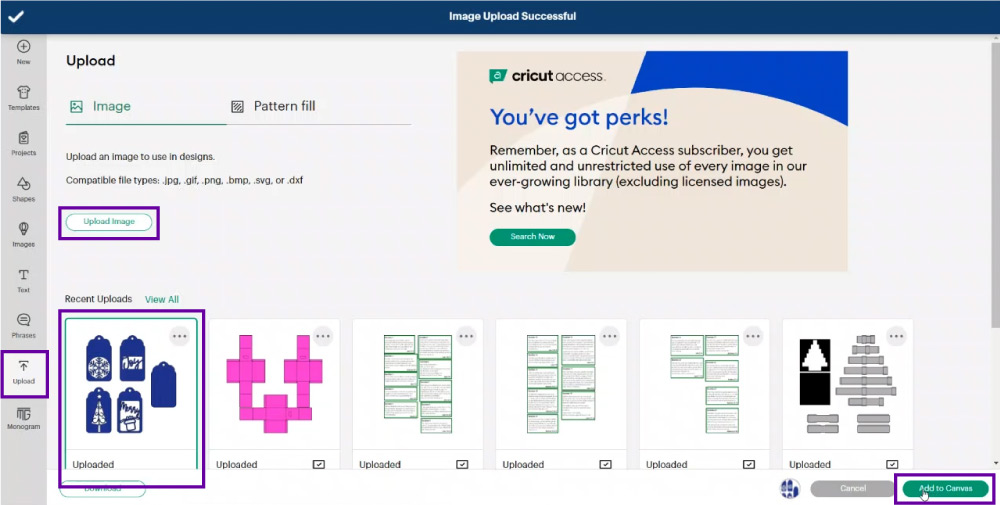
Step 1 – Upload File
Log in to Design Space, and once you download the Christmas gift tags, click on the “Upload” icon on the left panel of the canvas. Then, go to “Upload Image.” Follow the prompts, select the image from the “Recent Uploads” view, and click on “Add to Canvas.”
Step 2 – Organize File
Before cutting, we need to do a couple of things!
I want to make 16 gift tags in total, and I recommend you also make plenty of them. I mean, enough to make for each person you’ll give a present to at Christmas!
I will make eight tags in black and gold and another eight in white and red foil cardstock.
Let’s start with the black and gold gift tags.
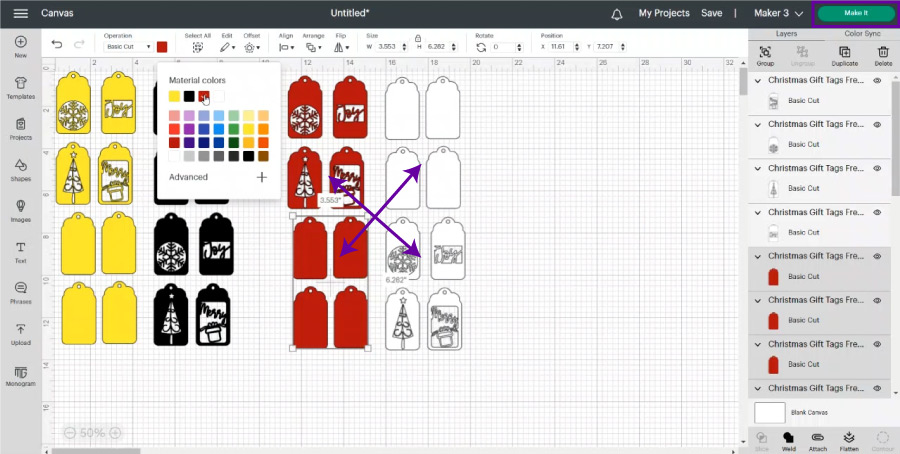
As you can see below, there are five gift tags, four of which have intricate cuts and another one that is solid.
I included the solid one for people who wanted to make gift tags with a background contrast. That’s how I made them, and I recommend you do the same.

Duplicate the solid tag until you have four copies.
Now, from the color box next to “Operation,” change the colors of the tags with intricate cuts to yellow (or the color you’re using) and the color of the solid tags to black.

I like to change the order of colors in my projects.
The first four tags are gold on the front and black on the back. I want my following four tags to be black on the front and gold on the back.
Go ahead and select the four solid tags and change the color to yellow. Then, repeat the same process with the gift tags with intricate colors, only this time changing the color to black.
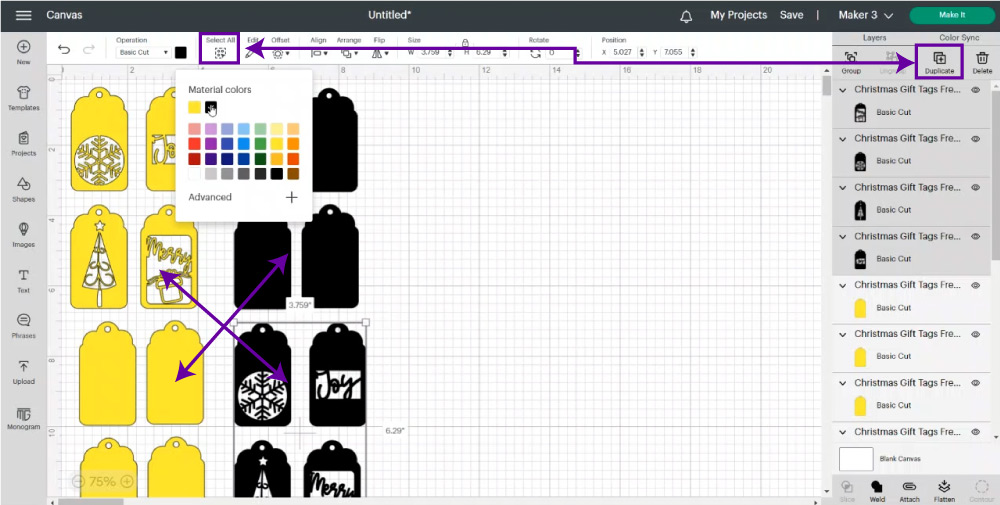
After you’re done changing colors, click on “Select All” on the top panel and either Ctrl(cmd)+C and Ctrl(cmd)+V or duplicate all the gift tags so we can work on the white and foil red ones.
Change the colors of the new tags, making sure one set of gift tags is red on the front, white on the back, and the other group is white on the front and red on the back.
Just like that, the organizing process is done!
Isn’t that super easy?
Save your project and click “Make it” in the upper-right corner to send it to your machine.
Step 3 – Send Gift Tags to Cricut
If you have a machine with a “Smart Set Dial,” move it to custom so you can follow along with this tutorial.
Depending on the Cricut you own, you’ll have different options to load your materials. Click “On Mat” 12×12 in and click on “Confirm.”
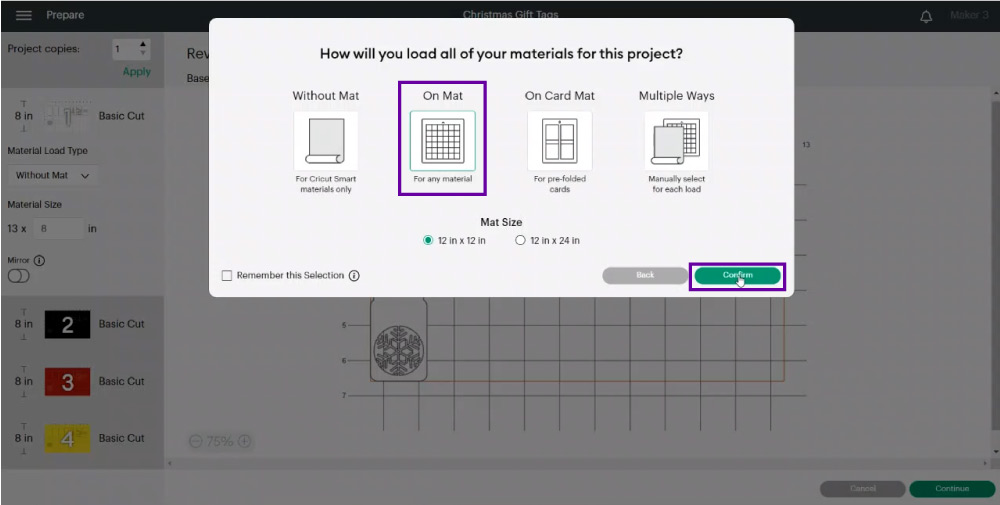
As you can see, we have four different mats, so we’ll have to prepare them, load them, and unload them four times!
Don’t worry, though; this project goes super fast!
If you’re using 12″ x 12″ paper, you don’t need to do anything for the following step. I used letter-sized paper; therefore, I had to move my gift tags so they would fit my paper.
This process has to be done with every single mat color!
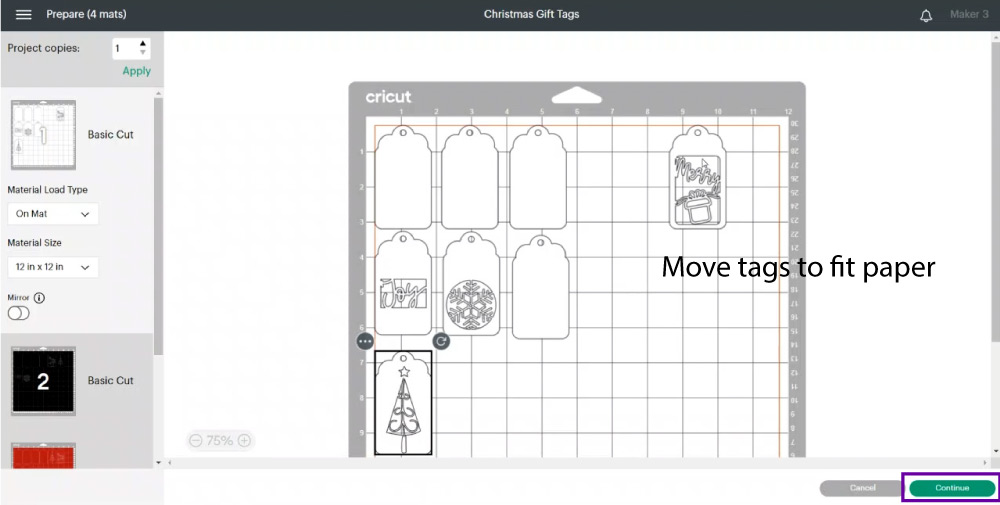
Click on “Continue” to select materials.
Step 4 – Select Material
Although I am using two different types of cardstock (matte and foil), they’re both around the same thickness; therefore, I picked “Medium Cardstock – 80 lb” as my base material. I also set the pressure to “More” and checked the “Remember material settings” box.
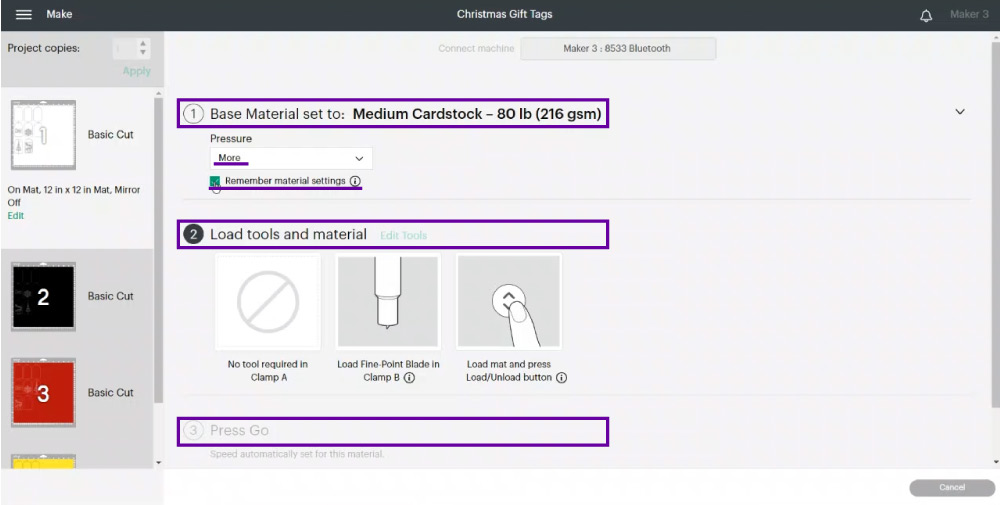
Be careful when checking or leaving un-checked materials settings.
I have noticed that Cricut doesn’t pick up the request with older machines. So, as a good practice, if you’re using different materials, check your settings before cutting.
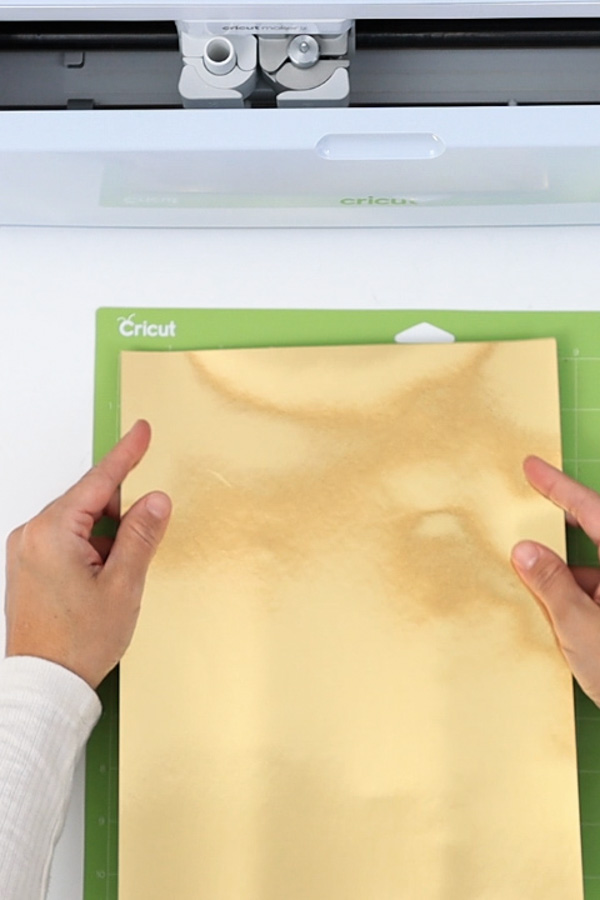
Step 5 – Prepare Mat and Start Cut
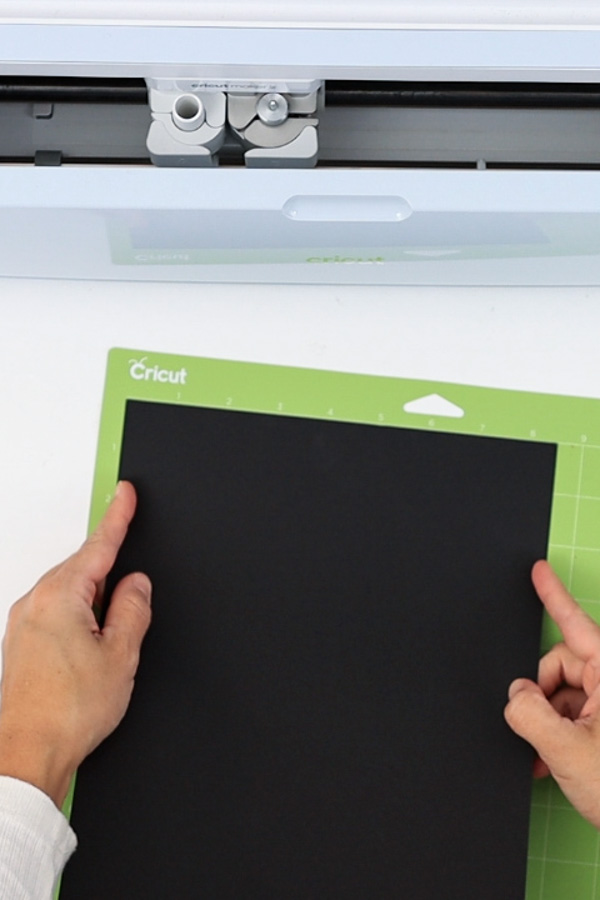
Place the paper on the mat and secure it with a brayer (optional). This cut has tiny details, so the mat must be very sticky, and the paper must be well adhered to.
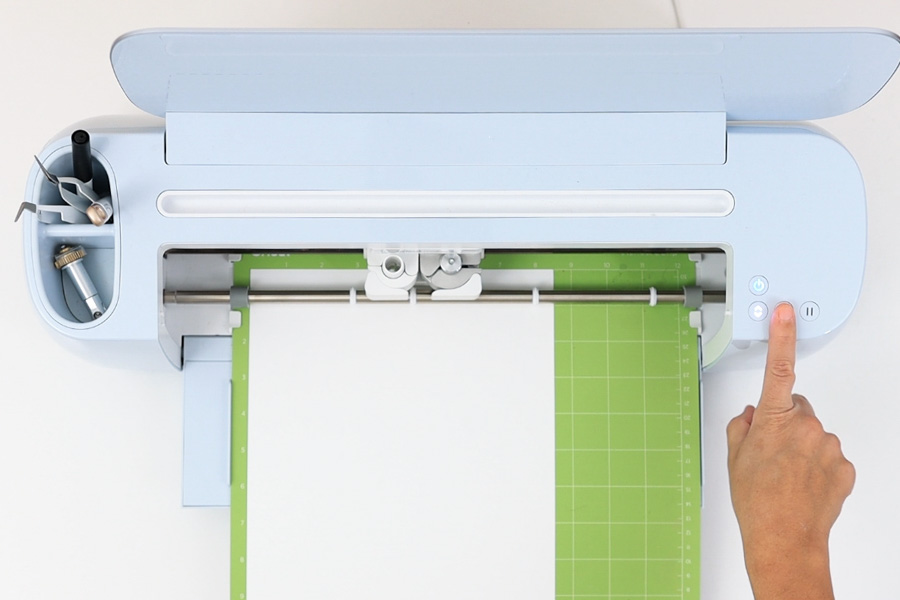
Load the mat to the machine and press the flashing go button to start the cut.

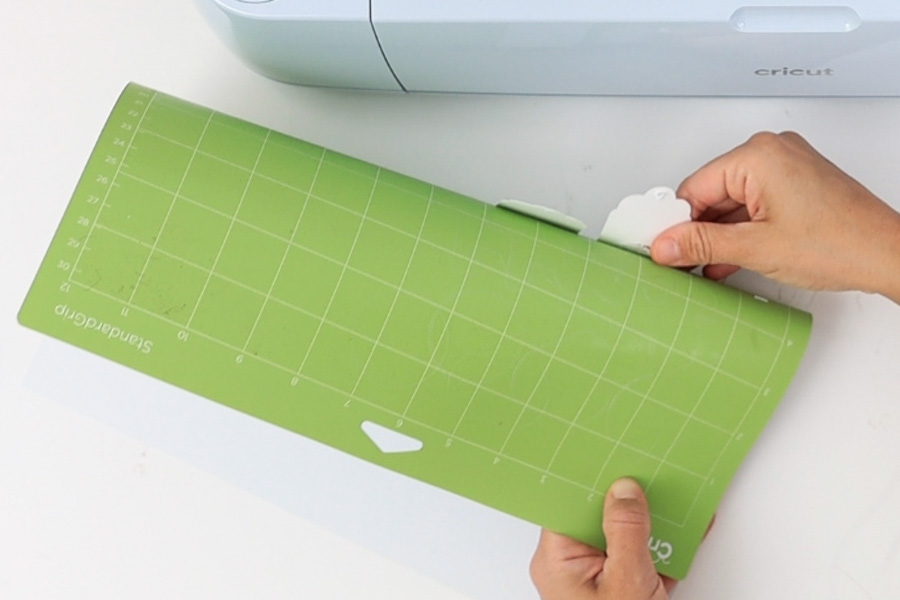
Once the Cricut is done cutting, unload the mat and bend it to release the pieces. This project has intricate cuts that can break if you rush to get things off the mat.
Step 6 – Cut the Rest of the Gift Tags
After cutting the first set of gift tags, Cricut will prompt you to cut the next mat. Repeat all the other cuts until you’re done cutting all four mats
I noticed that some of the intricate cuts stayed on the gift tags. Use a weeder tool to help you remove those bits of paper.
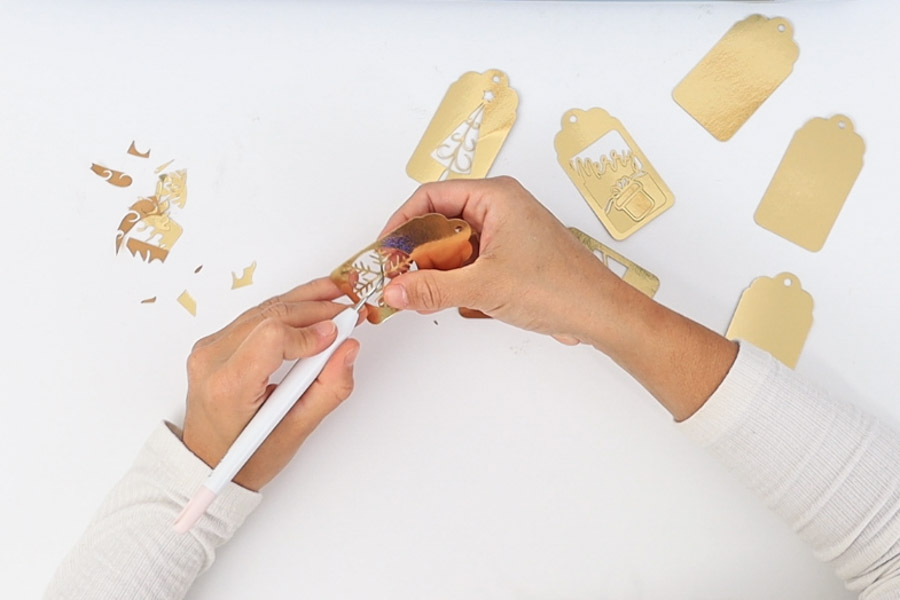
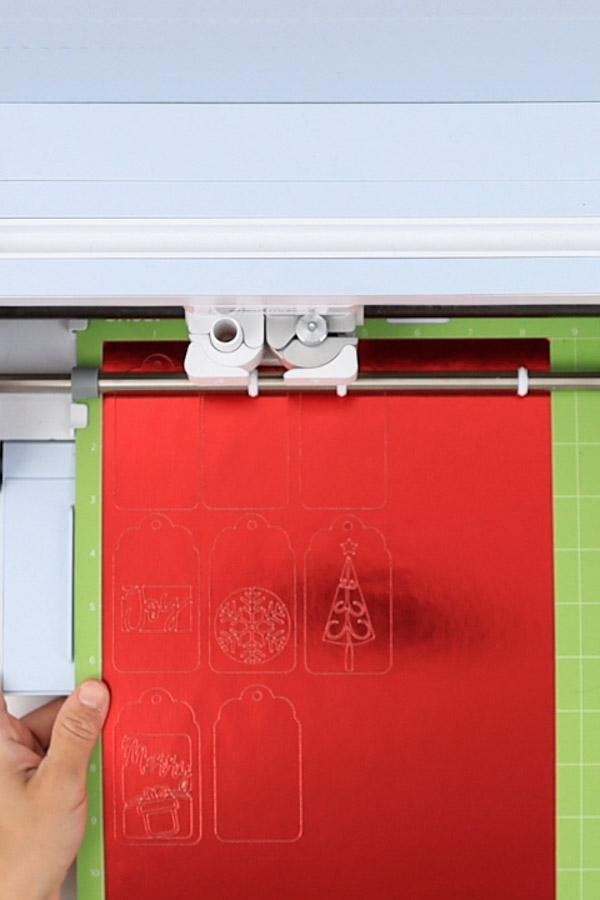
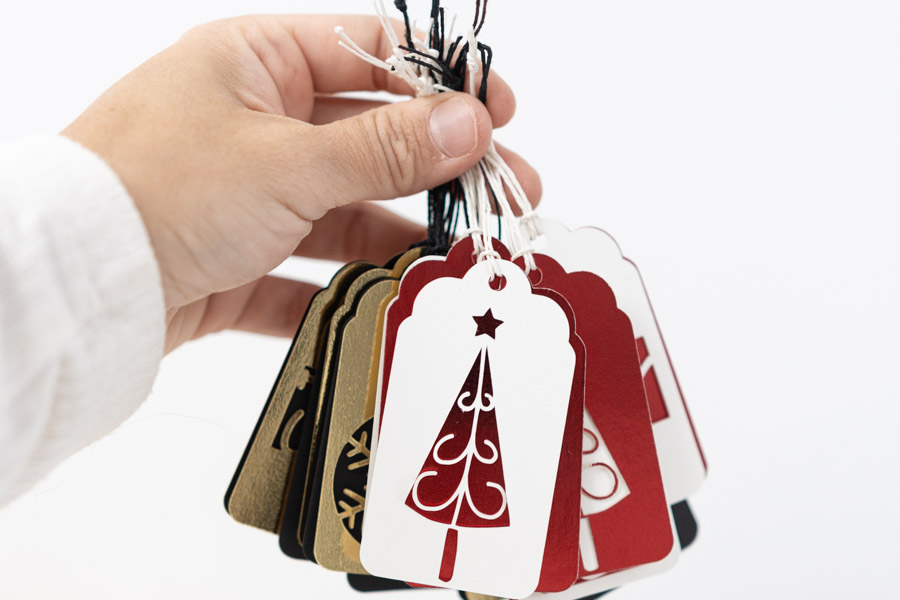
You’re done cutting your gift tags!
Don’t they look beautiful just like that? Wait until they’re assembled so you can see how stunning they will look!
Step 7 – Assemble Gift Tags
Assembling the gift talks is super easy!
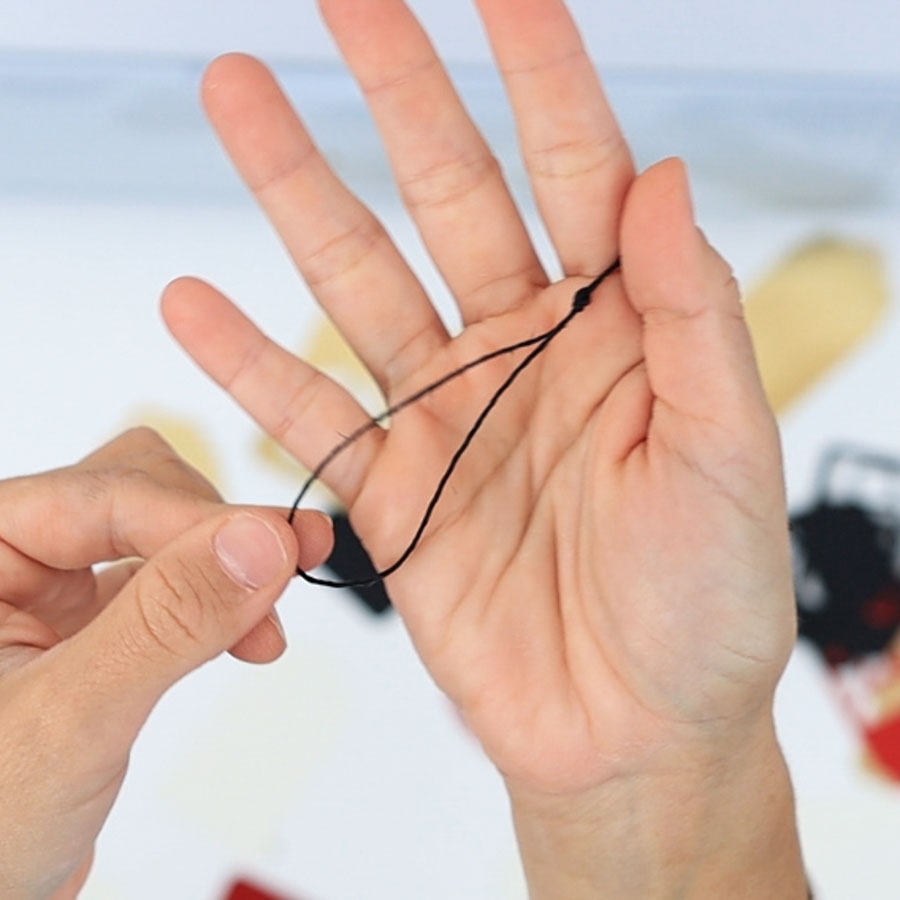
- Cut a small twine string – about 6.5 inches and make a small knot.
- Grab your gift tag pieces, intricate top, and solid bottom, and insert the twine (knot forward) from the back.
- Grab the twine from the front and insert it into the loop.
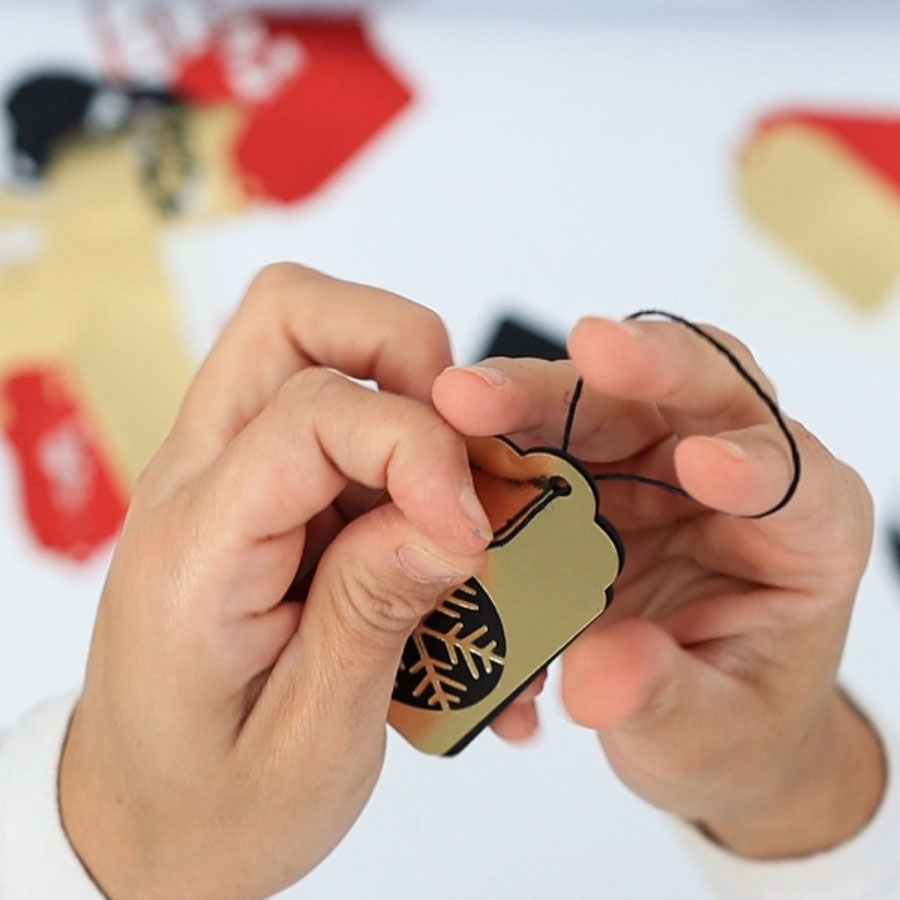
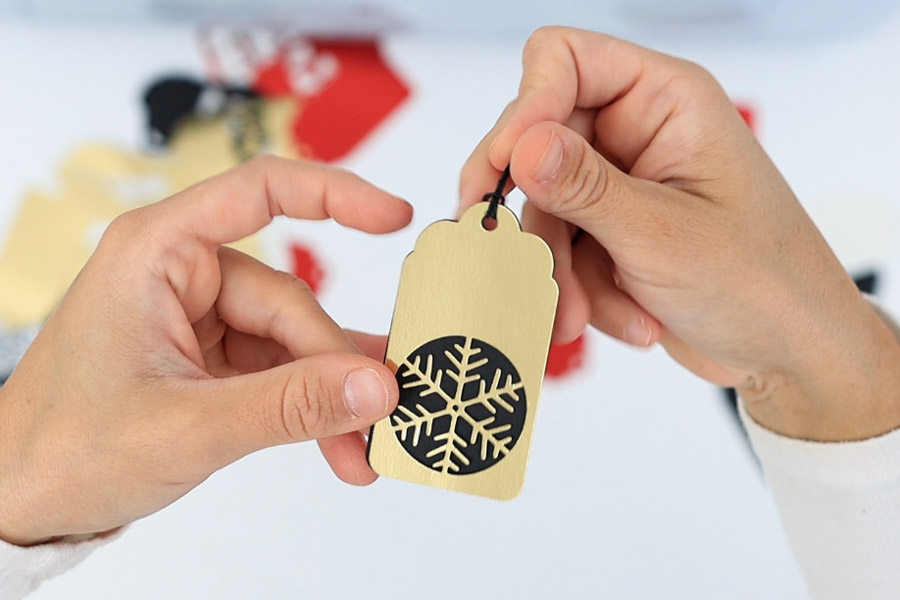
That’s it!
I mean, it can’t get easier than that!
I just explained how to do the gift tag; however, I like to work in bulk!
For instance:
- Cut all the gif tags (done)
- Cut all the twine into 6.5 inches of strings
- Tie all knots.
- Assemble all gift tags.
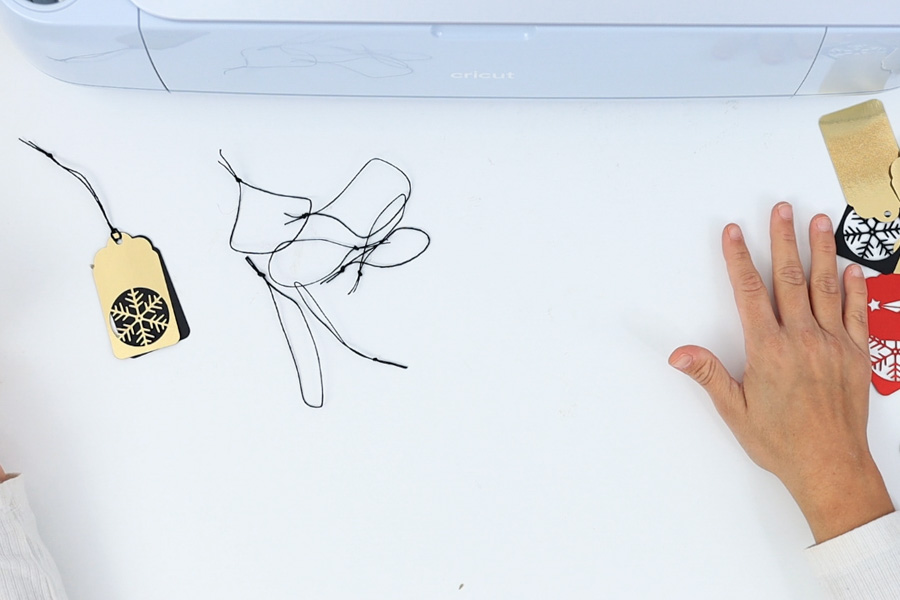
When you work in bulk, things go way faster!
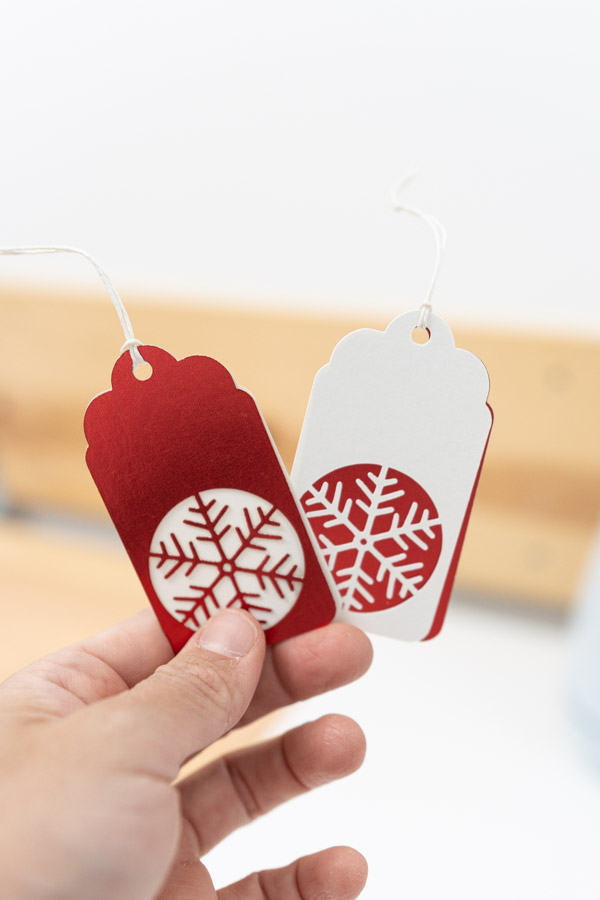
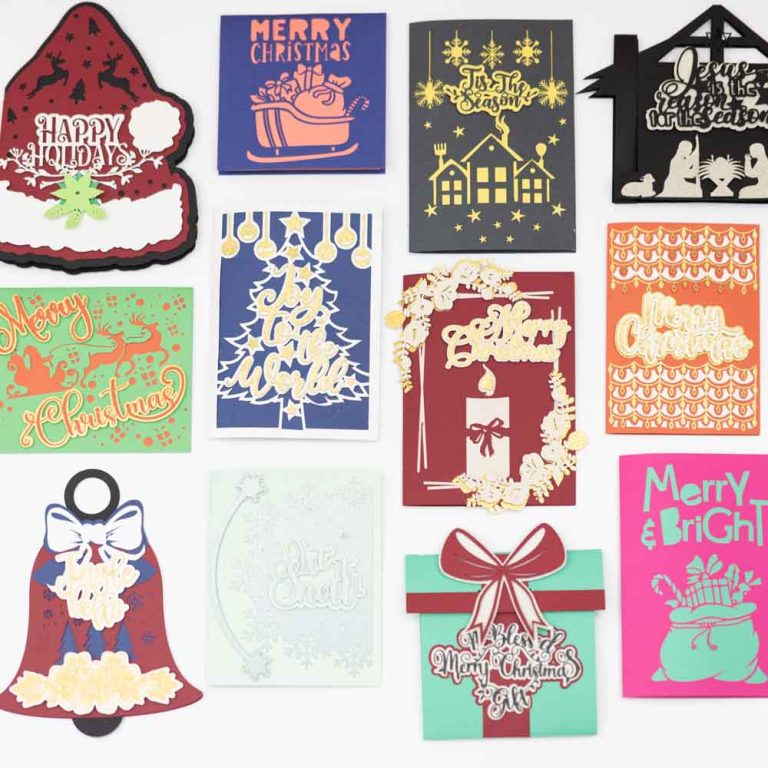
And we’re all done!
Don’t they look super lovely?
Which one is your favorite one?
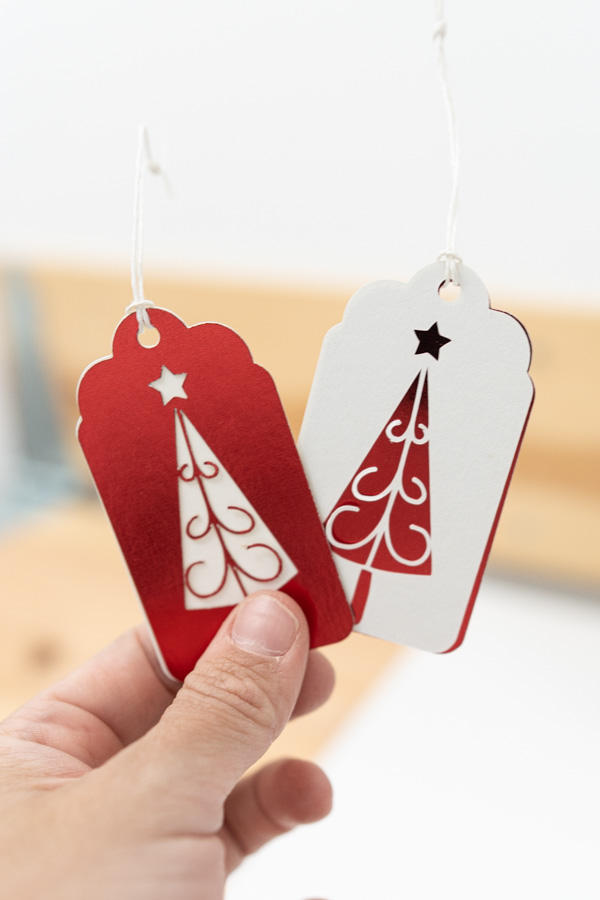
My favorite is the tree gift tag with the white cardstock on top!
I thought the foil paper ones on top would be better, but the matte paper on top of the gift tags was out of this world!
That’s why I recommend mixing and matching the same colors.
Although there are only four different designs, when you use different colors and mix and match them, you suddenly have 16 unique gift tags.
Isn’t that awesome?
Gotta love Cricut for making such a fantastic machine!
Share it!
Do you know it takes me over 25 hours to complete a single Cricut article? I know it’s wild, but I want to make sure you understand everything!
I would appreciate your support on Instagram , Pinterest , and YouTube as I try to grow my audience and continue producing great content!

