Hello Daydreamers!
In today’s article, I will teach you how to personalize and make adorable baby suits with your Cricut Machine. You can use any of the Cricut machines (Maker, Explore, & Joy).
There are so many ideas that will empower you to make tons of baby clothes. Plus, I also include 50+ Free Baby SVG files all in this article.
Today I am going to teach you how to personalize baby clothes using two different techniques.
- Make bodysuits with Iron-On and Gerber Onesies®.
- Personalize baby bodysuits using Cricut’s baby bodysuits and infusible ink.
Tip: This tutorial builds upon the skills I teach in every step. If you’re just starting with your machine, I suggest you read and follow each step.
This article is full of golden nuggets, and since I don’t want you to get lost, here’s a quick overview of what you’re going to learn.
- Onesies using Iron-On
- Materials
- Cricut Design Space steps
- Transfer with Easypress or and household iron
- Care
- Bodysuits using Infusible ink
- Materials
- Cricut Design Space steps
- Transfer process
- Care
- Free SVG Files
- More ideas for making baby clothes
Are you ready?
Let’s Daydream Into Reality!
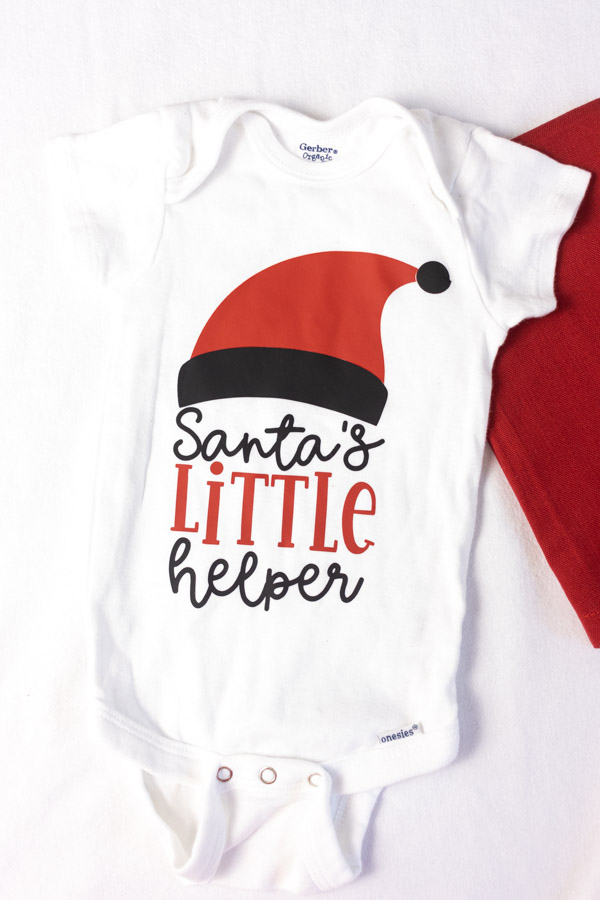
DIY Onesies with your Cricut using Iron-On
Making onesies with iron-on is my way to go because it transfers beautifully on 100% cotton materials, plus can we agree that cotton is one the comfiest materials one can wear?
I want my baby to be comfy!
Materials
Tools/Accessories
- Cricut – Maker, Explorer, Joy
- Fine Point Blade
- Standard Grip Mat (green mat)
- Brayer/Scraper
- Practice file (download below)
- Weeder
- Easypress/household iron
- Easypress mat/towel
The rest of the files are at the end of this tutorial with instructions of how to save to your PC/Laptop.
Materials
- Baby Onesie*
- Iron-On**
- Parchment paper (when using an iron)

* Gerber has beautiful and comfy onesies®, although I used plain white bodysuits, I recommend you buy different colors and patterns to make something different and unique.
Also, did you know that the term “Onesie®” belongs to Gerber® only? So, whenever I say “Onesie” in this article is to reference them, and if I say “Baby bodysuit,” it’s to reference other brands.
Other companies like Hanes®, Carter’s®, Cloud Island™, and HB® also have beautiful baby bodysuits. They are all 100% cotton as well.
Look beyond a plain white blank!
Also, something to keep in mind and is worth mentioning is that Cricut recommends you prewash your items without any fabric softener before you press them.
I always try to wash them because cotton shrinks a lot after using a dryer, and, in my opinion, the design looks a little funky. Some people say they don’t have any issues if you don’t wash beforehand as well; so it’s up to you to test this to see what you’re happy with
** Experiment with different types and colors of iron-on. There are so many options I am sure you’ll love!
Step 1 – Upload and Organize file in Design Space
Create a new project in Cricut Design Space, then upload the first practice file (you can download it from the materials list or the end of this tutorial) by clicking on the “Upload” icon and then on “Upload Image.”

Follow the prompts, and select the file from the “Recently uploaded images” then click on “Insert Images.”
As you can see, on the Layers Panel, the design is in multiple layers. Before we move forward, we need to clean up this file. Select it on the canvas area and click on “Weld,” located at the Layers panel’s bottom.

One of the most useful things in Design Space is “Templates.” This option will take so much pressure off your shoulders, and it will give you the peace of mind to know how my design will look on your onesie.
Here is how you do it!
If you have more doubts about templates, make sure to read my complete guide on how to use them.
Click on the “Templates” icon and search for the surface you want to use. For example, I typed in “pajama” to know how much I should resize my design. To resize the file, select and drag it by the bottom-right corner until it fits the template. Keep in mind the cutting limits of your machine.
If you don’t trust the template size because there are many brands, and you want to make sure you size your project 100% correct, you can also change the measurement of your design from the top menu.

Important: For Cricut Joy, and if using smart iron-on, your design can’t be larger than 4.5 inches wide and 4 feet long. If using Cricut Mat, the size can’t be larger than 4.25 inches x 6.25 (small mat) or 4.25 inches x 11.75 (large mat).
Step 2 – Cutting Process in Design Space
Every time we use iron-on vinyl, we need to turn mirror-on. Otherwise, your design will look backward after your transfer.
For Cricut Joy select Cut without a mat if using smart materials, or cut on mat if using regular iron-on.

Click on continue to select materials.
If you have an Explore machine, move the smart set dial to custom, and select material from Design Space. For the Cricut Maker and Joy, always select your material from Design Space.

Tip: If you have a Cricut Explore machine, always leave the Smart Set Dial of your machine on “Custom.” Even if you’re cutting iron-on or paper, there are so many types of materials that I can’t tell you enough how many I’ve ruined because I forgot to change the settings.
Step 3 – Prep Mat, Cut & Weed
It’s time to prep the Cricut mat and cut!
Place iron-on on mat pretty or shiny side down (Very important). Use a brayer or scraper to get rid of bubbles.
Load mat to your machine and press the flashing go button to start the cut. For Cricut Joy, start the cut from Design Space.


This design has tiny spaces, and it’s time-consuming, so I recommend you weed from the mat so the vinyl stays in place. My hand hurt at the end. Also, I wouldn’t make this shirt in newborn size. It would be nearly impossible.
Check out this guide how to use Iron-On to perfection!
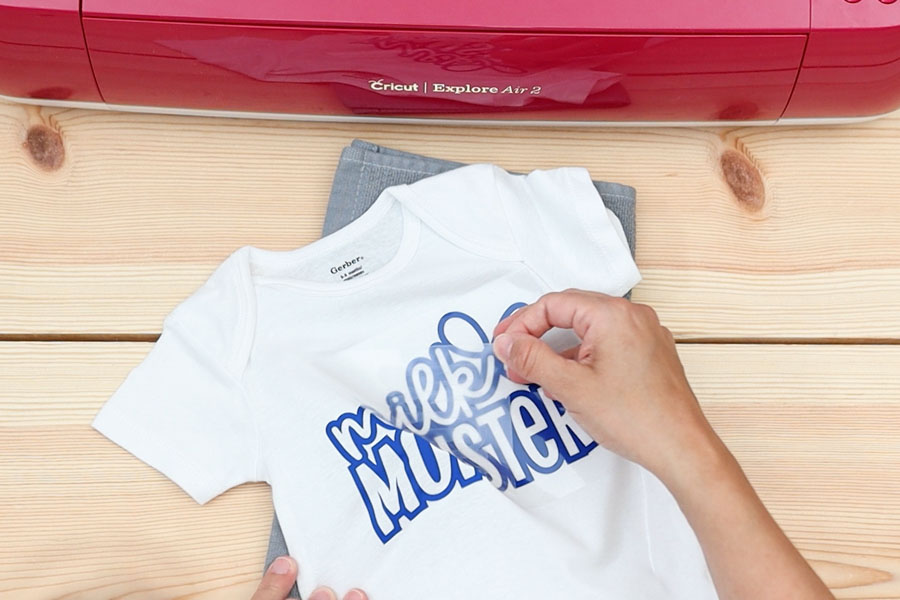
Step 4 – Transfer Design to Onesie using Easypress
Once you weed, bend your mat to release your design from it.
Now let’s transfer.
The type of vinyl I am using for this project is everyday iron-on and, and Cricut recommends setting the Easypress to 315°F for 30 seconds.


If you are using other types of HTV, check out the instructions for that particular brand, or if using different types of iron-on from Cricut, check out their heat guide.
- Place Onesie on top of the Easypress mat or towel.
- Preheat it for about 5 seconds to get rid of any moisture.
- Place weeded design on top of the bodysuit avoiding any seams.
- Place easypress on top of the design and press for 30 seconds.
- Peel carriers sheet when warm to the touch.

Step 5 – Transfer Design to Onesie using household Iron
An Easypress can be quite expensive, especially after you just invested in a machine, tools, materials, etc.

Does that mean that you have to give up making baby clothes using iron-on? Absolutely not! Here’s an example of another design, but this time I’ll teach you how to use a household iron.


- Preheat your iron (My iron goes from 1 to 6, I set it at 5).
- Place a folded towel underneath the onesie.
- Preheat it for about five seconds.
- Place design on to of the bodysuit avoiding any seams.


- Cover design with parchment paper to protect your Onesie. Usually, you will require more heat presses with the regular Iron, and it may get burned spots.
- I like to press all parts of the design in order, so I know every part of the HTV will receive heat. I usually do four presses, each one of them for about 25 seconds.
- 1st press: Vertically on the left side of the design
- 2nd press: Vertically on the right side of the design
- 3rd press: Horizontally on the top of the design
- 4th press: Horizontally on the bottom of the design
- Turn around the Onesie and medium press the back of it (with the parchment paper on top) for about 30 seconds.
- Wait until the design has cooled off enough, but peel it off while still warm to the touch.
Care
Wait at least 24 hours before you wash your brand new bodysuit.
Cricut advises you to wash and dry inside out. But, I follow the garment washing and drying instructions of the base Onesie or bodysuit I used.
DIY Baby Bodysuits with Cricut Infusible Ink
Cricut Infusible Ink is another great way to personalize baby bodysuits!
I will be honest, though. I am not a huge fan of wearing polyester, it makes me hot, and I wouldn’t say I like how it feels against my skin. Therefore I am hesitant to make them for my baby. This is not true for all polyester shirts, though.
Some are more comfy than other ones, but I am picky like that.
Oops!
Nonetheless, if you don’t mind or notice the difference, the baby bodysuits you can make are vibrant and peel proof!
My job is to teach you how to do it, regardless of my likes and dislikes, right?
Materials
Tools/Accessories
- Cricut – Maker, Explorer, Joy
- Fine Point Blade
- Standard Grip Mat (green mat)
- Brayer/Scraper
- Easypress
- Easypress Mat
- Practice file (download below)
Materials
- Baby bodysuits at least 80% polyester count white or pastel colors. I used Cricut’s baby blanks.
- Infusible Ink Transfer sheets
- Lint roller
- Butcher paper (it comes with the transfer sheet).
- White cardstock

Step 1 – Upload & Organize file in Design Space
The steps on Design Space are the same, except when choosing the material, so I won’t cover them in full because I don’t want to be repetitive.
Upload the practice file and weld elements to have everything in a single layer. Finally, resize using the “Templates” tool or just measuring the space on the physical baby bodysuit.
Important: If you have a Cricut Joy, the max size for your design is 4.25 inches x 6.25 inches when using a small mat or 4.25 inches x 11.75 inches when using a large mat.

When you are ready to cut, click on “Make it.”
Step 2 – Cutting Process in Cricut Design Space
On the mat preview, make sure to turn the mirror on. If you don’t do this, your design will look backwards!
If you have a Cricut Joy select “Cut on Mat.”

Click on continue to select materials.
If you have an Explore machine, move the dial to custom and click on “Browse all Materials” from Cricut Design Space to search for infusible ink.
For the Joy and the Maker, click on “Browse all Materials.” and select Infusible Ink transfer sheets.

Step 3 – Prep Mat, Cut & Weed
Before touching the infusible ink transfer sheet, please wash your hands with soap and water and dry them thoroughly. If your hands have water residue, sweat, or hand lotion, the ink on the sheet will get damaged!
Once you have impeccable hands, place the transfer sheet on a green mat, and with a brayer or your hand, make sure the material has fully adhered to the mat (No bubbles).
With fine point blade installed, load mat to Cricut and press the flashing go button to start cutting.
When the cut is finalized, unload the mat and bend it to release the infusible ink sheet.


Trim your design from the infusible ink sheet and weed. Weeding infusible ink is quite easy; you don’t need special tools, your (clean) hands are enough.


Step 4 – Transfer Infusible Ink to Baby Bodysuit.
Infusible ink is quite sensitive, and for it to work you need to have an Easypress (1 or 2), a regular household iron won’t work.
- If you have the first Easypress, set it to 360° F and 120 seconds.
- If you have Easypress 2, set it to 385° – 400° F and 40 seconds.

A. B. 
C.


A: Place card stock inside the baby bodysuit to prevent bleeding.
B: Pass a lint roller over the bodysuit to remove any loose lint or dust from it.
C: Place butcher paper on top and preheat Baby Bodysuit for 15 seconds to get rid of any moisture.
D. E. F.


D: Place the design face down, liner side up and use heat-resistant tape to secure it. Cricut doesn’t require when using transfer sheets but I do. Infusible Ink is so easy to mess up.
E: Cover with clean butcher paper (larger than heat plate) and press for 40 seconds. (120 if you have the EP 1).
F: Slowly lift press, remove butcher paper and lift up liner while warm or cool to the touch.
It’s so pretty!
Care
Taking good care of your bodysuits will ensure that they last for a long time. Here are some of the things you should always do:
- Turn bodysuit inside out before washing
- Use cold water and mild detergent
- Tumble dry low or air dry
- Don’t use dryer sheets, bleach, or fabric softeners.
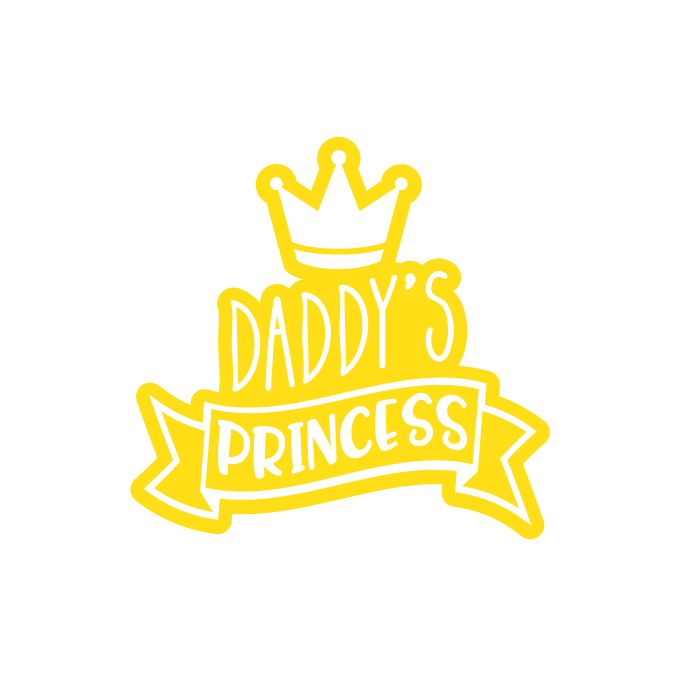
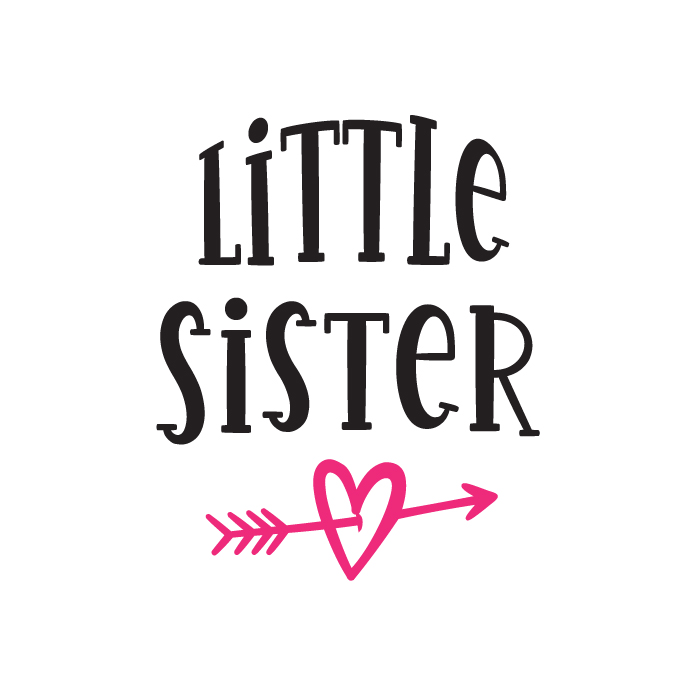
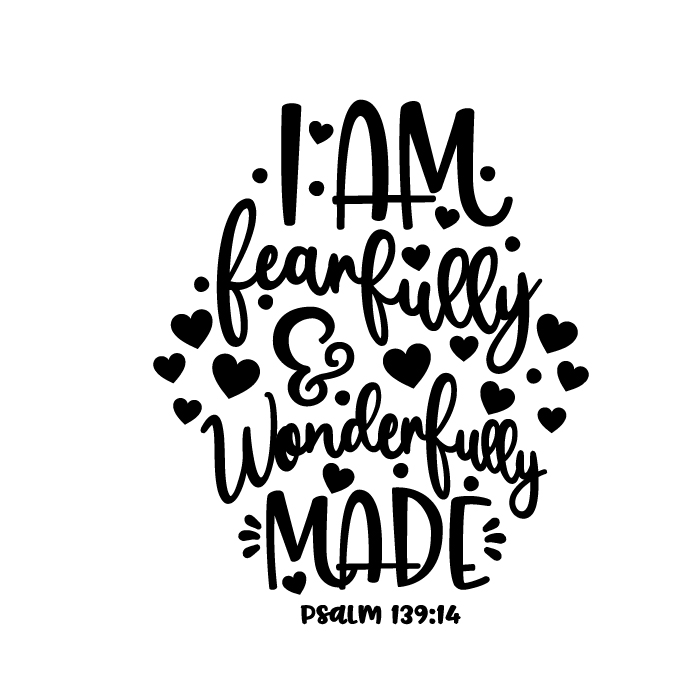
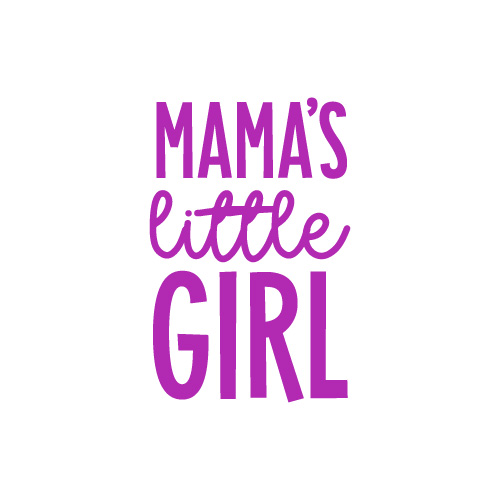
Free SVG Files for Baby Onesies, Bodysuits & other Baby Clothing Items
As I promise here are the 50+ free SVG files you can use for making Onesies or other baby clothing items! They are all super cute and your baby is going to look A-DOR-A-BLE!
To download the file(s), you need to be on a desktop or laptop and click on the button to trigger a download file on your PC. However, I’ve noticed that I can also download them from my iPhone.
Depending on your browser settings, your PC sometimes asks where to save the file, although most files will be in your download folder.
If the image opens in a new window (this may happen because of your browser settings), right-click on it, select the option “Save Image As,” and choose where you want to save the file.
SVG files look like web page files when you download them.
Oh!
Just so you know, I also have a library full of free SVG files and Printables for all my subscribers, a.k.a. Daydreamers. You can see a preview right here or get access by filling out this form.


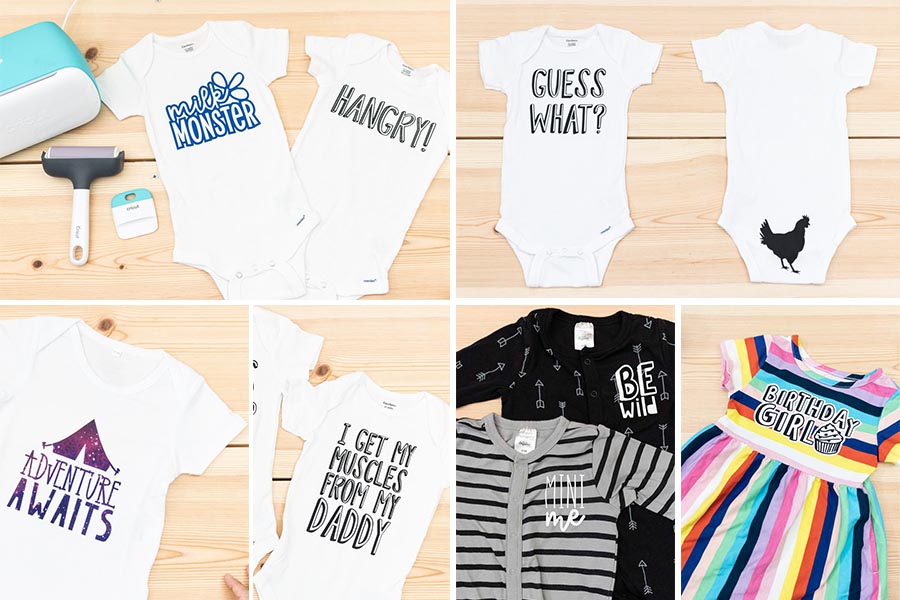
More ideas for Baby Onesies and Bodysuits
Here are more ideas for you to get inspired!
Gerber also has really cute pajamas, and you can personalize one of the sides.


Look at this cute bib as well!
It was a pack from Amazon that had 8 different vibrant and beautiful colors.

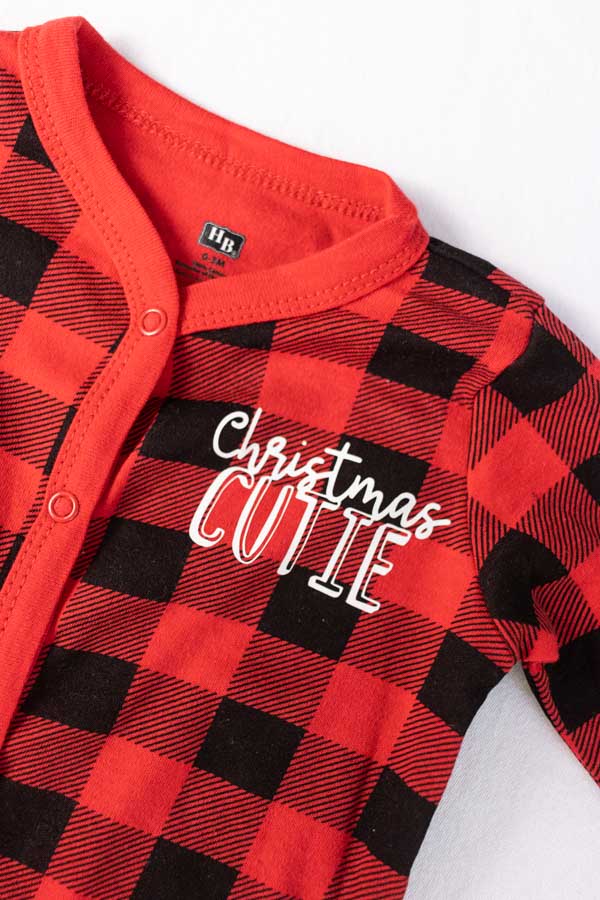
Look at these super cute Christmas Onesie and and HB Pajama!
I just love the personal touch you can add to anything with your Cricut.
Look at this hilarious “Guess What Chicken Butt” Onesie.
Transferring the chicken on the backside was a little tricky. I would recommend using an Easypress Mini or household iron because the seams of the onesie will get in the way when you use a regular press.

I also love this one as well!

I saved my favorite one for last!
I picked up this little dress at Walmart. I love all those rainbow colors, and I thought it would look adorable with an Iron-On design on it.
First, I used the offset tool (read tutorial) to make the white outline and pressed it on the dress, then I pressed the design itself. Layering iron-on is a whole tutorial of its own that I am working on right now.
But in the meantime, check out this section on my iron-on guide.

The questions are:
- What did you like the best?
- What are you going to make?
Let me know in the comments down below!
Did you love this article? Share it!
Do you know it takes me over 25 hours to complete a single Cricut article? I know it’s wild, but I want to make sure you understand everything!
I would appreciate your support on Instagram , Pinterest , and YouTube as I try to grow my audience and continue producing great content!
Im excited to receive the svgs
Love ???? this
Good article. I like that you gave instructions for presses and regular irons, plus iron-on and sublimation. It made it easy to find the information I was interested in while skipping past the other. And your photos were very helpful. Thank you for taking those 25 hours to write!