Hello Daydreamers!
Valentine’s Day is just around the corner, and if you want to put your Cricut to work and show your love and appreciation to someone special in your life, I have the perfect tutorial for you!
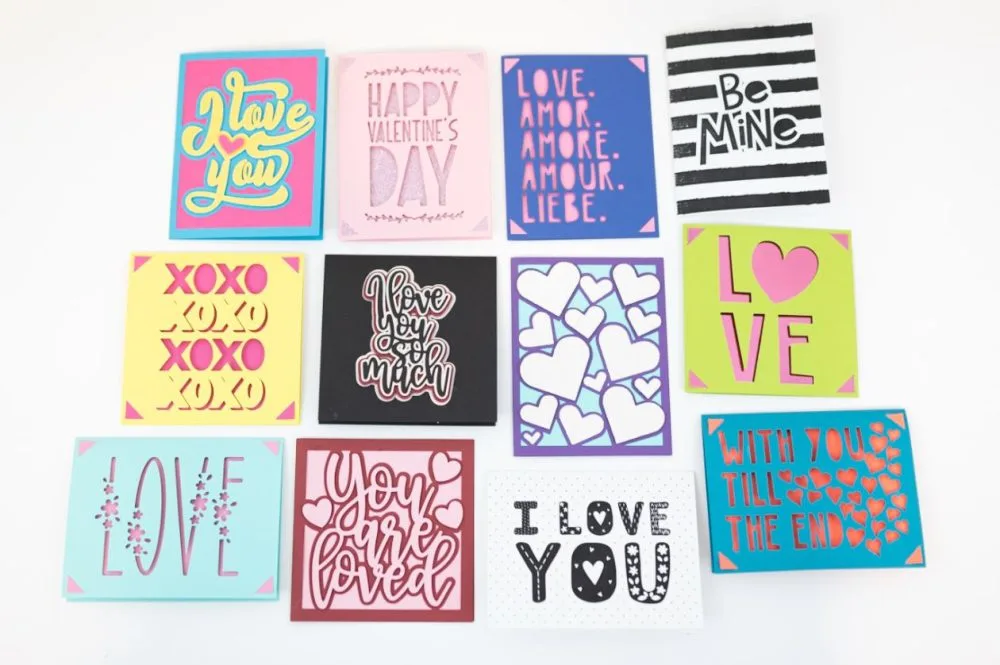
Today, I will teach you how to make the most beautiful Valentine’s Day cards while providing you with 12 beautiful and unique templates. Ten of them are SVG files, and two cards are for printing and cutting.
No matter what time you have on hand, you’ll find that most of these cards are easy to make; however, if you like extra details and enjoy taking your time while card making, I also have great options.
If you have a Cricut Joy, you could adapt some of these templates (the cards with cut-outs) using the “Contour tool” and follow my card-making tutorial with the Joy.

For this article, I am using one of the templates I included in this tutorial; however, if you feel like doing a card from scratch, check out my card-making tutorial with your Cricut Maker or Explore.
Since I don’t want you to get lost, here’s an overview of the topics I’ll cover in this post.
- Tools and Materials
- Overview of the card we will be making
- Cricut Design Space (organize and cut the card)
- Assemble process
- Free Valentine’s Day card templates
- How to convert some of the cards to use with the new 2×2 CardMat
- More pictures and ideas using the files I included in this article
Tip: This tutorial builds upon the skills I teach in every step. If you’re just starting with your machine, I suggest you read and follow each step.
Ready?
Let’s Daydream Into Reality!
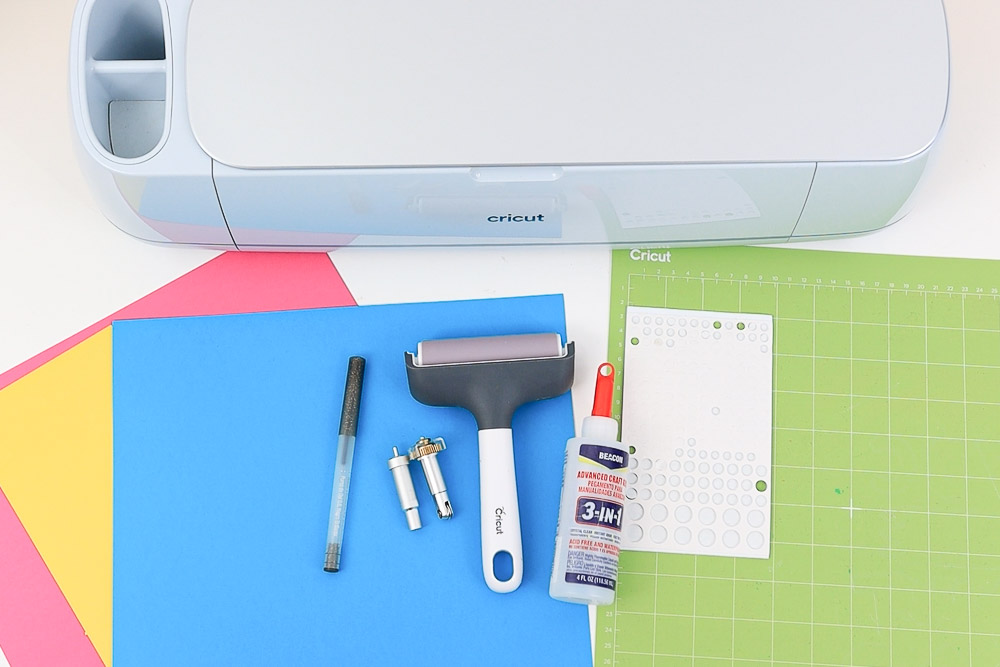
Tools & Materials
- Cricut machine (Maker or Explore)¹
- Green mat
- Fine point blade
- Scoring wheel (compatible with Maker) or Scoring Stylus (Explore or Maker)
- Cricut pen
- Brayer (optional)
- High-quality glue²
- Three cardstock colors that look good together³
- Double-sided foam dots⁴
- Practice file⁵

1. I decided to use my Maker 3 and the scoring wheel. If you have an Explore machine, you’ll need the scoring stylus. No matter where you are, I’ll give you the instructions for each scenario.
2. If you want your card to look like a preschool project, use kids’ glue, but if you want your project to look crisp, get high-quality glue. I always recommend Beacon 3-in-1 or a glue pen for tiny pieces.
3. Run away from cheap paper. If you want your cards to look super-wow, you need super-wow paper. A high-quality paper will enhance your project and take it to another level.
I understand paper is expensive!
Check for sales in Michael’s. Sometimes you can get paper for half the price.
4. Foam dots add a beautiful 3d effect to some cards. The project will take a bit longer, but the look will be ten times better.
5. You can download the practice file and all the other templates at the end of this step-by-step tutorial. No gimmicks, no subscription needed.
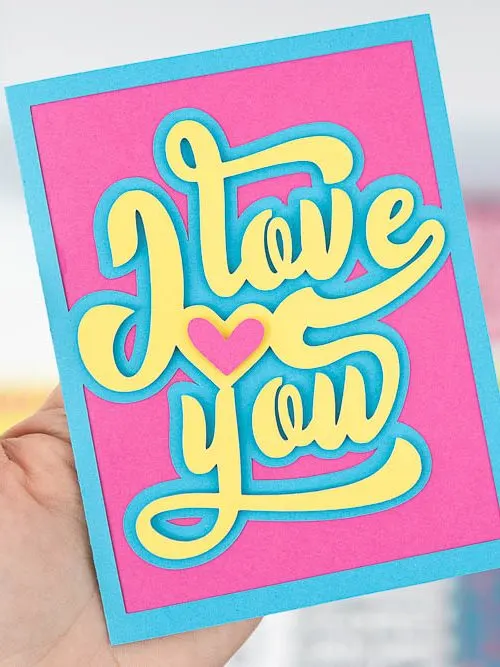
Valentine’s Day Card Overview
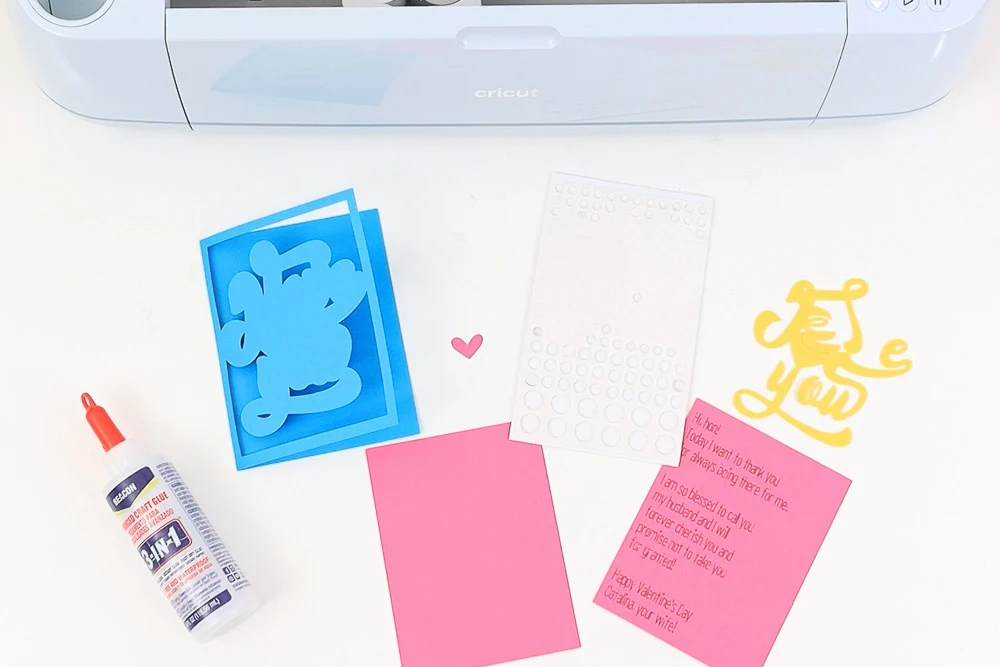
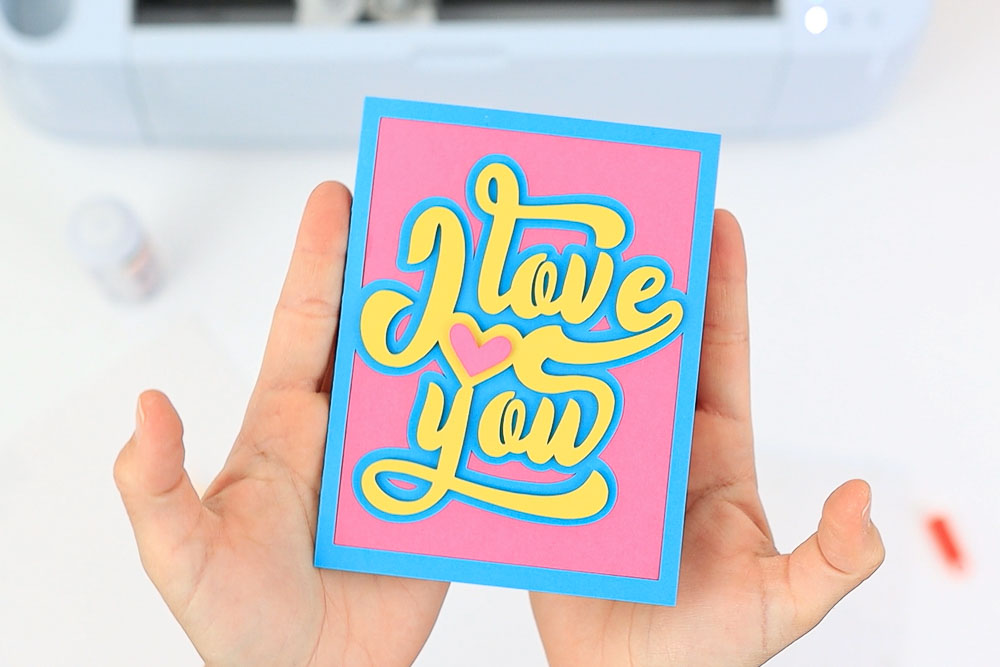
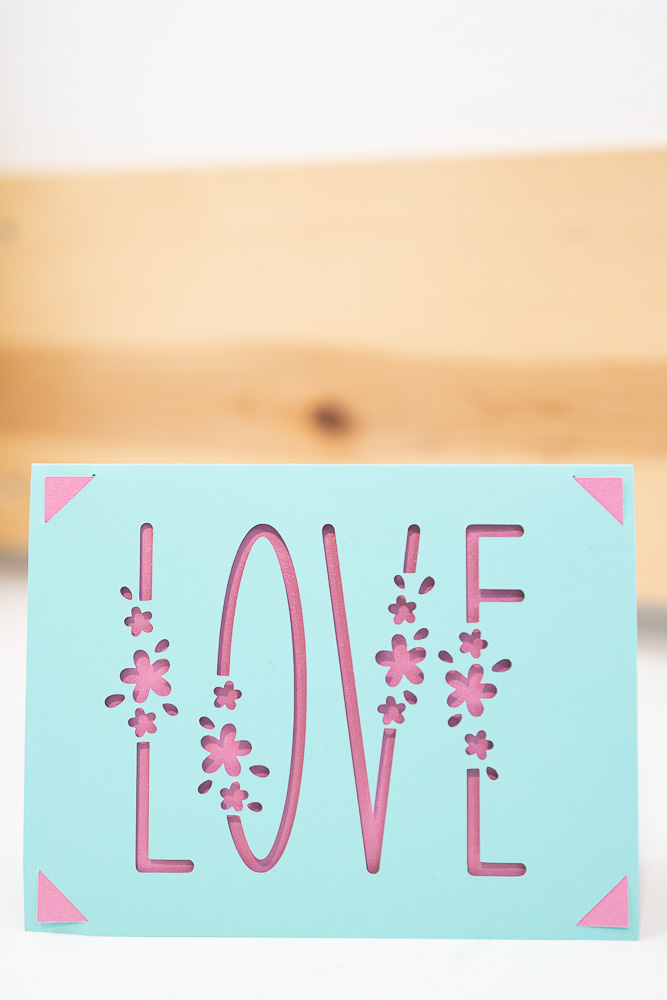
Let’s take a look at the card we’ll be making today.
Sometimes, and as you learn, when you start with the end in mind, things will make more sense once you see them in the software.
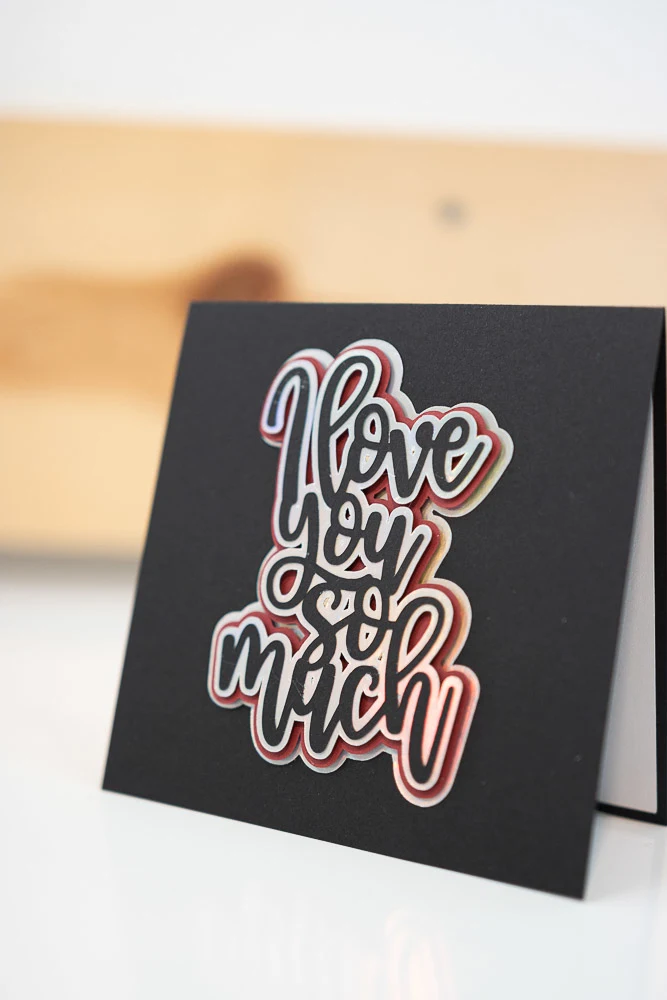
The card size is 4.25 x 5.5 in when closed and 8.5 x 5.5 in when open. The front of the cards has a beautiful cut-out effect that says “I love you” and a small heart.
As you can see, an outline is part of the card, but for the text itself, we’ll use a different color and foam dots (glue is also ok) to add a beautiful pop-up effect.
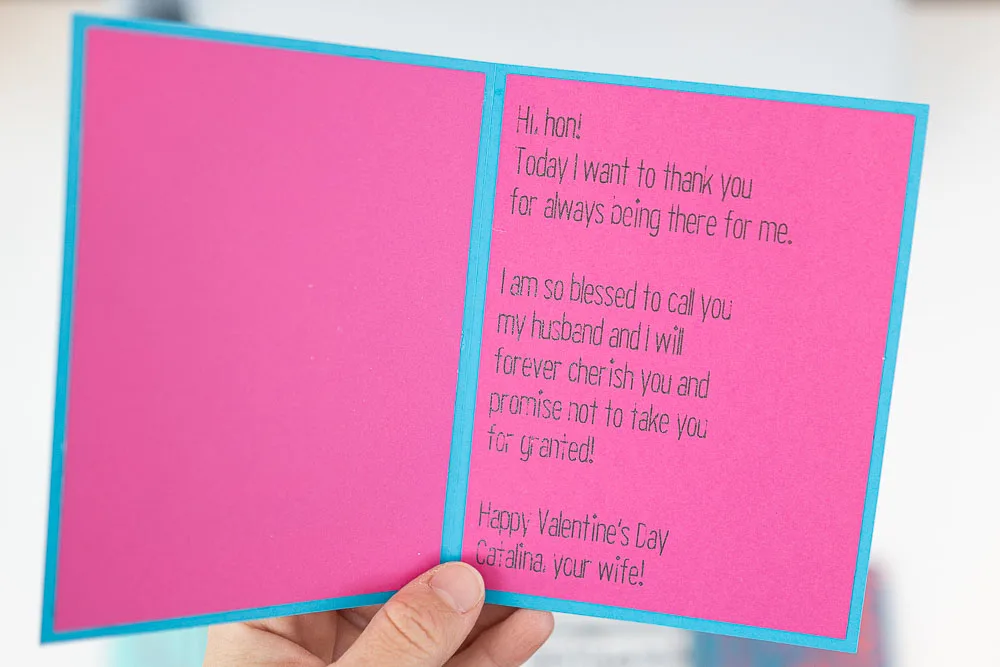
There are two smaller pink rectangles on the inside of the card, one to cover the cut-out and the other to write a small message with Cricut pens.


Now that you understand the card we’re making let’s go to Design Space.
Cricut Design Space Steps
Open Cricut Design Space and click “New Project” to open the canvas area.
Step 1 – Upload Image
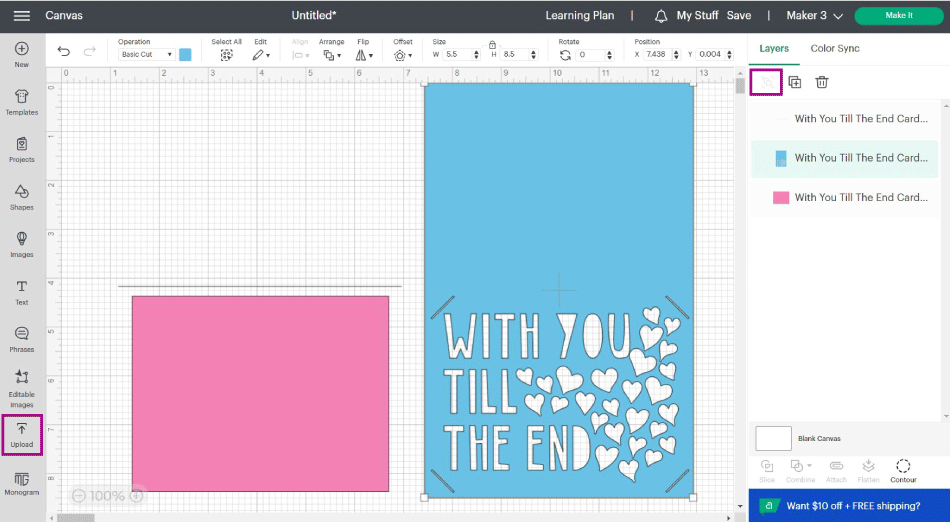
Download the practice file to your computer, then click on the “Upload” icon on the left panel of the canvas and go to “Upload Image,” follow the prompts and select the image from the “Recent Uploads” view, and click on “Add to Canvas.”


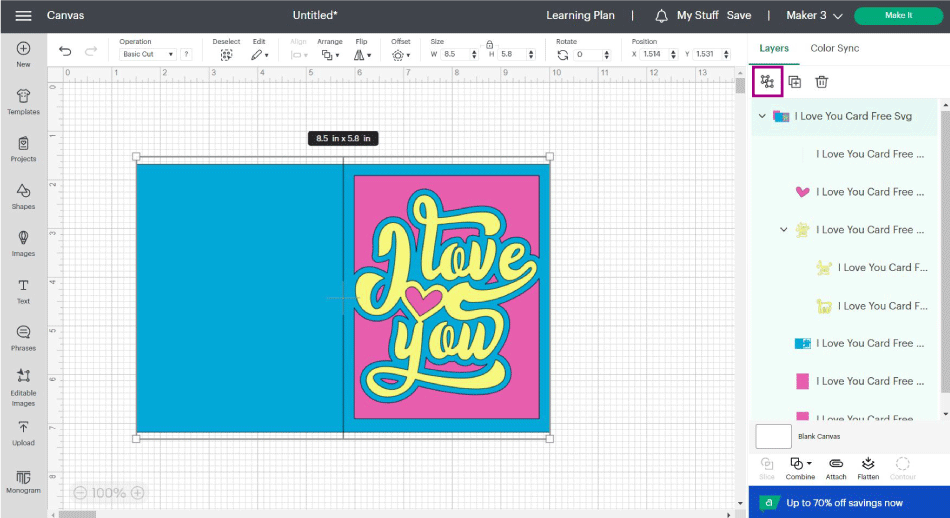
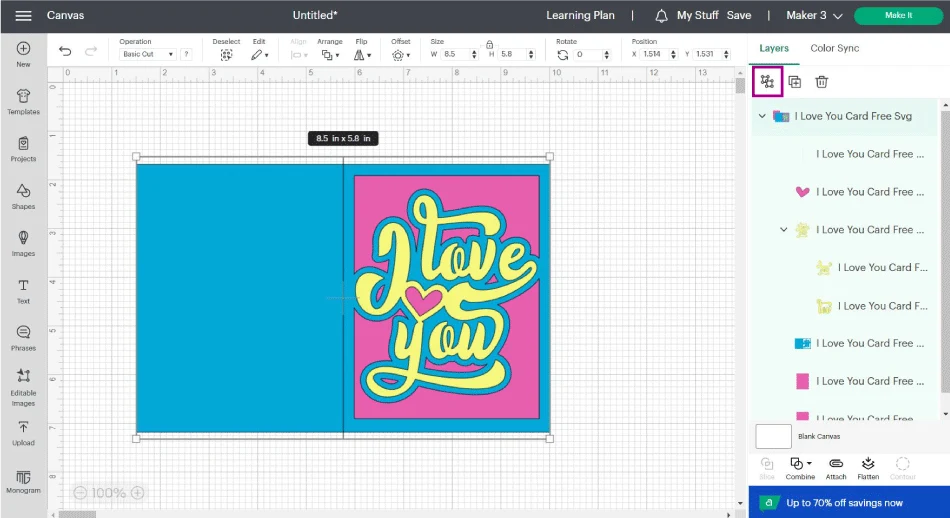
Step 2 – Organize the File
The card looks so beautiful!
Before we send it to cut, we need to edit a few things. First, select the card and click on the “Ungroup” icon on the layers panels.
Tip: You may resize the card before ungrouping layers.
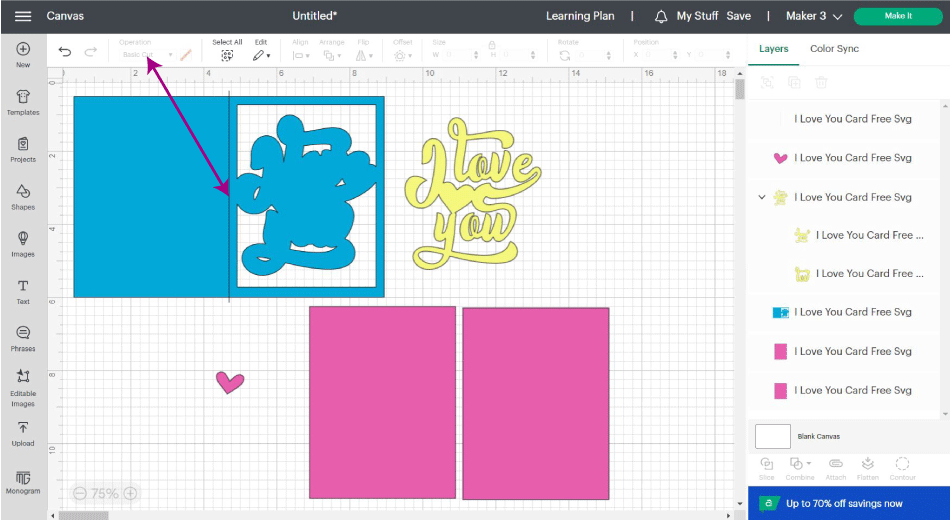
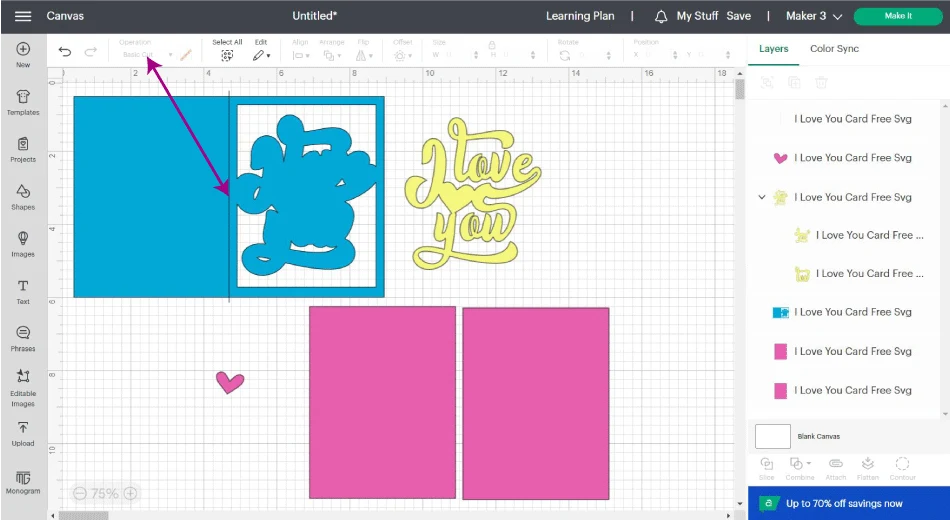
Move the layers around the canvas to work on the card more easily.
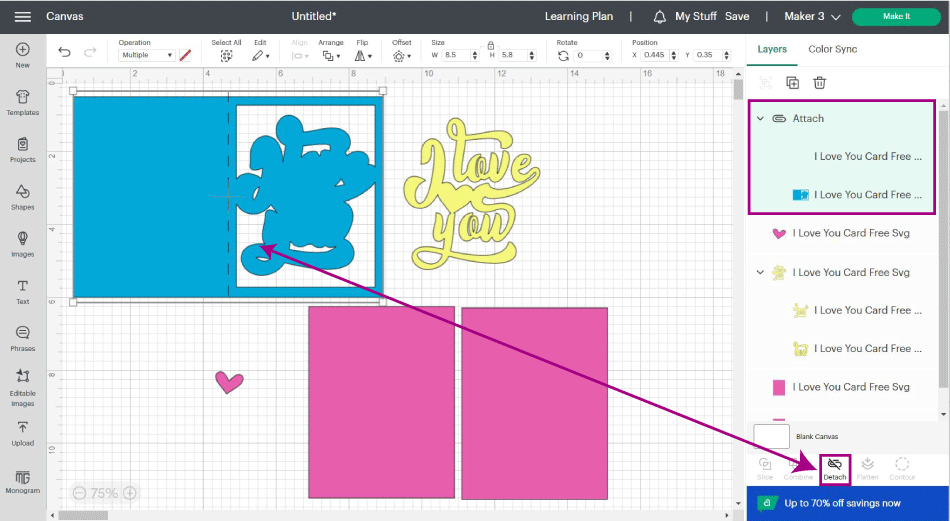
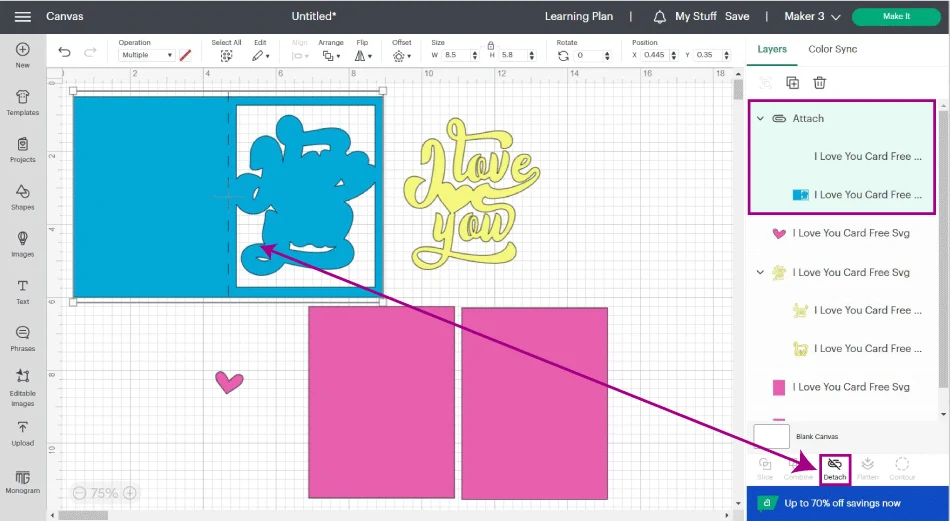
The line in the middle of the card is for making a fold; it’s set on “Basic Cut.” Go ahead and change the line’s operation to “Score.”
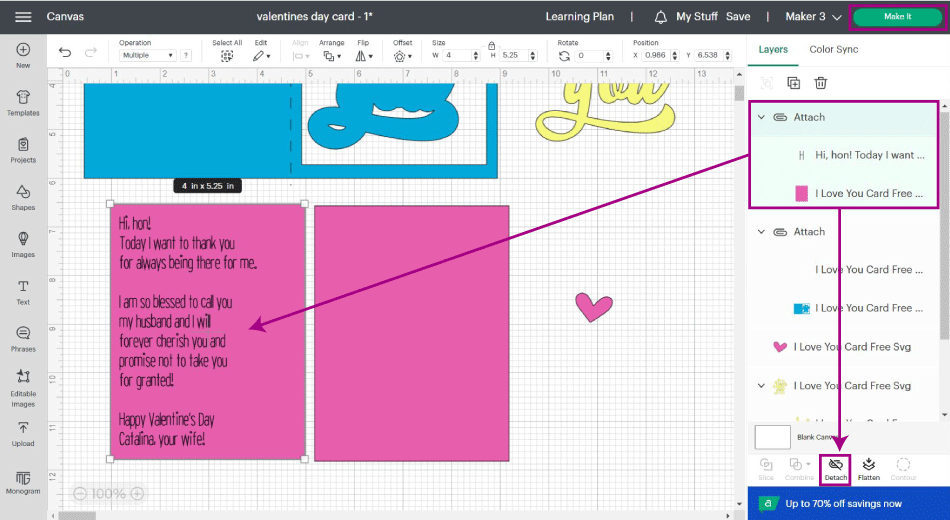
When adding score lines to a project, we must tell our machine the exact spot we want to score. By pressing shift at all times, select the card and the line and click on the “Attach” icon to tell our machine where we want to score.
If you think, after scoring, the folds on your project are still hard to do; this next step is optional but quite handy.
Go ahead and make a copy of the score line using ctrl(cmd)+c and ctrl(cmd)+v or by using the “Duplicate” icon on top of the layers panel.
Once you have both lines, select them along with the card, click “Align” on the top menu and click “Attach.”
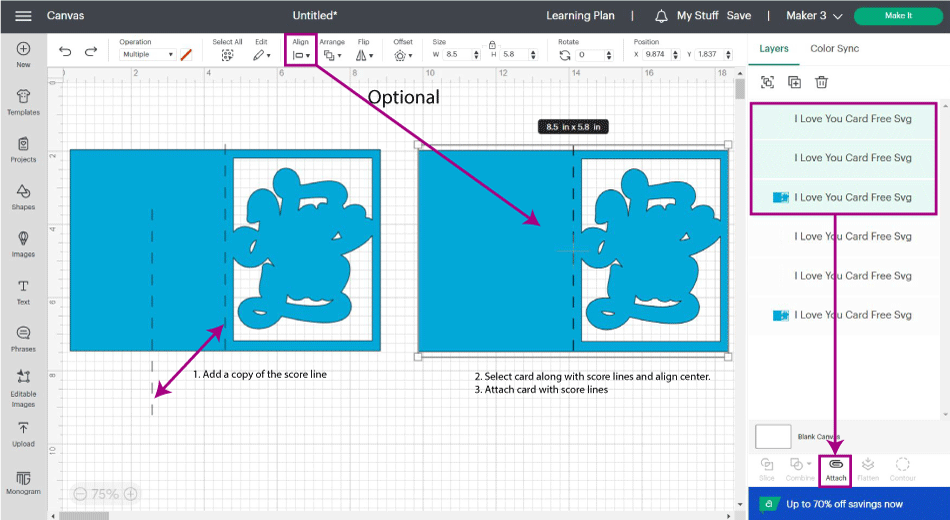

Don’t eye-align; you want to ensure the score lines and the card are perfectly centered. Even a tiny discrepancy will make your card look uneven.
Step 3 – Add Text
Most people love writing inside their Cricut cards!
Click on the “Text” icon on the canvas’s left panel and type in the text you want to write. Initially, your text will look huge in proportion to your card, and the operation will be “Basic Cut.”
Resize the text to fit one of the pink rectangles.
Tip: On the top menu, you can see all the text settings I used for my text.
Let’s have a little chat about fonts.
In Design Space, you have your system fonts and Cricut fonts. Your system fonts won’t do a writing effect. They will look outlined if you choose to use pens.
However, many Cricut fonts DO have the option for “Writing;” they were designed for that purpose. So if you want to write like the screenshot below, you must use Cricut fonts.
The caveat is that they usually cost money. You can either buy them individually or they come with Cricut Access.
I have a great article that will help you find fonts where you can recreate “writing fonts” for Cricut.
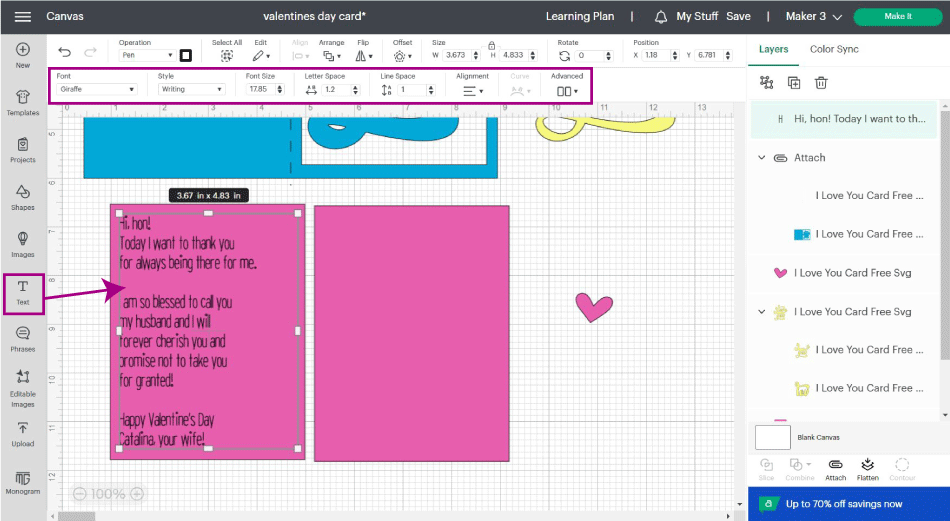

I used the font “Giraffe” for this particular card and selected “Writing” for the style. If you use a system font, make sure that you change the operation from “Basic Cut” to “Draw – Pen.” For more details on editing text in Design Space, check out this guide I put together.
Lastly, we must attach the text to the pink rectangle so our Cricut knows where to write.

Once you finish all the changes, click on the green “Make it” button to send your project to your machine.
Step 4 – Cut Card
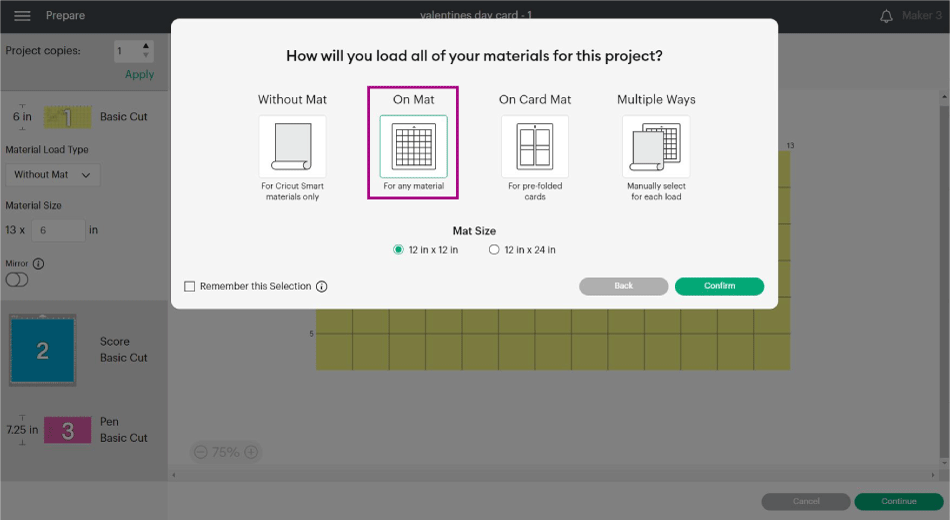
Depending on your machine, when you click on “Make it,” you’ll have different options. Select the “On Mat” option to follow along and click “Continue.”
Note: If using a machine with a smart set dial, place it on “Custom” to select material from Design Space.

There are three different mats we need to cut.
The order is always random. I’ve always wanted to know what criteria Cricut uses to arrange the cutting order. I am so nerdy, lol.
Before we continue, I want to bring up an important concept. Anytime you score, you are supposed to do it on the inside of the card, making folding your project easier. To score inside the card, turn on “Mirror.”

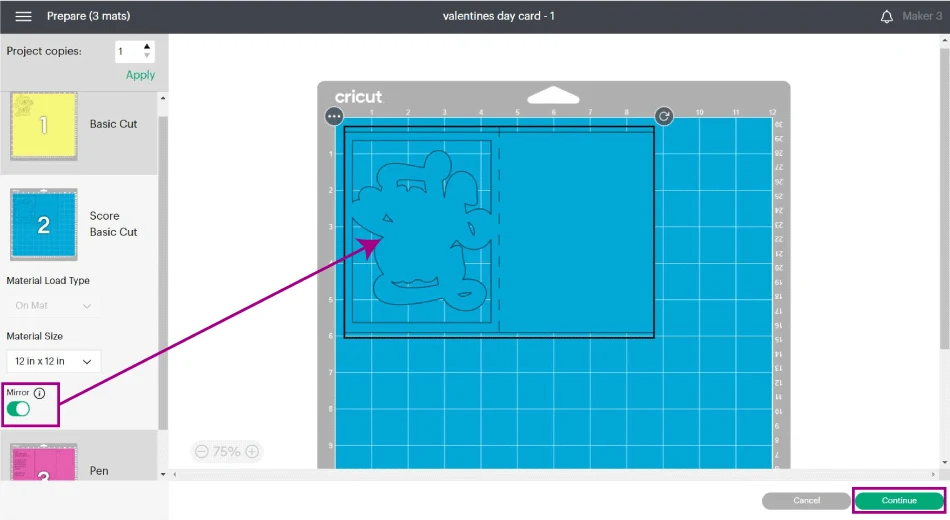
When you mirror a project, you must also place the paper the right way on the mat.
If the paper is the same texture and color on both sides, it doesn’t matter how you place it on the mat; however, if your paper is one side colored/textured, you must turn the mirror setting on and put the paper with the colored/textured side down on the mat.
Cutting Mat #1
Let’s start with the yellow mat!
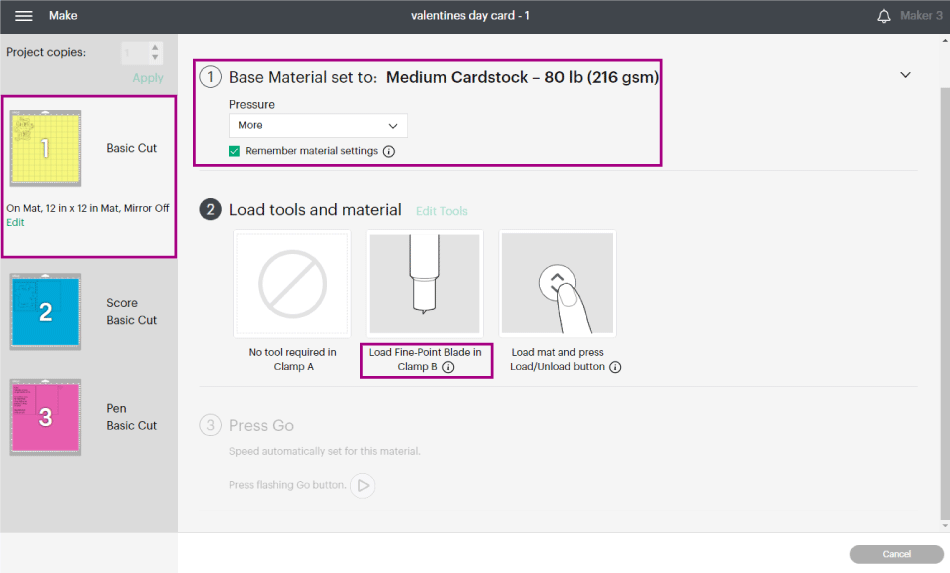
For this card, I used “Medium Cardstock” and used more pressure. Since all the other mats had the same material, I checked “Remember material settings.”

If you’re using different materials, leave this setting off, and double-check when you move to the next mat that Cricut doesn’t remember.

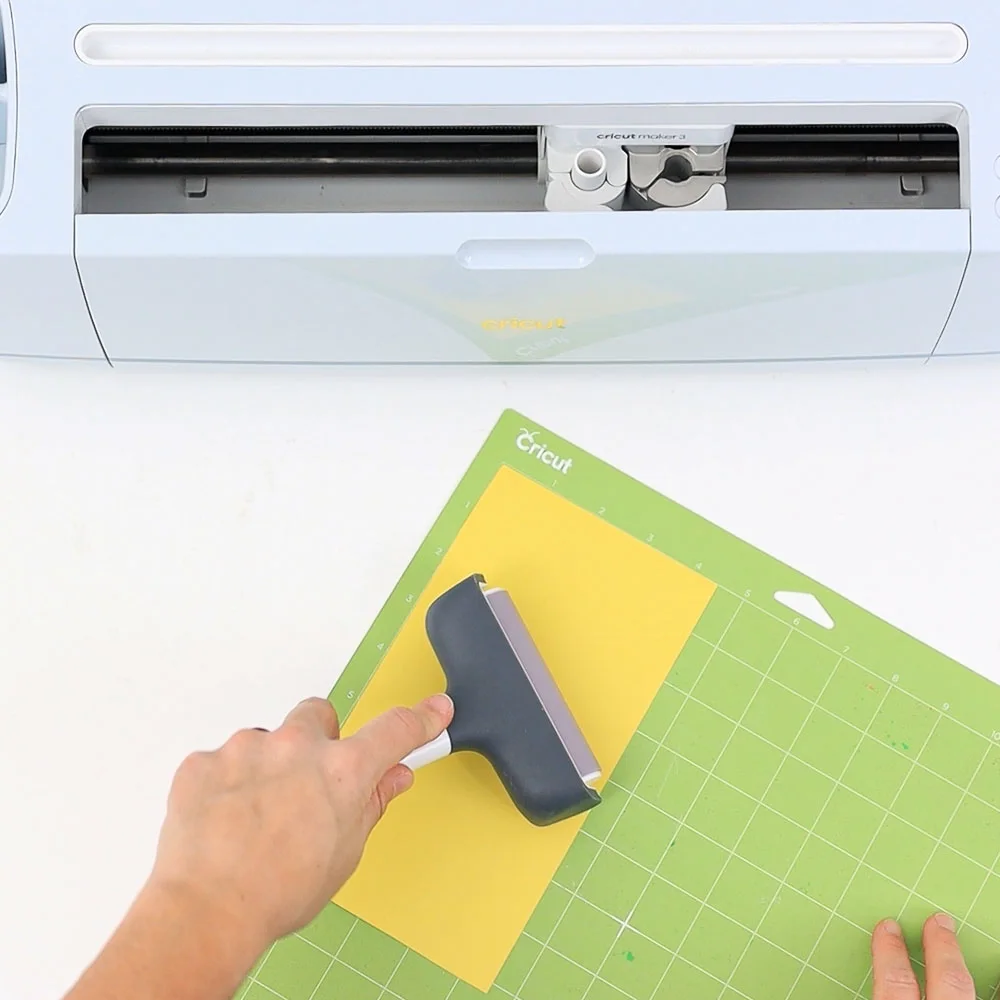

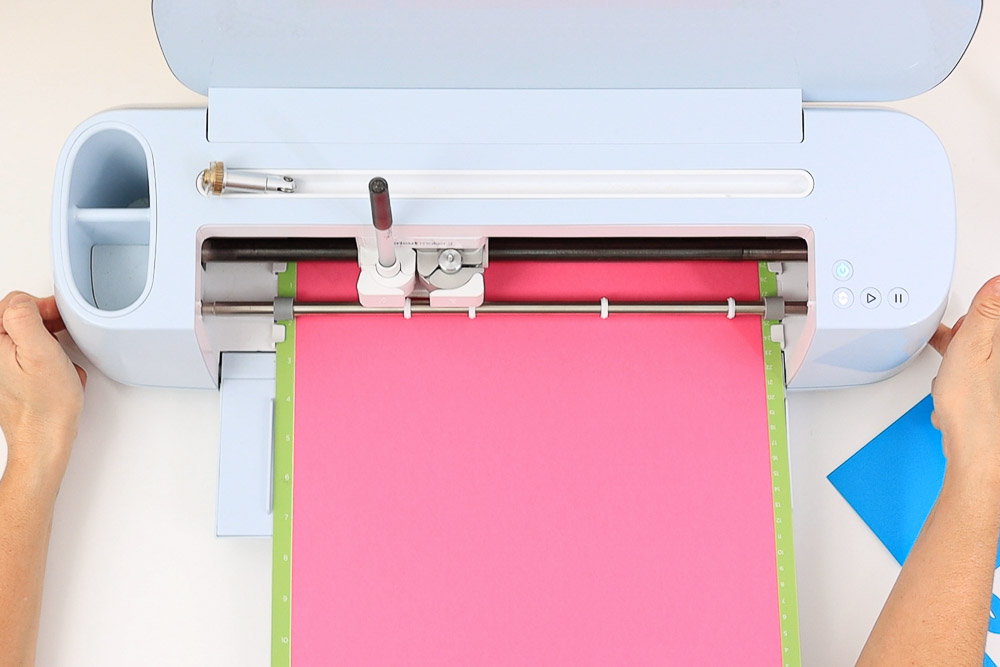
Install the fine point blade on the clamp b, place the paper on the mat and secure it with a brayer (optional).
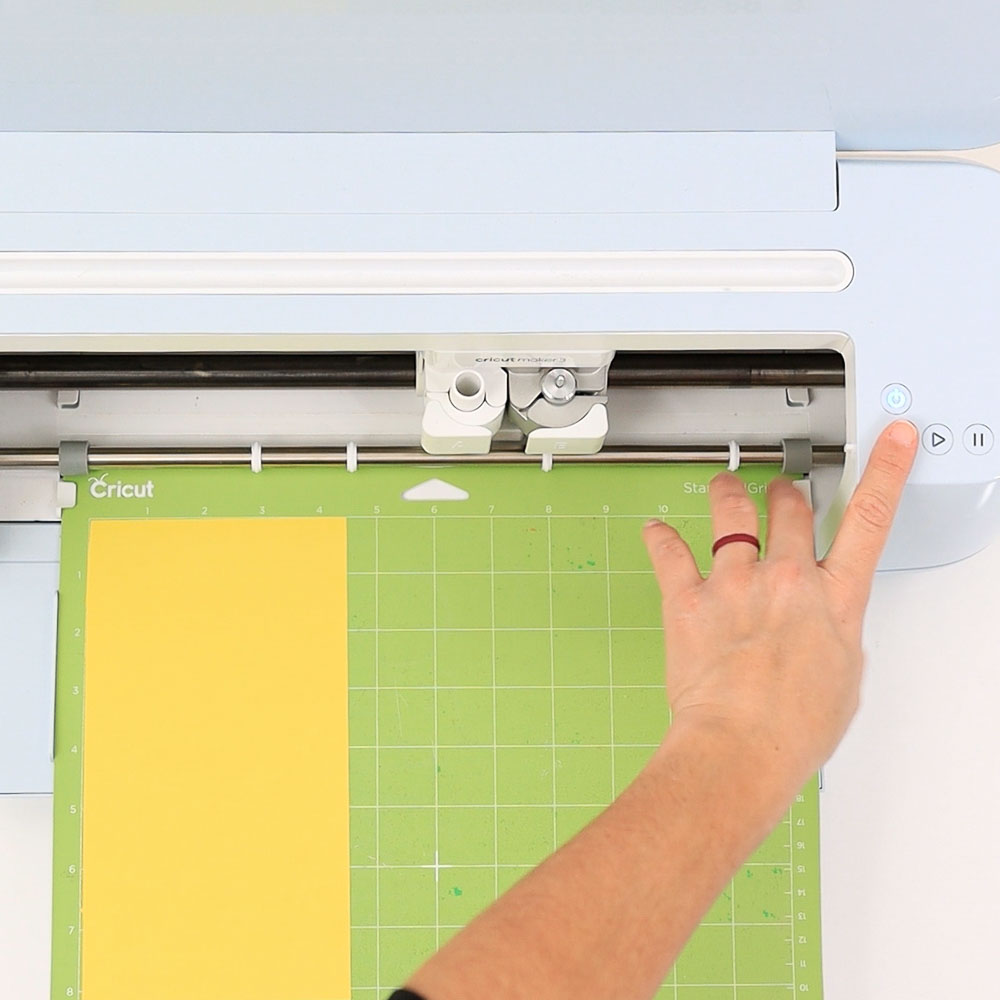
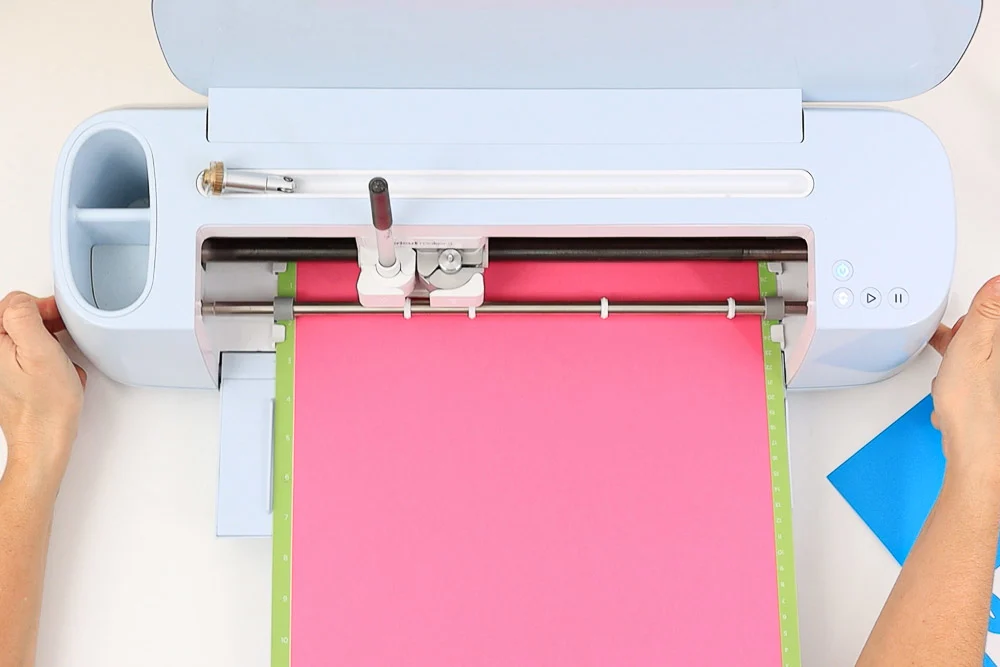
Load the mat to your Cricut and press the flashing go button to start the cut.
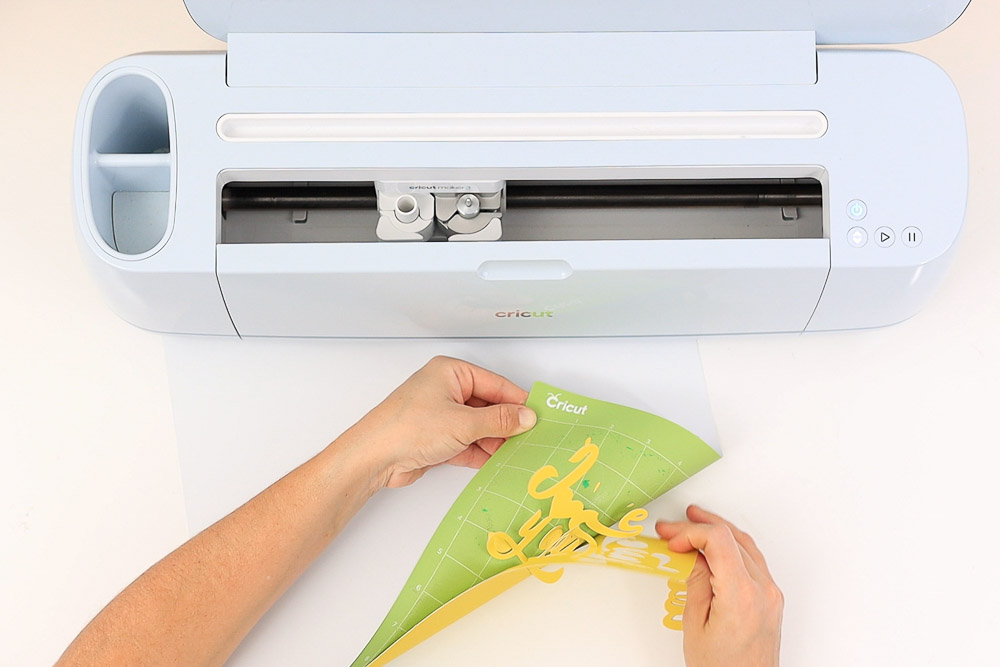
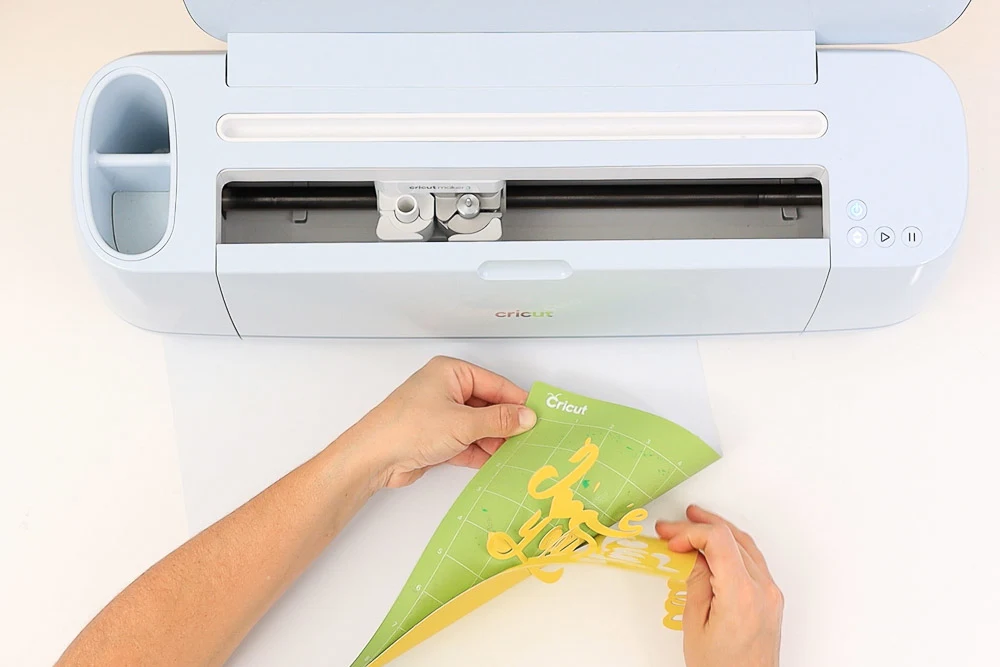
When the cut is finished, unload the mat, bend it to release the pieces, and set them aside safely, so they don’t get lost.
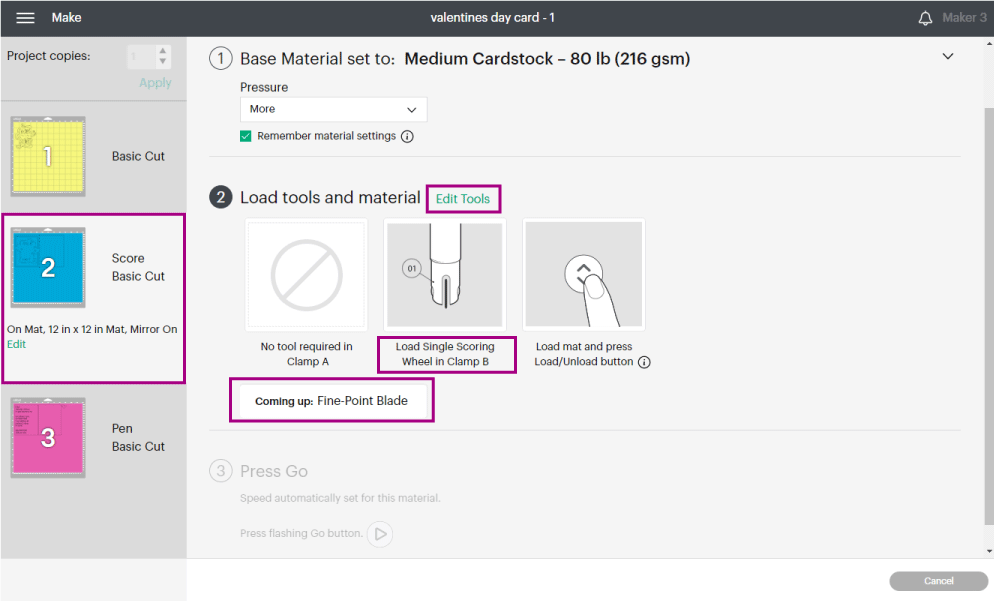
Cutting Mat #2
You need a scoring tool and the fine point blade for the second mat.
If you have a Maker, the scoring wheel will be the default option; if you want to change it for the “scoring stylus,” click on “Edit tools” to select it.
If using the scoring stylus on the Explore or Maker, install it on clamp “A” and the fine point blade on clamp “B.”
Important when using the wheel and Maker: You must install it in clamp “B” and score first. Install the fine point blade when Design Space signs a notification to change the tool.

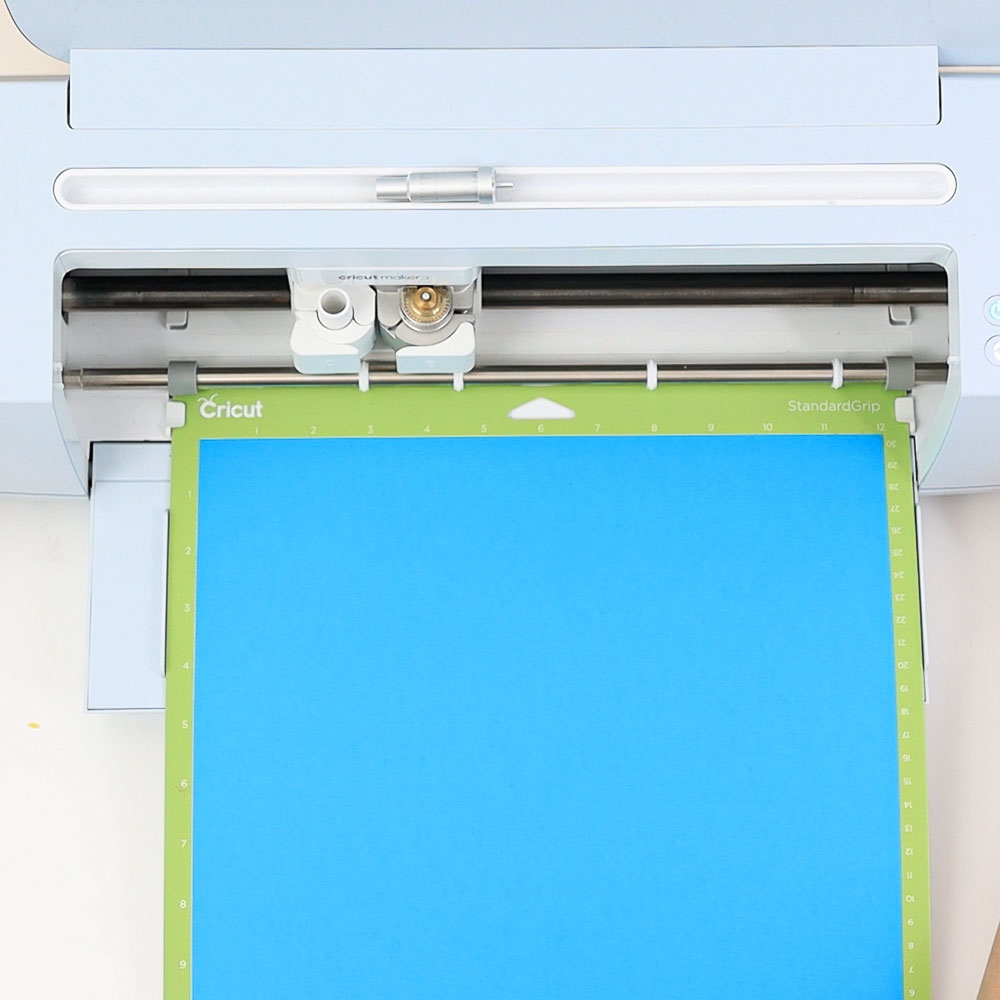
Prepare your mat with the paper you’re using for the card, and remember to place it pretty side down if using single-sided colored/textured paper.

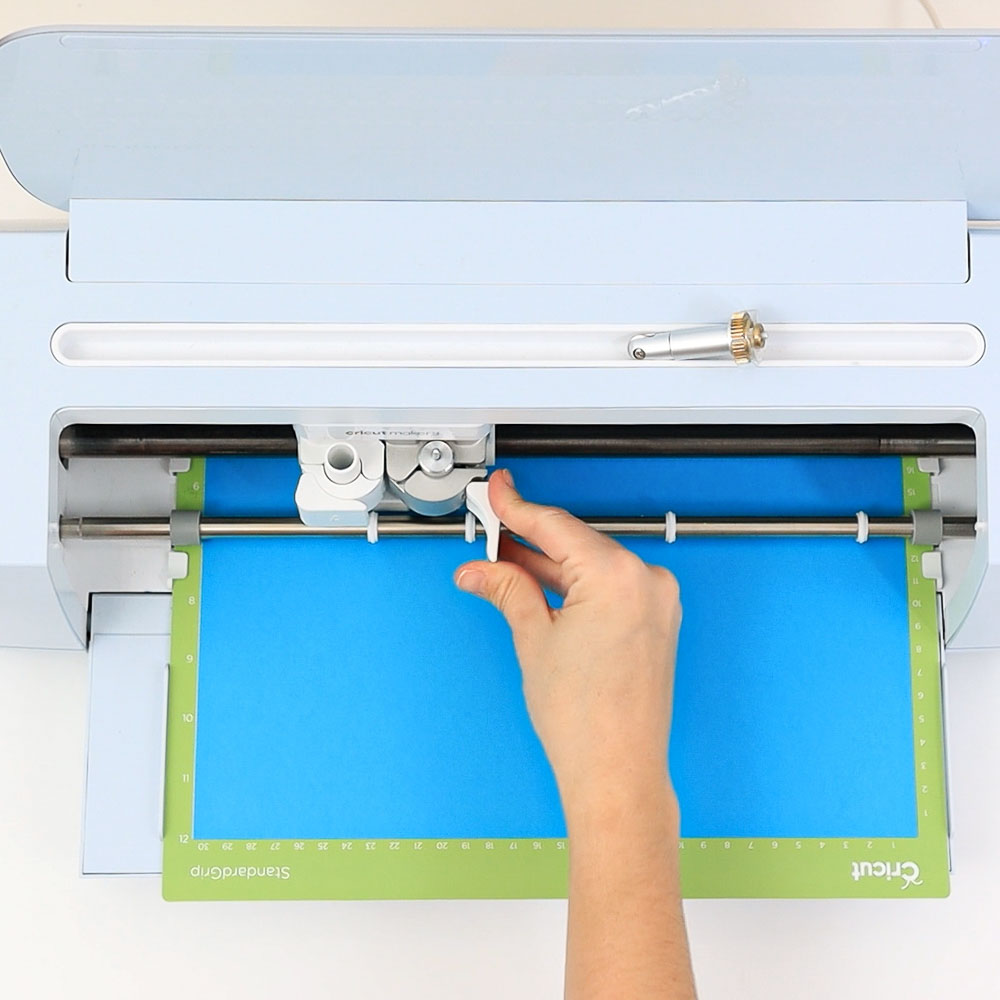


Since I used the wheel, I had to change tools midway.
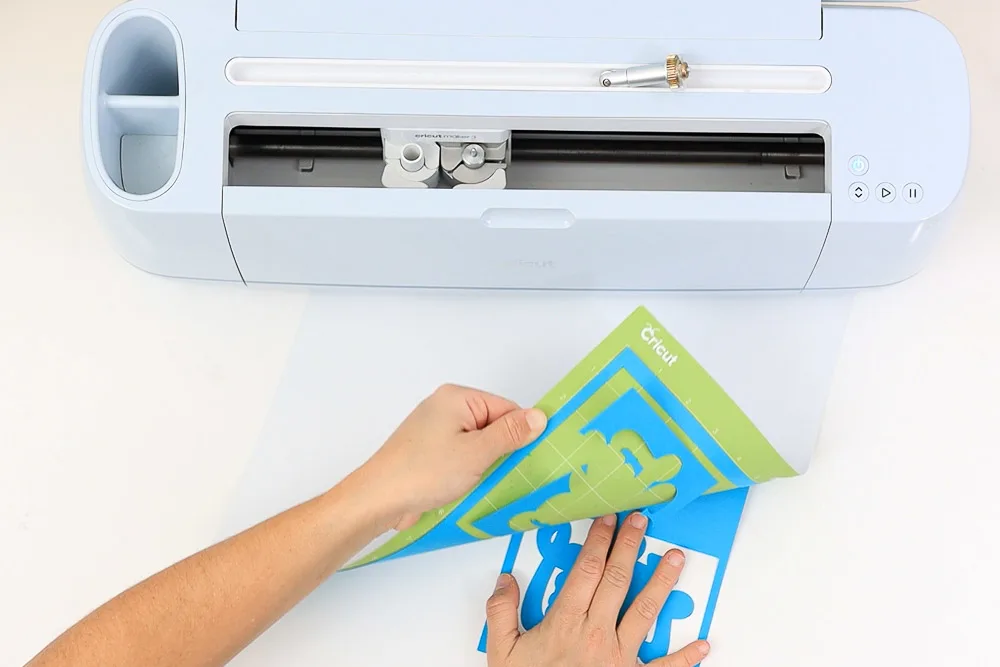
When the cut is done, unload and bend the mat to release the material.
Cutting Mat #3
Cricut will ask you to install a Cricut pen for the last mat.

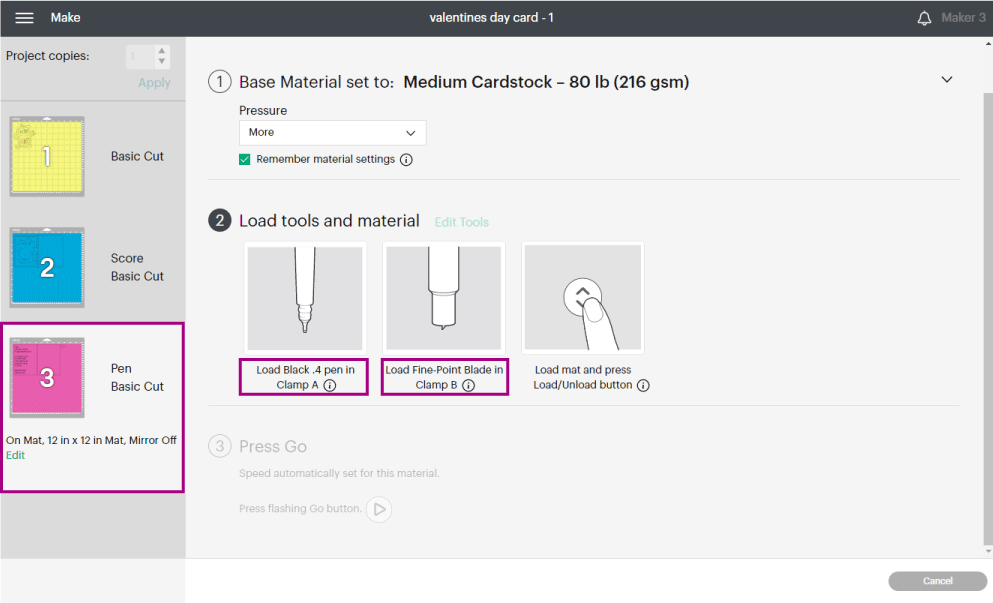
Install pen on clamp “A” and blade on clamp “B.”
Load the mat to your machine and press the flashing button to start the cut. Once finished, unload the mat and remove the paper by bending your mat.
Assemble Valentine’s Day Card
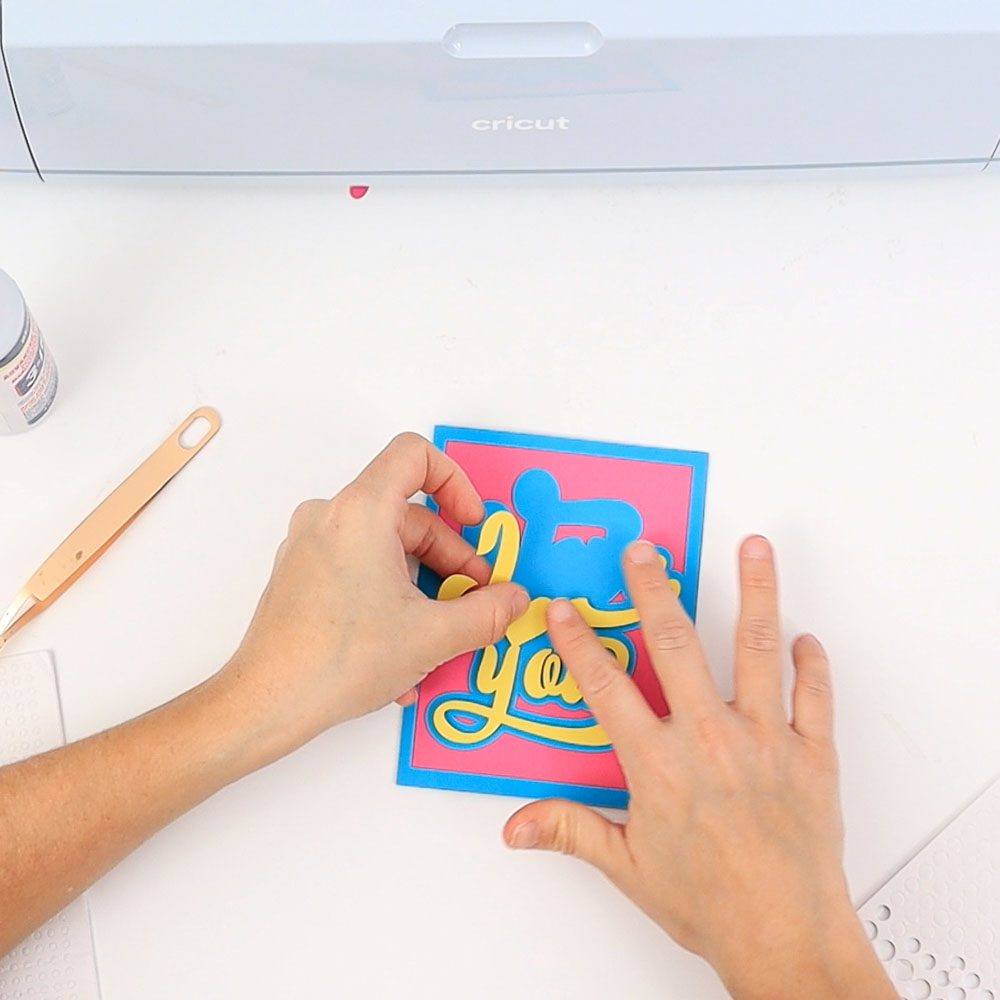
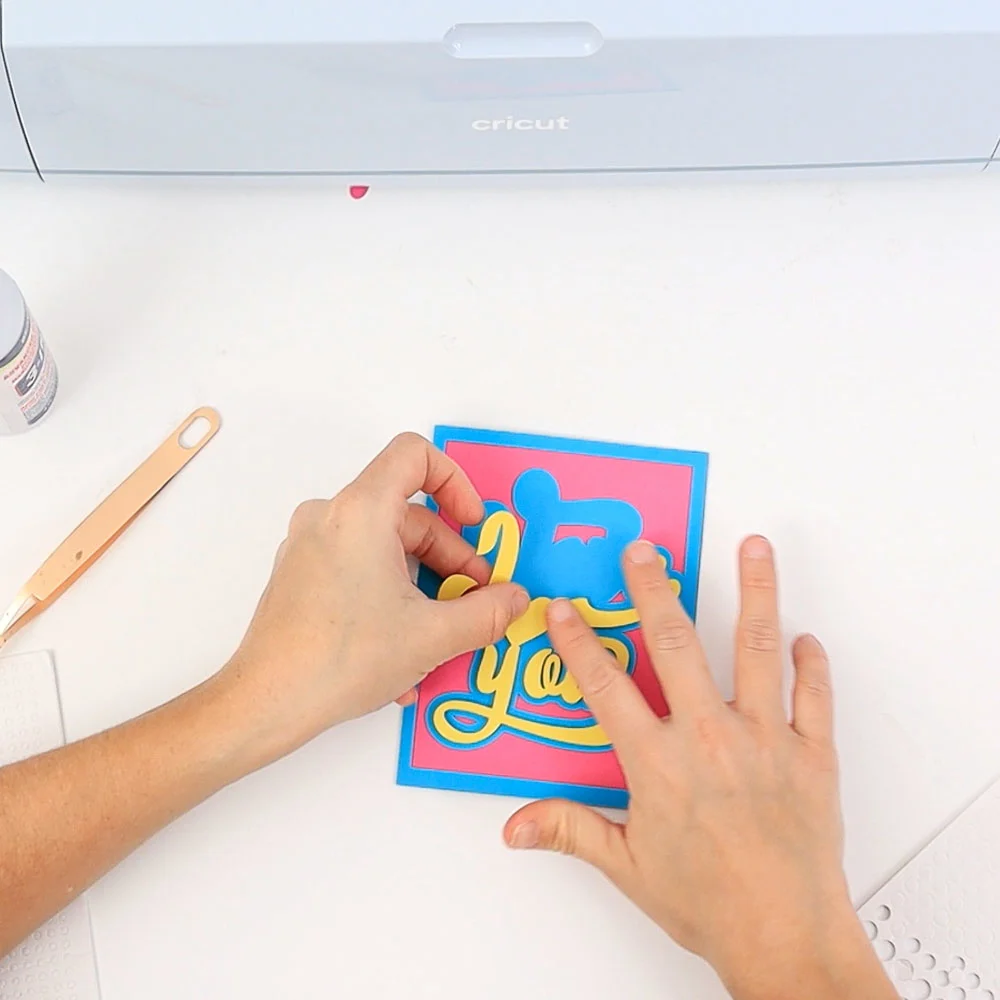
Gather all the pieces you cut along with the glue and the optional foam dots.
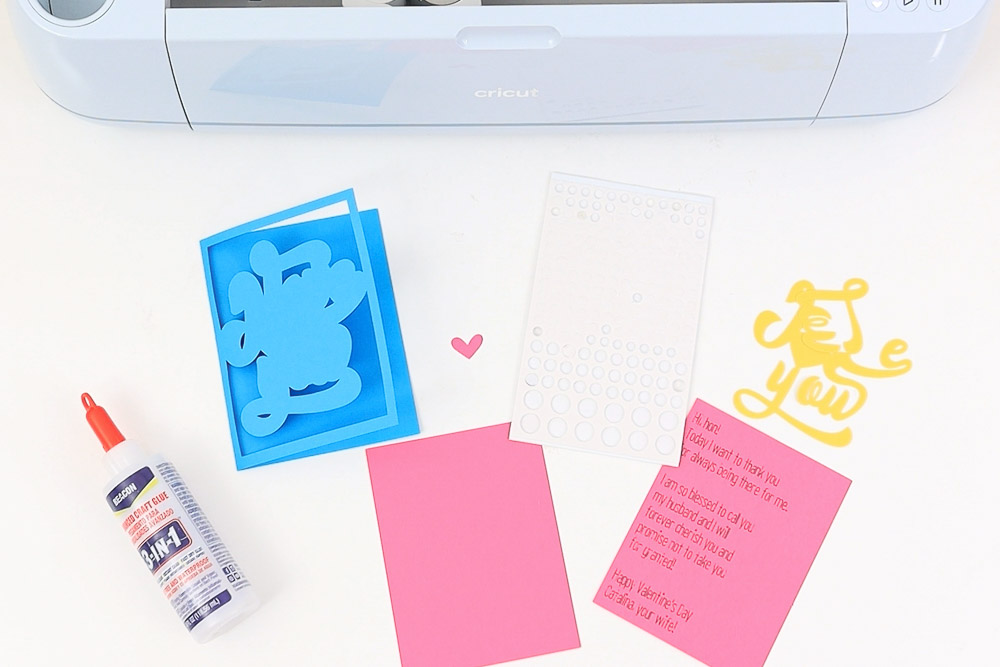
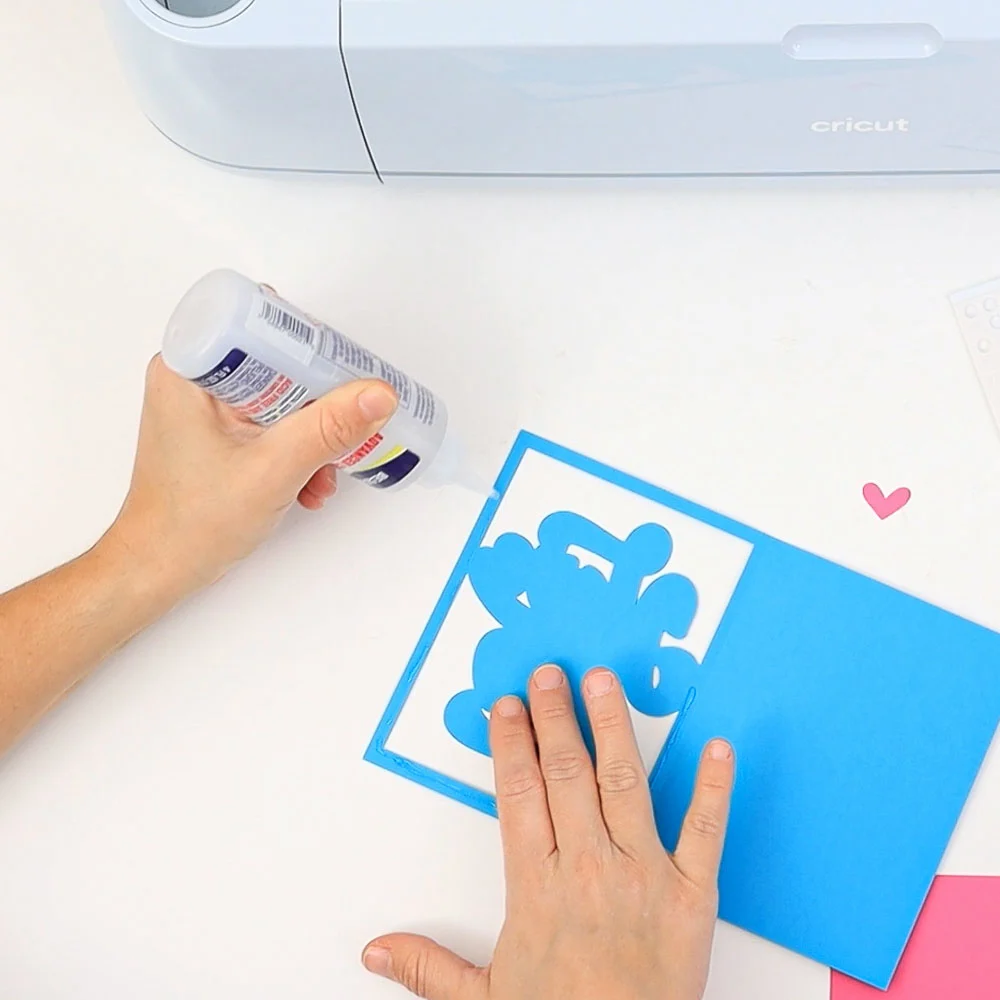
I prefer gluing the insides of the card first. A little glue goes a long way.
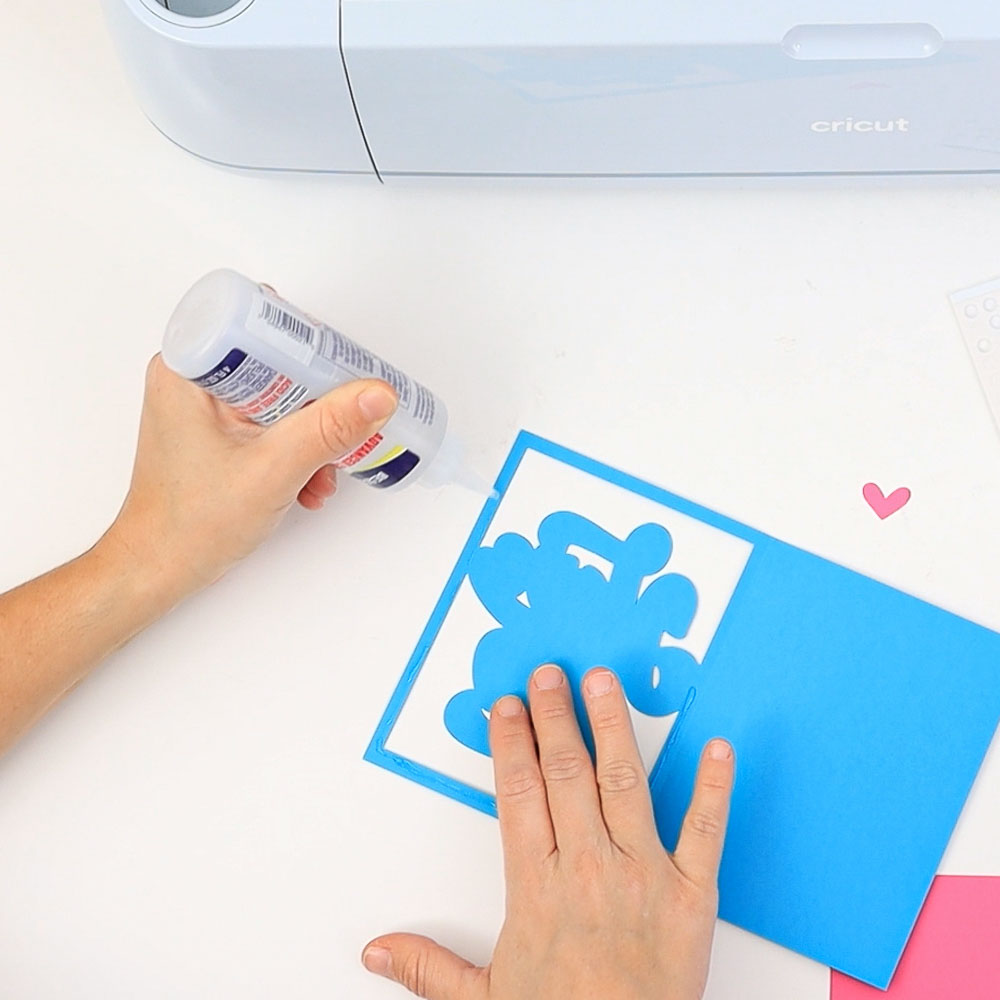
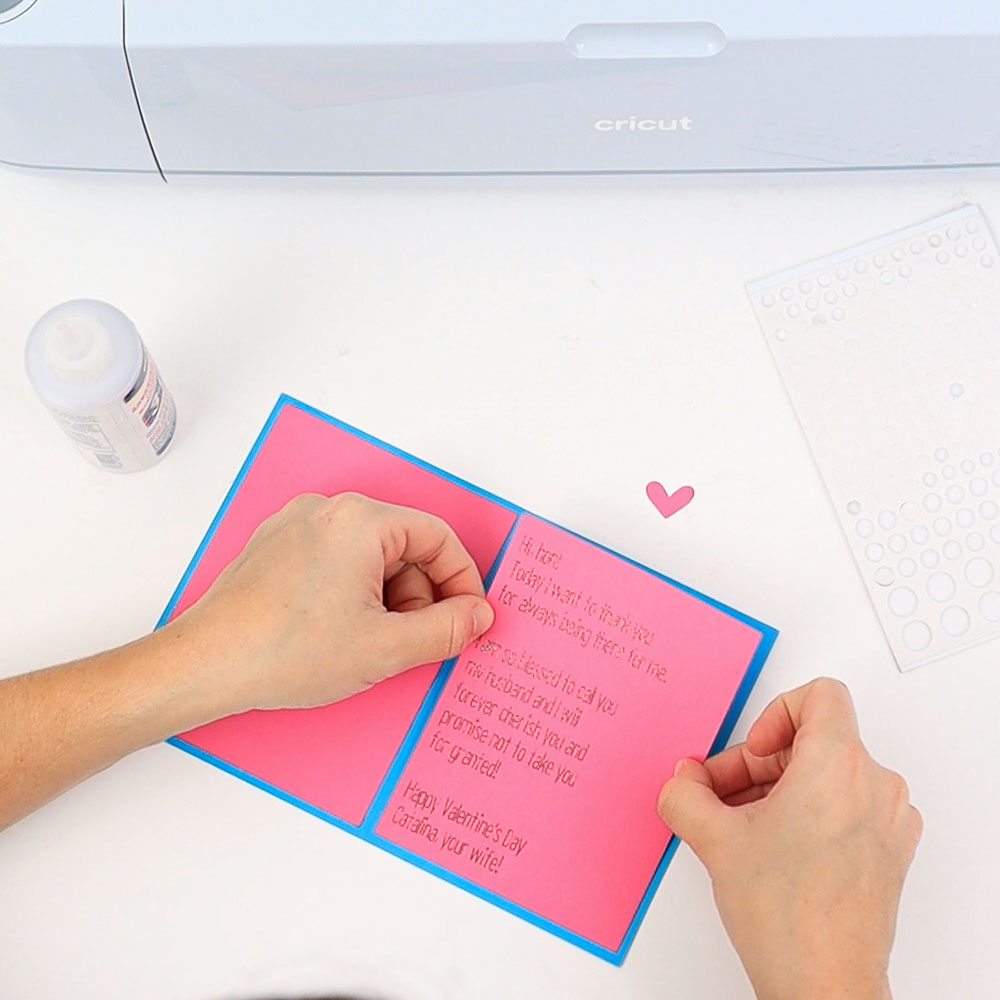

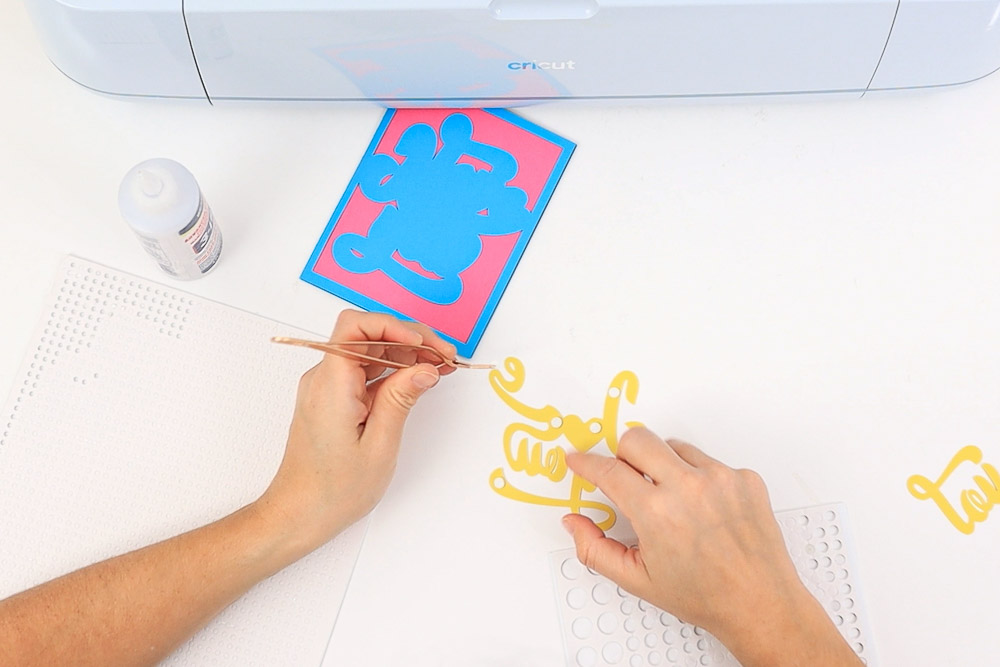

If using foam dots, I highly recommend some tweezers; I used them on the yellow layer and the small pink heart.

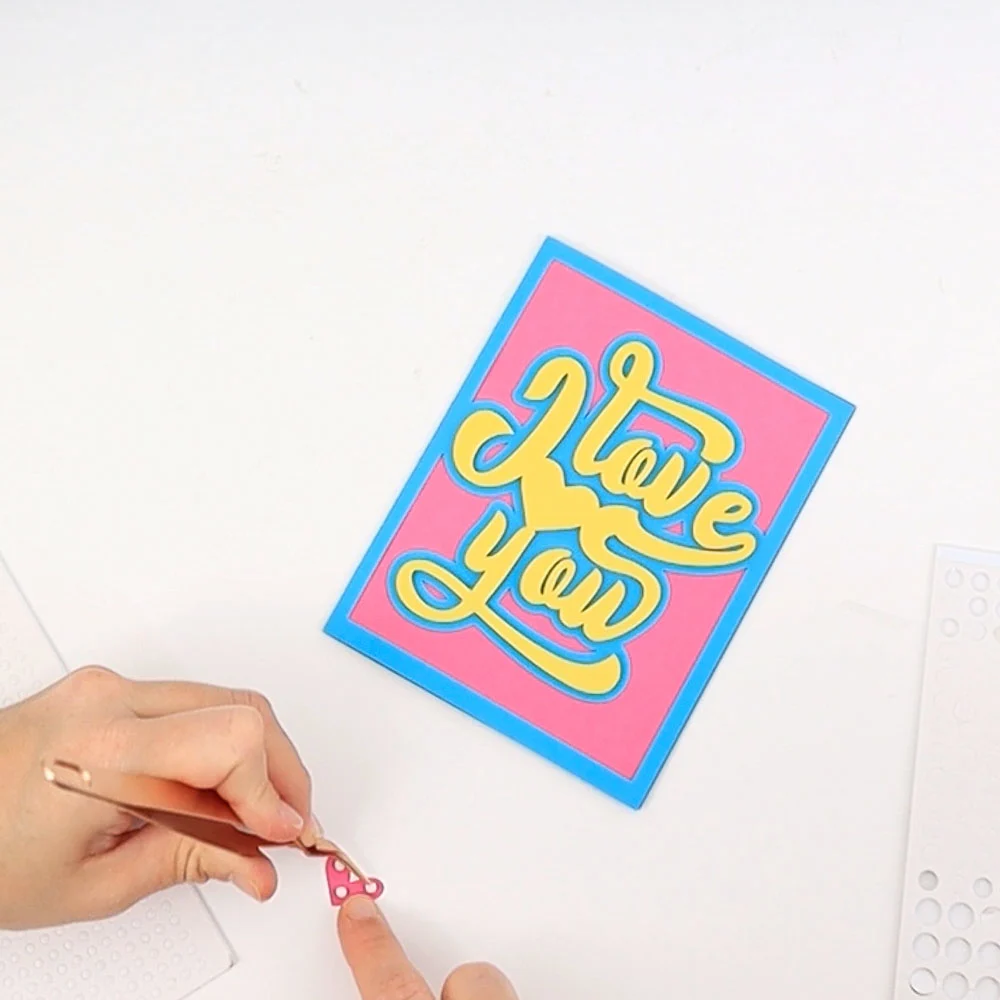

Doesn’t the card look adorable?
I absolutely love it!
I always gravitate to this color combination, but you should also try other colors!
Free Valentine’s Day Cards SVG Templates
As I mentioned before, here are the Valentine’s Day card templates for you to use for personal projects.
To download the file(s), you need to be on a desktop or laptop and click on the button to trigger a download file on your PC. However, I’ve noticed that I can also download them from my iPhone.
Depending on your browser settings, your PC sometimes asks where to save the file, although most files will be in your download folder.
If the image opens in a new window (this may happen because of your browser settings), right-click on it, select the option “Save Image As,” and choose where you want to save the file.
SVG files look like web page files when you download them.


Oh!
Just so you know, I also have a library full of free SVG files and Printables for all my subscribers, a.k.a. Daydreamers. You can see a preview right here or get access by filling out this form.
Can I use the 2×2 CardMat with these Valentine’s Day Cards?
Cricut released a brand new mat where you can make four cards simultaneously! If you don’t know much about it, check out my 2×2 Card Mat tutorial!
Since I learned about this cool mat, I decided to make some of my cards compatible.
All the cards you see with the cut-out corners can be used with the CardMat! You can also try the other ones, but you need to make different cuts on different mats.
The rectangular cards with cut-out corners are also Cricut Joy compatible when you follow the next few steps.

To make the card compatible, upload the template to Design Space, place it on the canvas, and click “Contour.”
On the contour window, click on a space on the card so you are left with the letters and the cut-out corners.
Don’t know how to use contour? Read my tutorial.
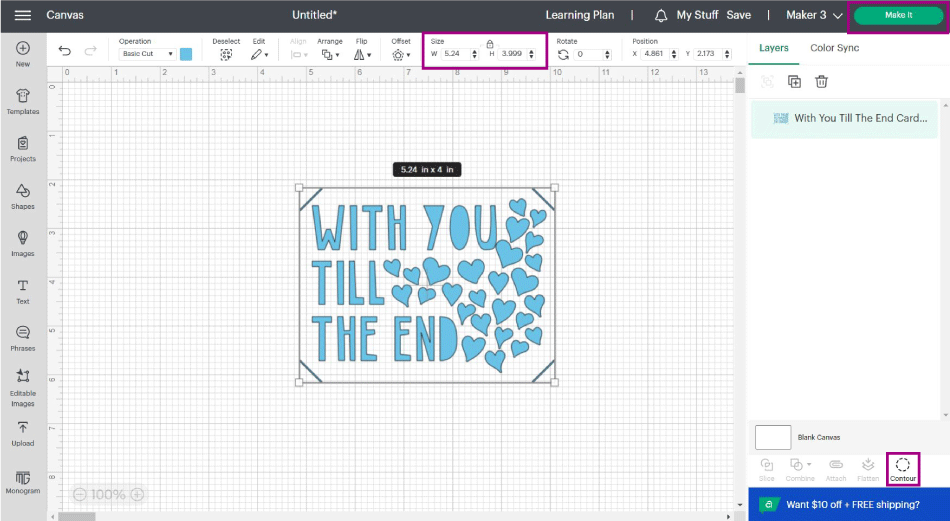

This is what you should have when you close the contour window.
Before sending the card to cut, check the sizing. I had to make it smaller (W: 4 h: 5.24) to use R20 cards.
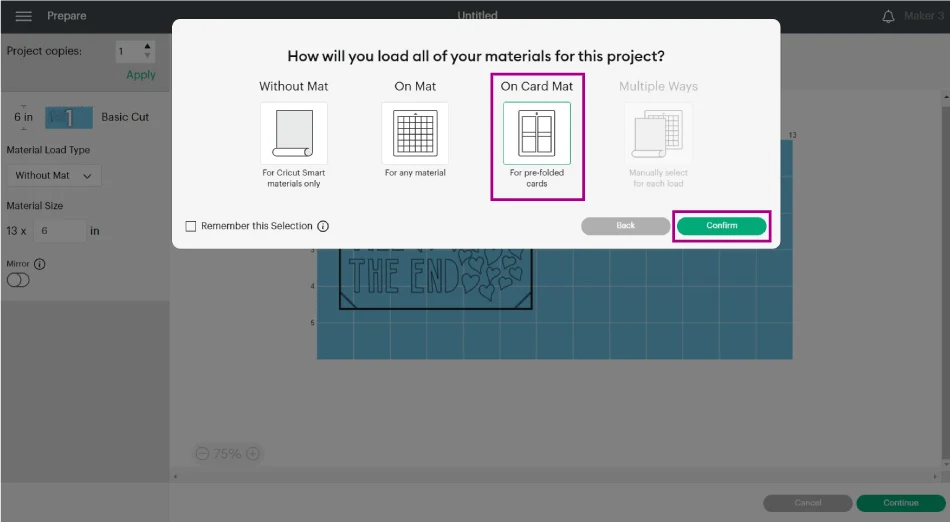
Click on “Make it” to send the project to your machine and select “On Card Mat.”

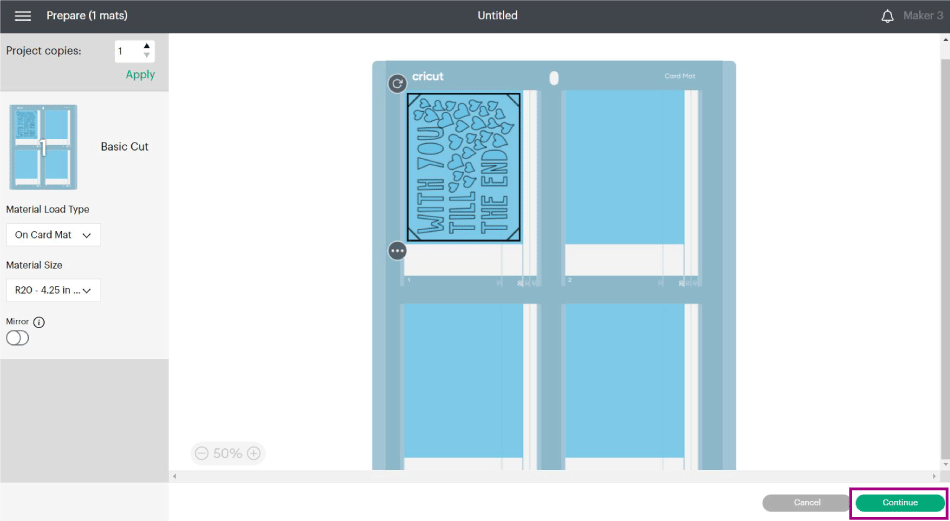
Now, click on “Continue” to select materials, load your mat and finish your card.

Cool right?
More Valentine’s Day Cards with Cricut
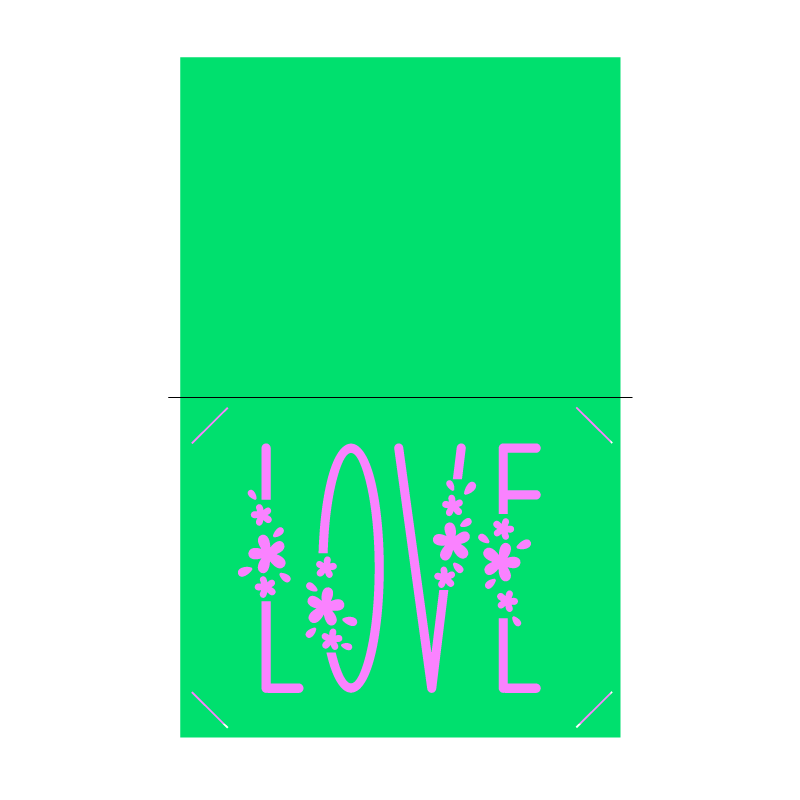
If you’re curious how the other templates I included in this tutorial look, check the rest of the pictures!
I always like testing all the cards I design because paper is expensive, and I don’t want you to have any frustrating moments!
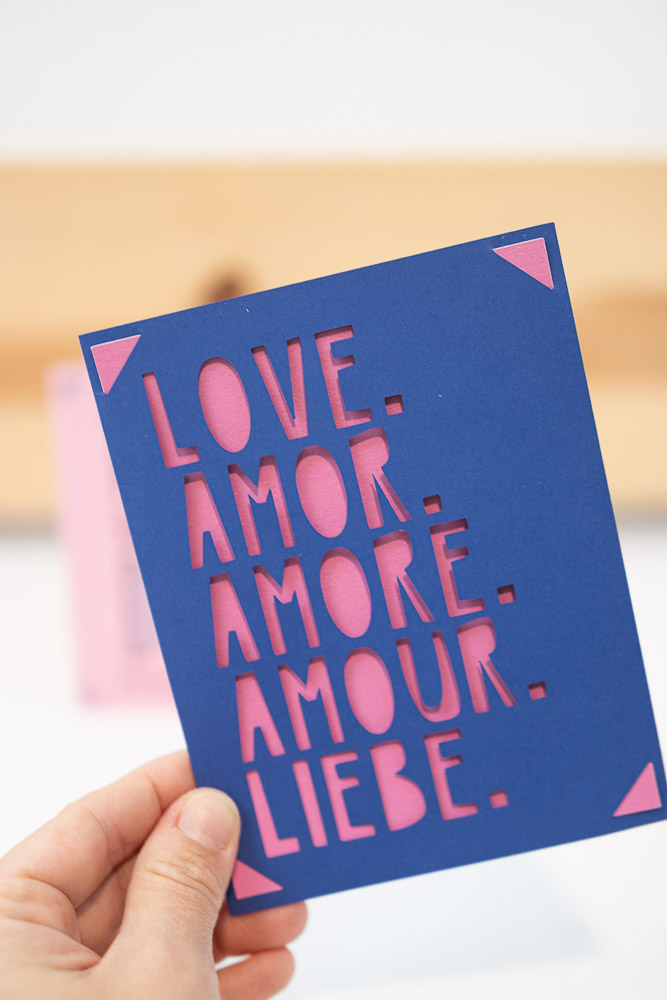
I always select the most complicated card to cover on the step-by-step tutorial, so these over here should be very easy to make!
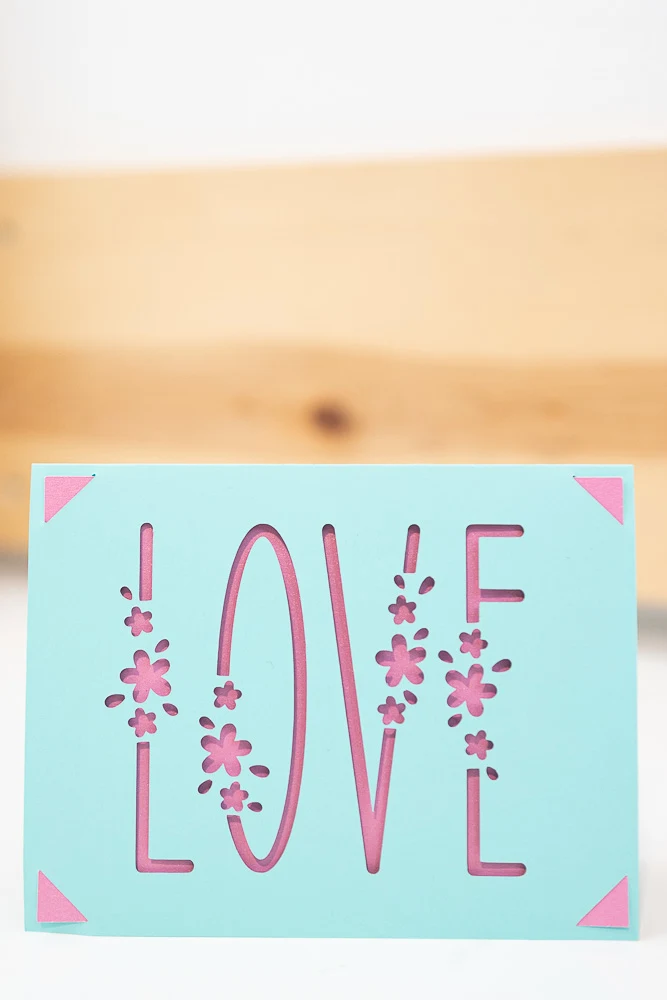

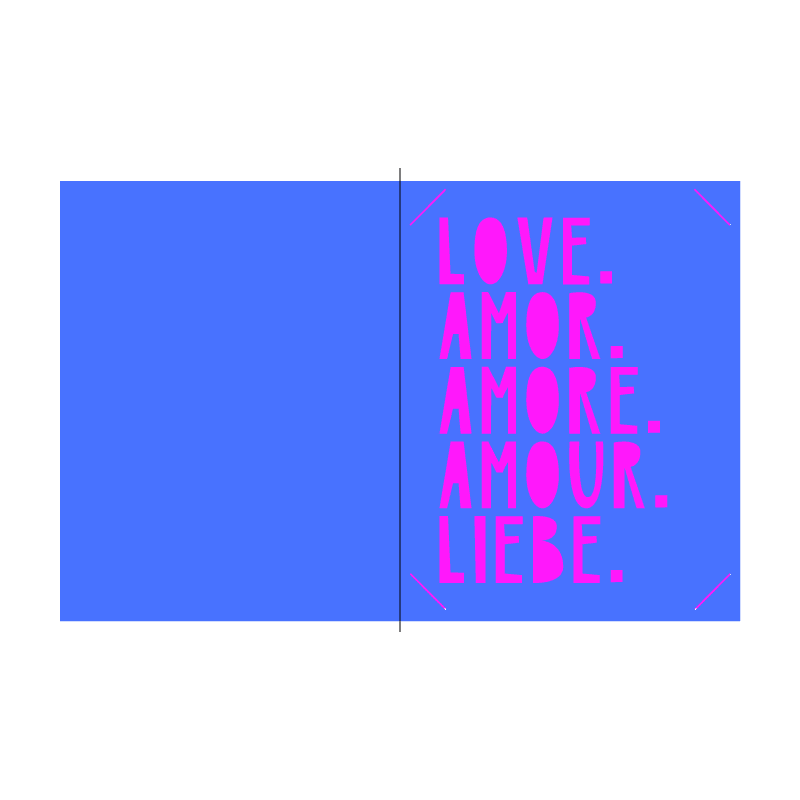
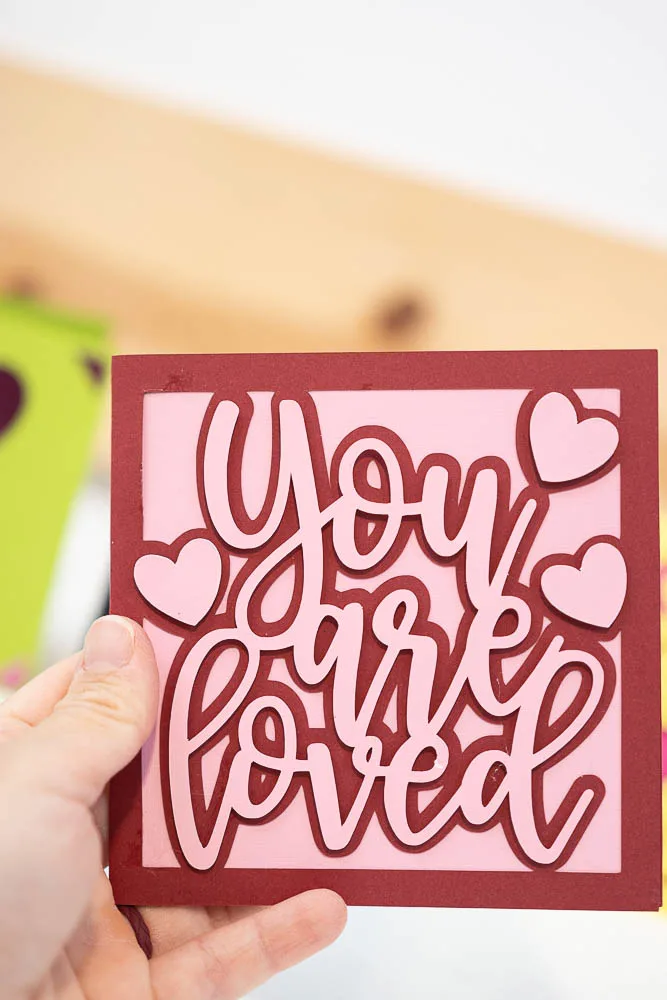
I love these square-shaped cards.
Always take your time choosing the right colors. Sometimes I take longer picking colors than to cut the card.


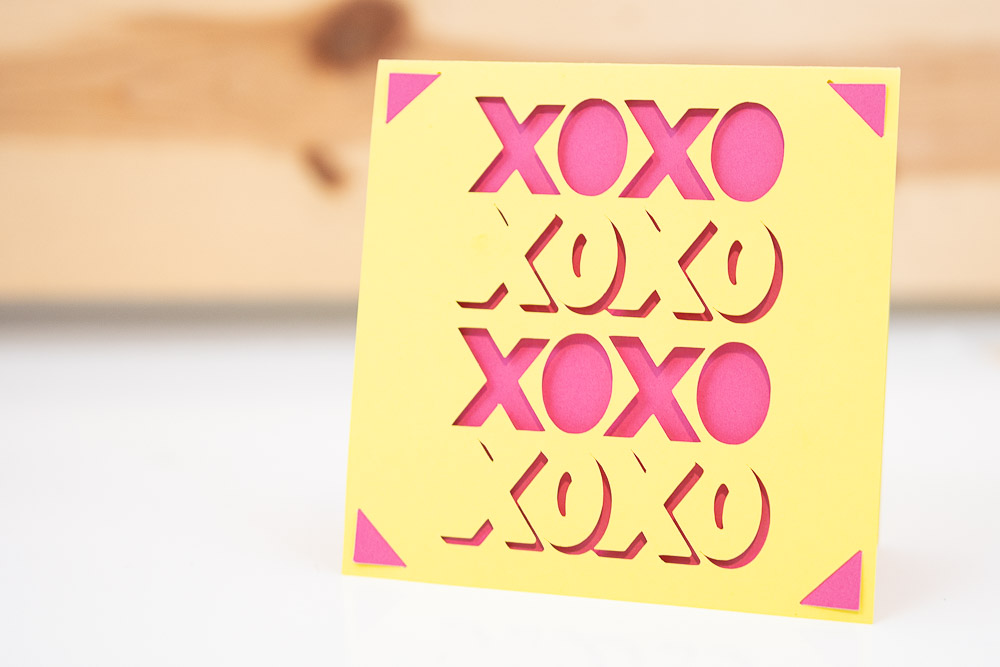

The XOXO card is so silly and fun!
If you have teenagers at home, this is a perfect card for them to gift to some friends.


Which card do you like the most so far?
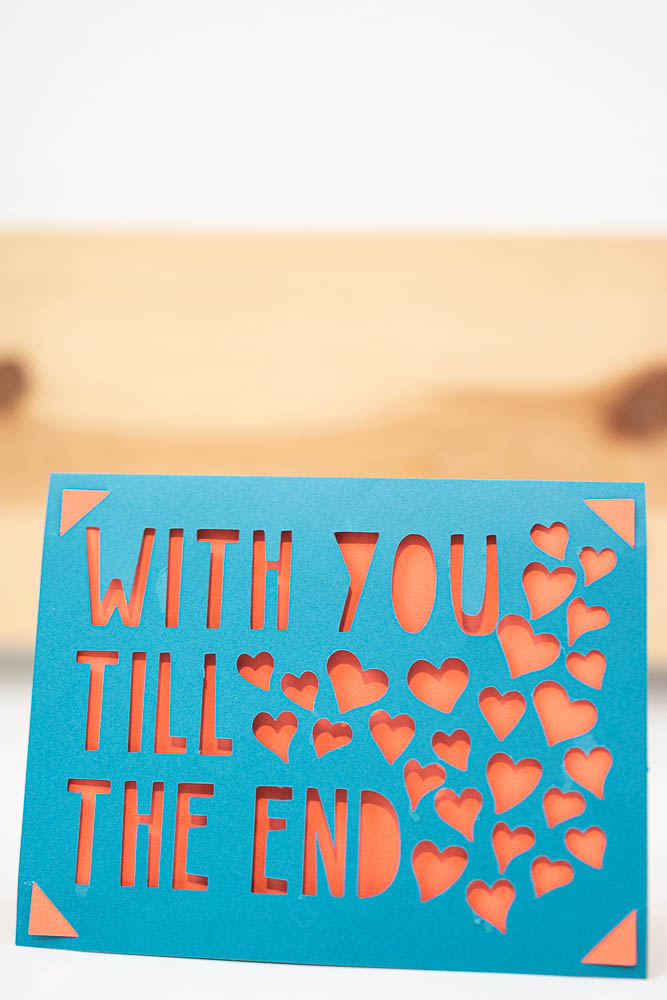
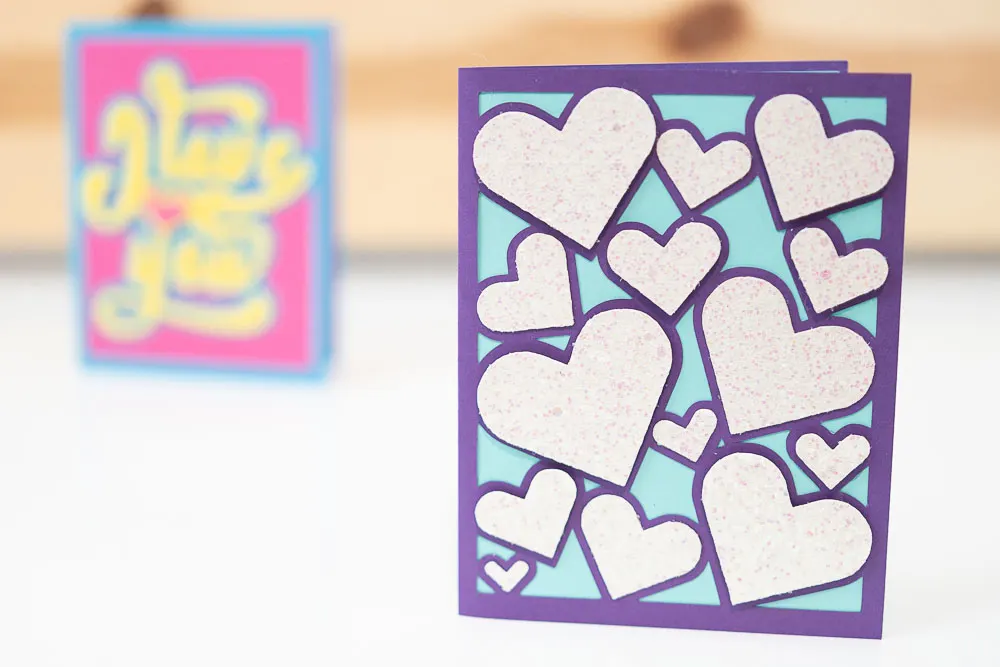
My favorite Valentine’s Day card is the one below with the hearts on top!
It doesn’t have any text, and although the design is simple, it is still elegant and straight lovely!


Here’s a tip for assembling this card!
Keep the hearts together on the mat by attaching or combining (weld, unite) them.
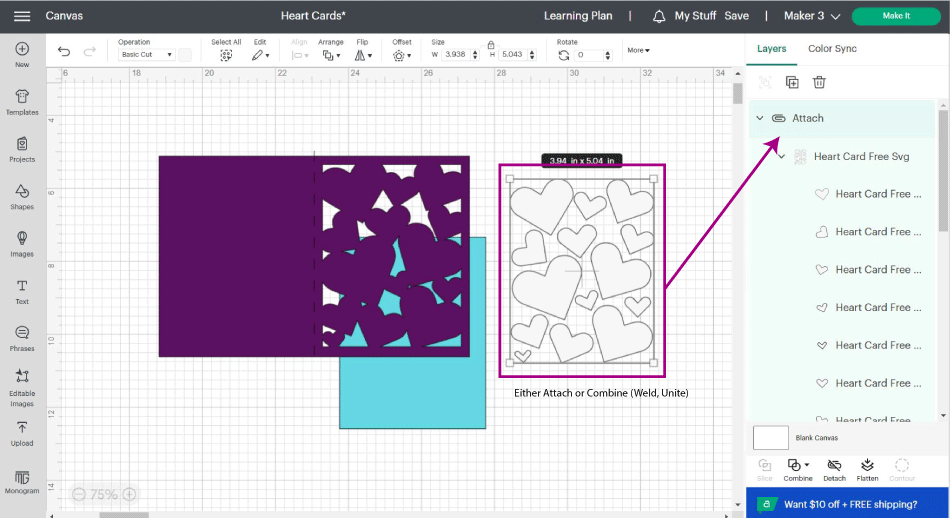

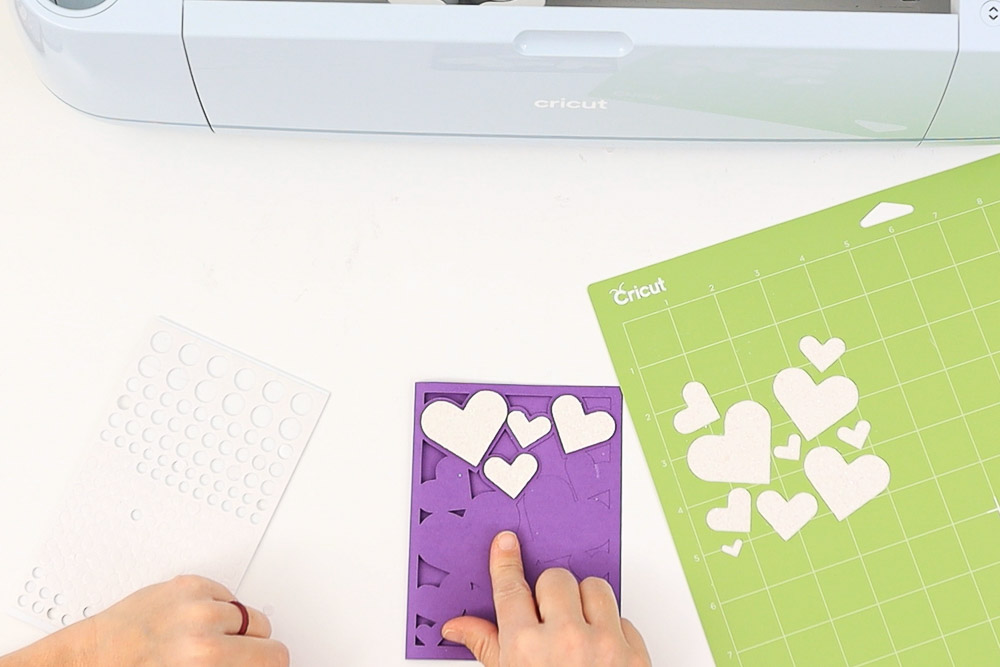
Leave the heart mat for last and don’t remove the hearts; while assembling the card, take one heart at a time and glue it on the card.
I used a combination of glue and foam dots.

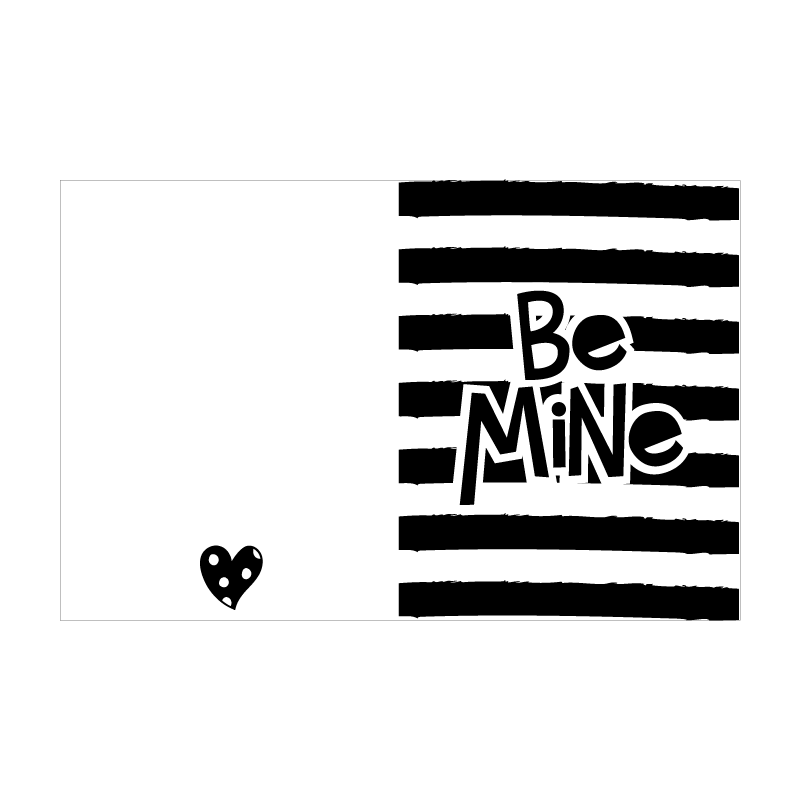
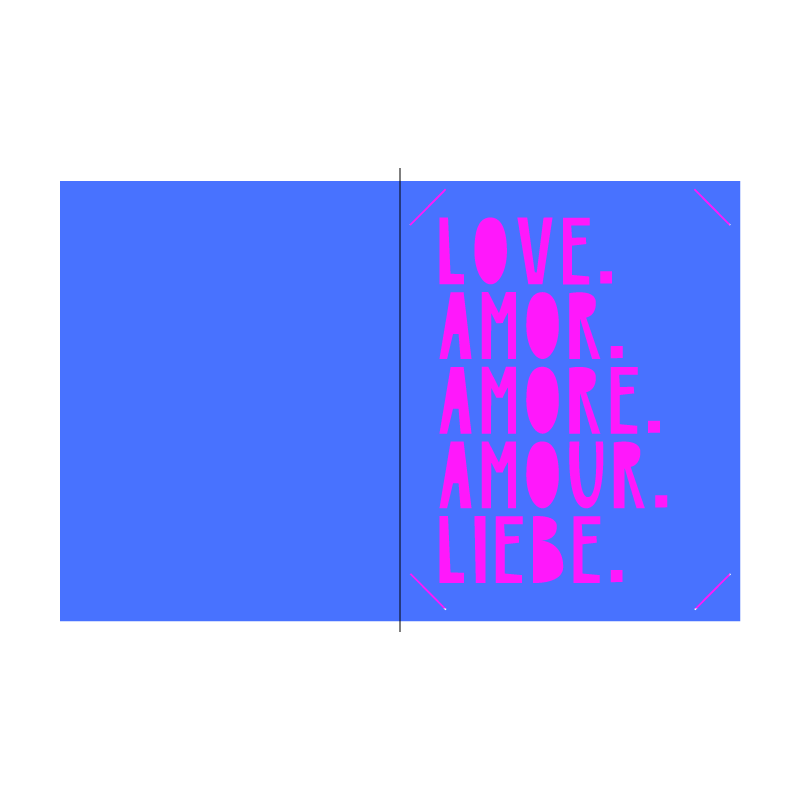
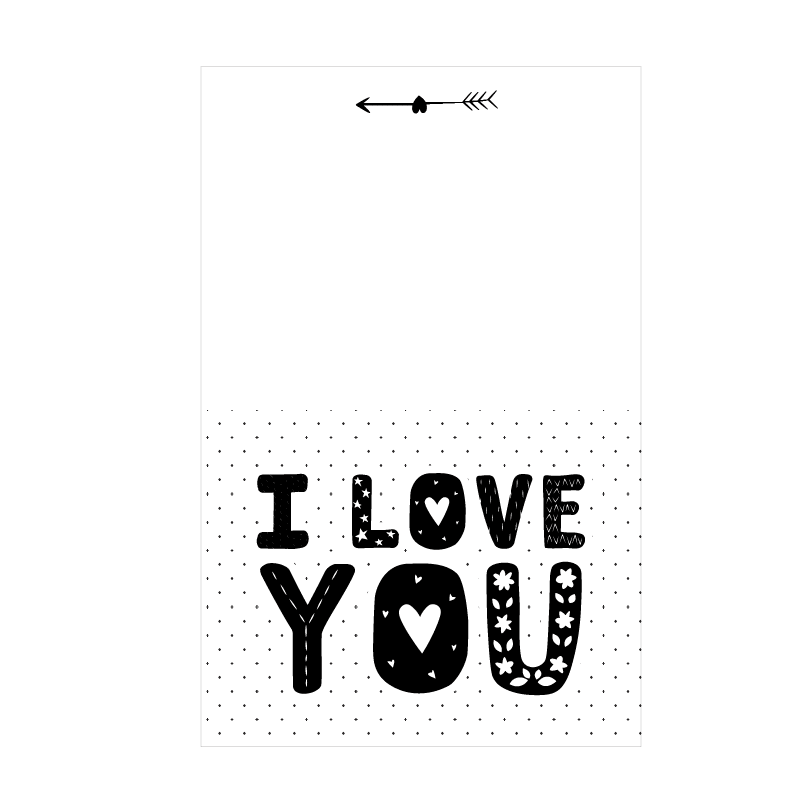
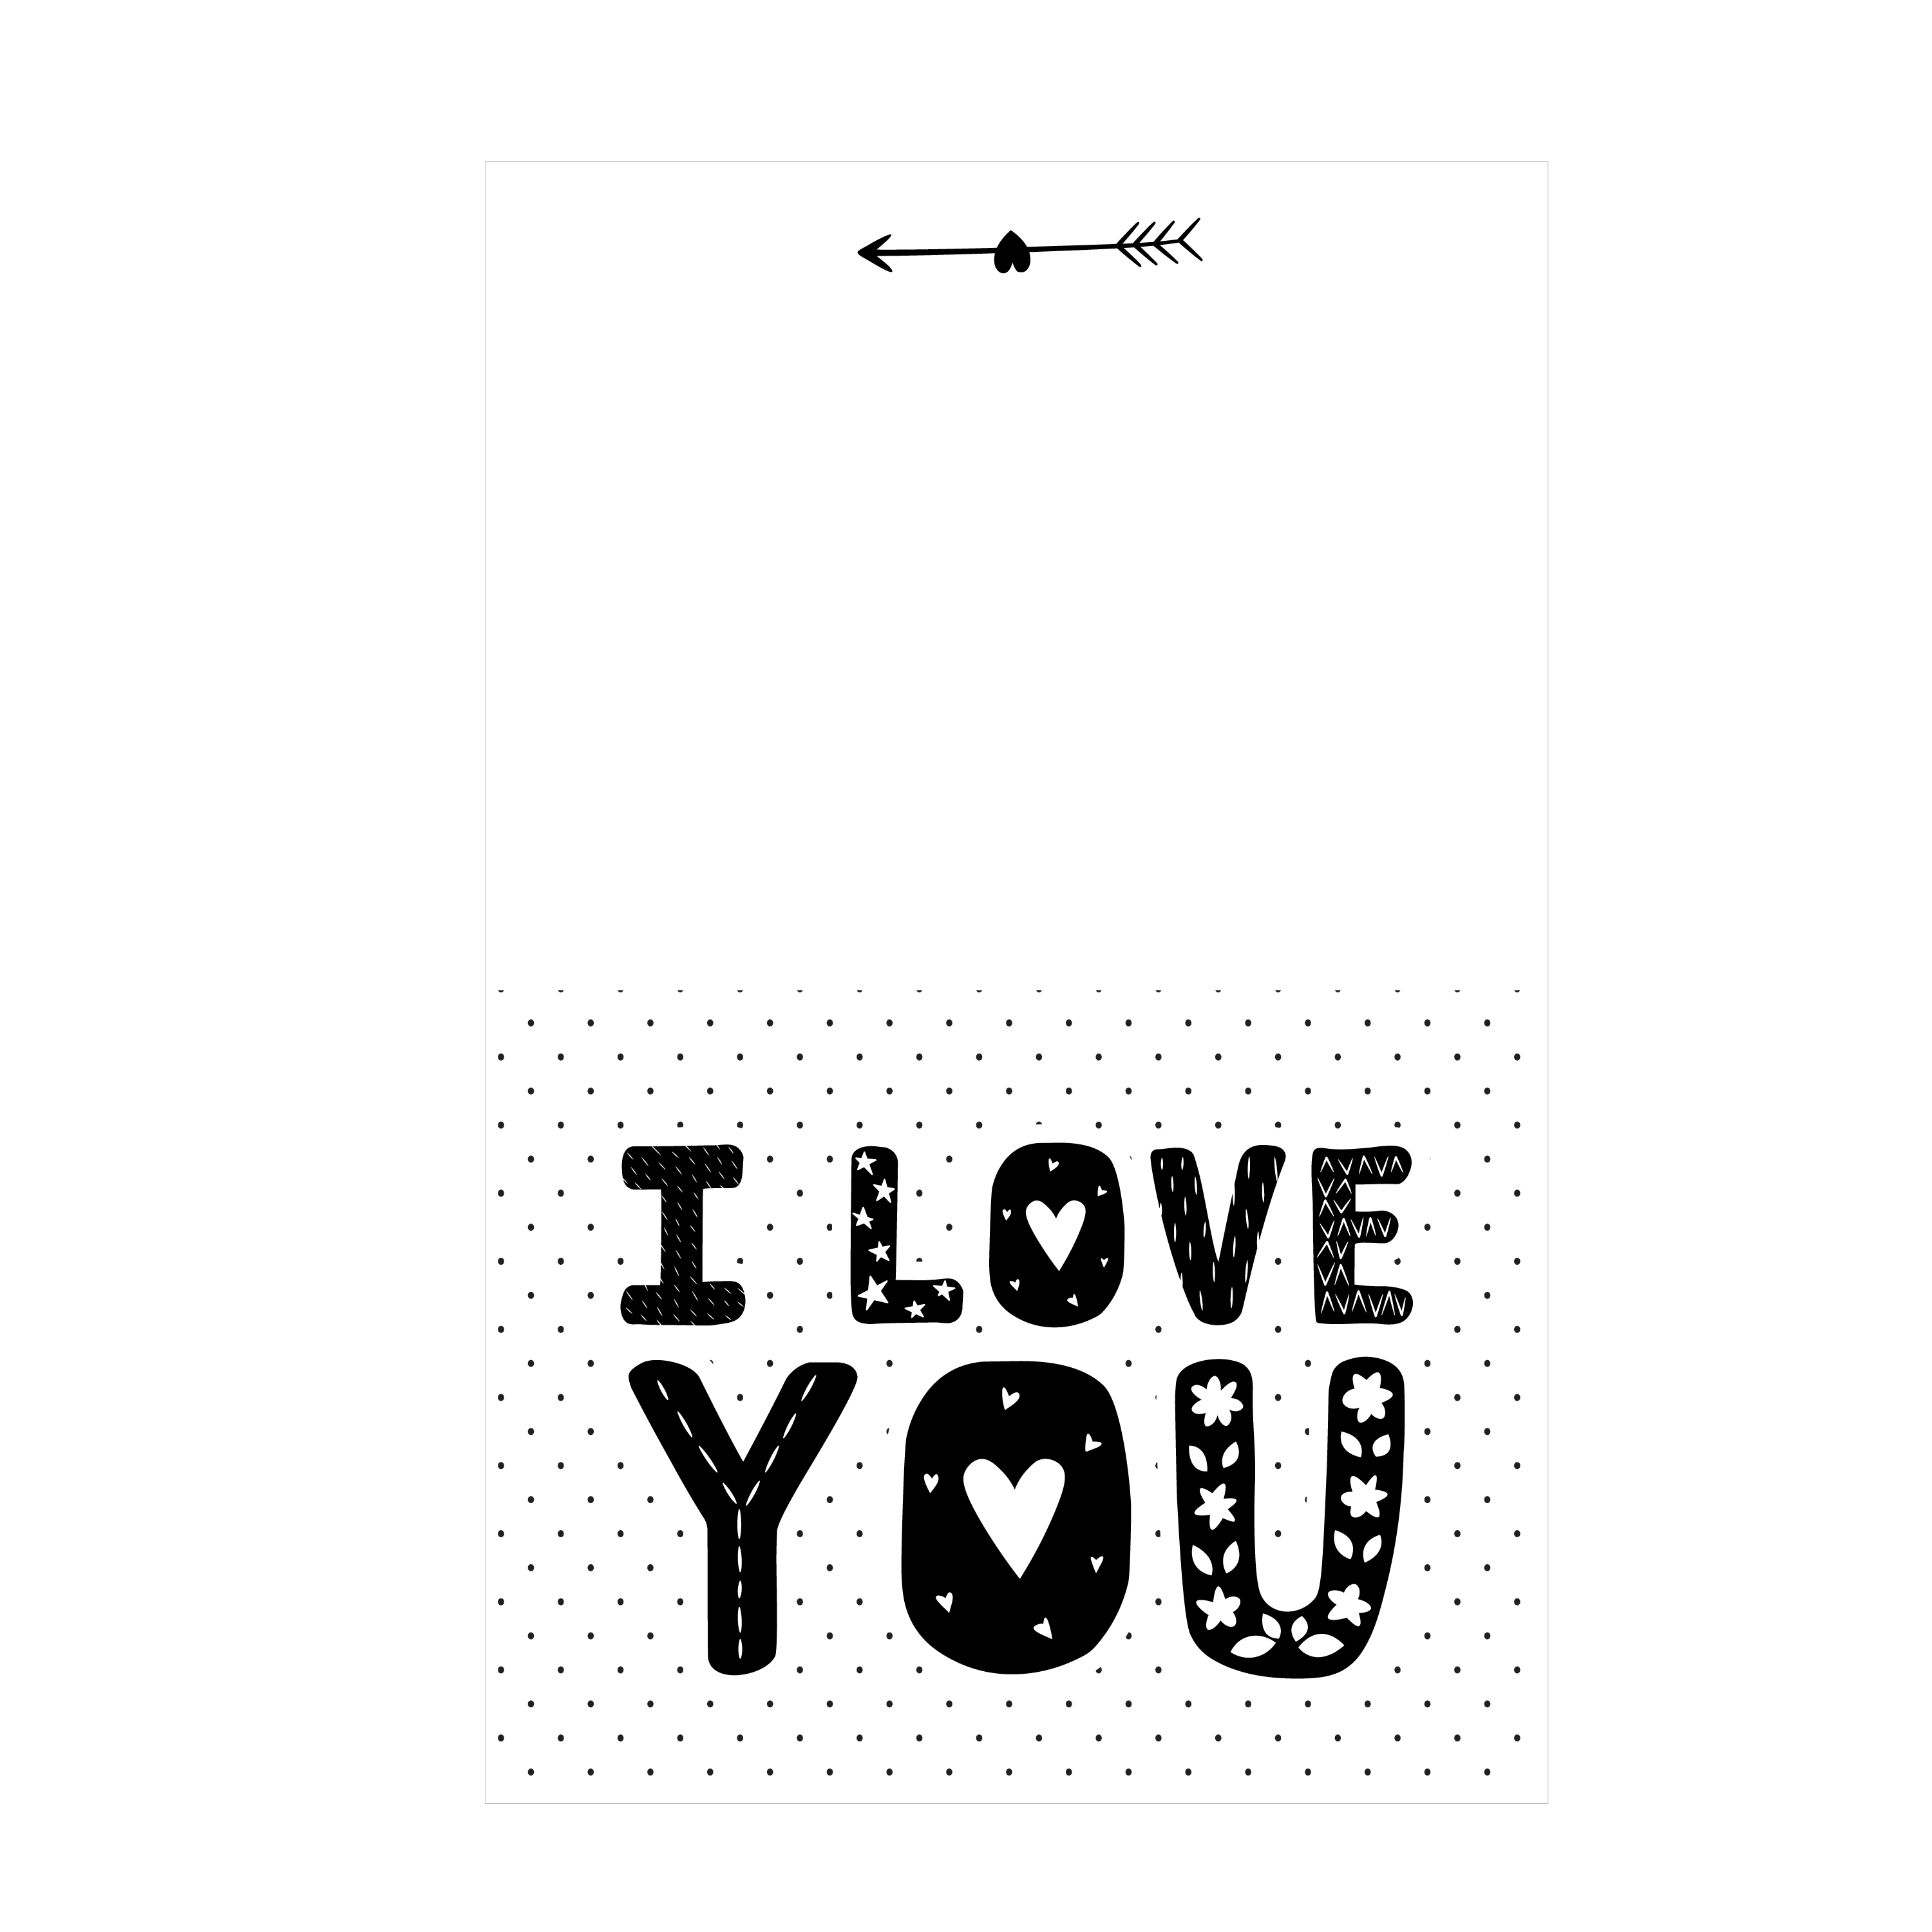
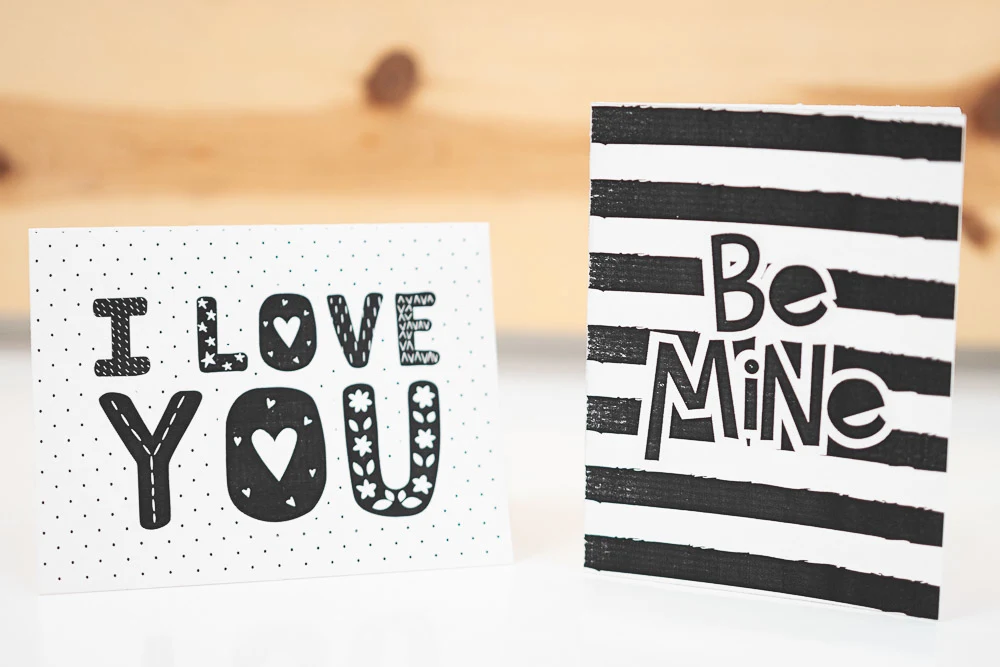
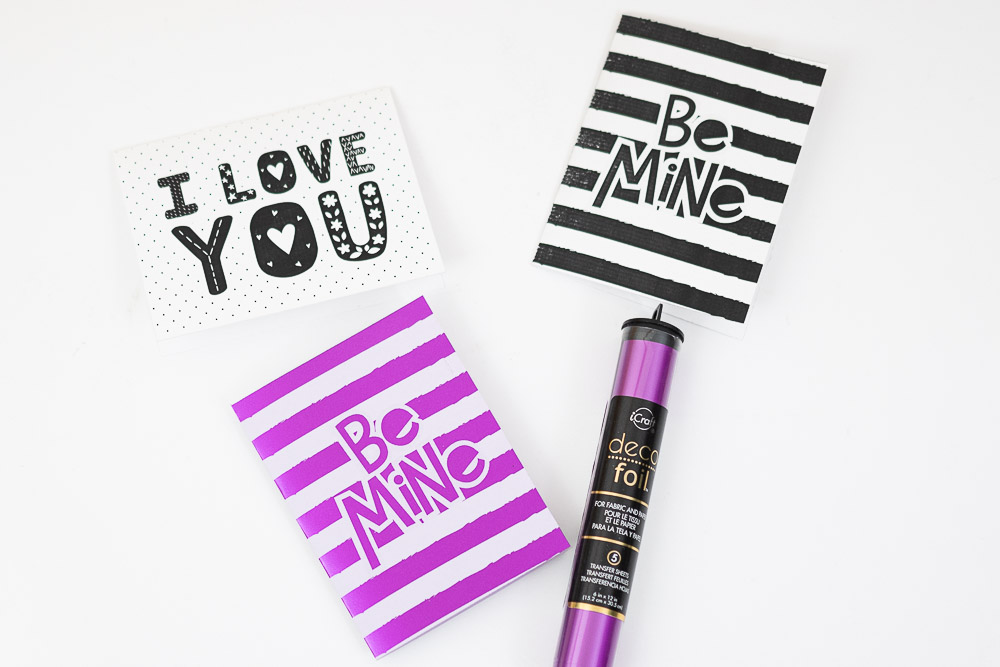
Want something fast and easy?
Try these black and white print then cut cards.
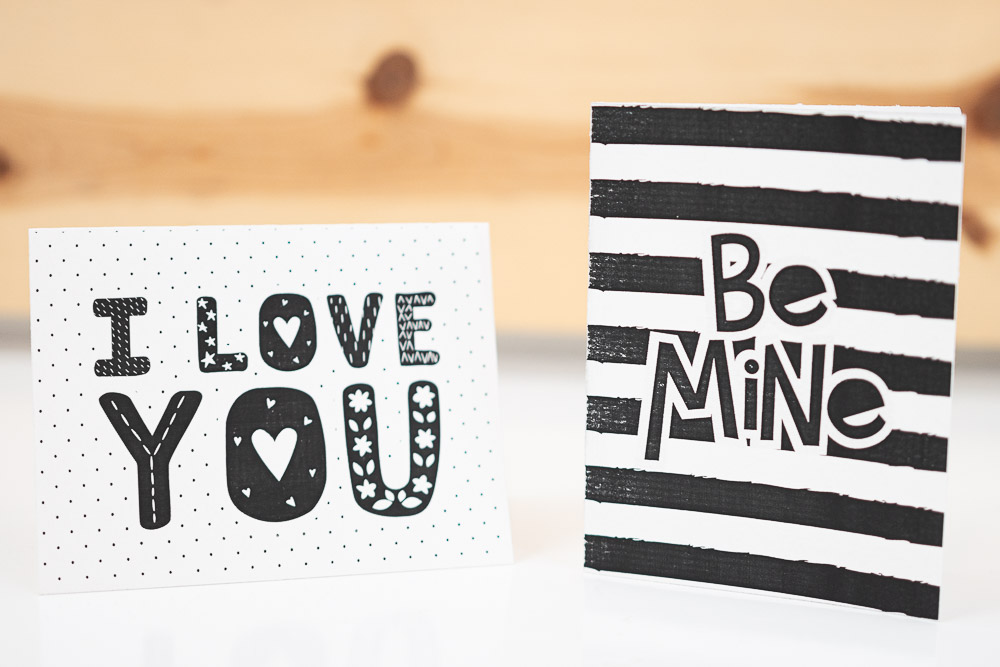
There’s a little rule we’ll need to break when using “print then cut” for cards.
Score lines should always be on the inside, but with printed projects, Cricut needs to read the sensor marks to make them; therefore, the line needs to be on the front!
Who cares, though?
We can keep it a secret!
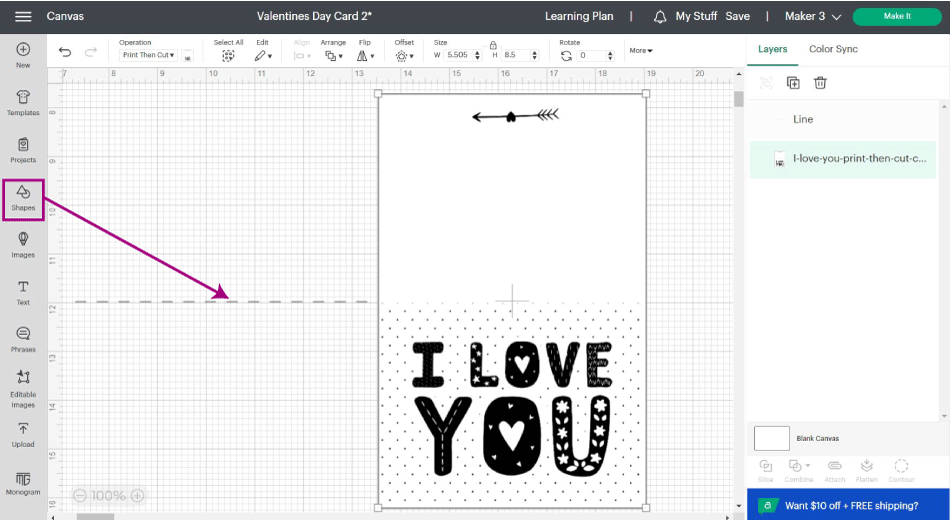
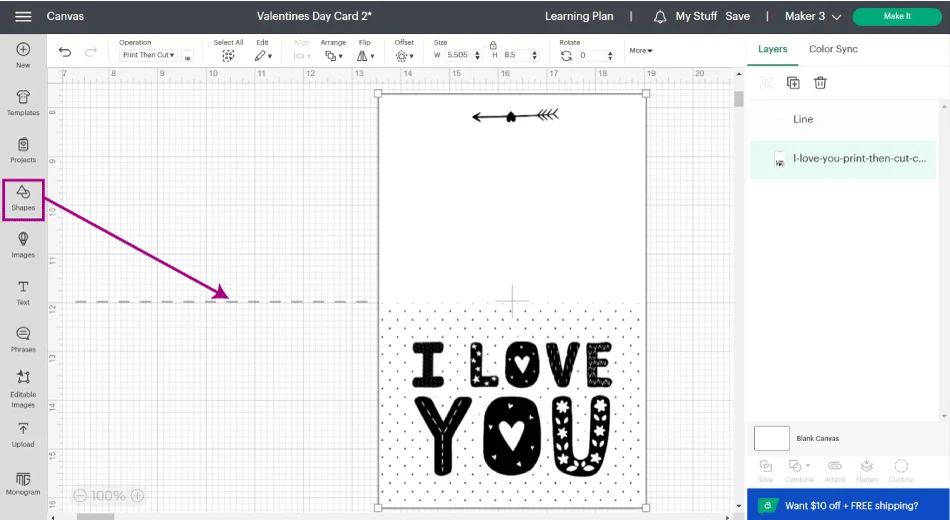
When you upload the card, resize it, add a score line to the canvas area from the “Shapes” tool, rotate it 90 degrees, and size it to fit the card.
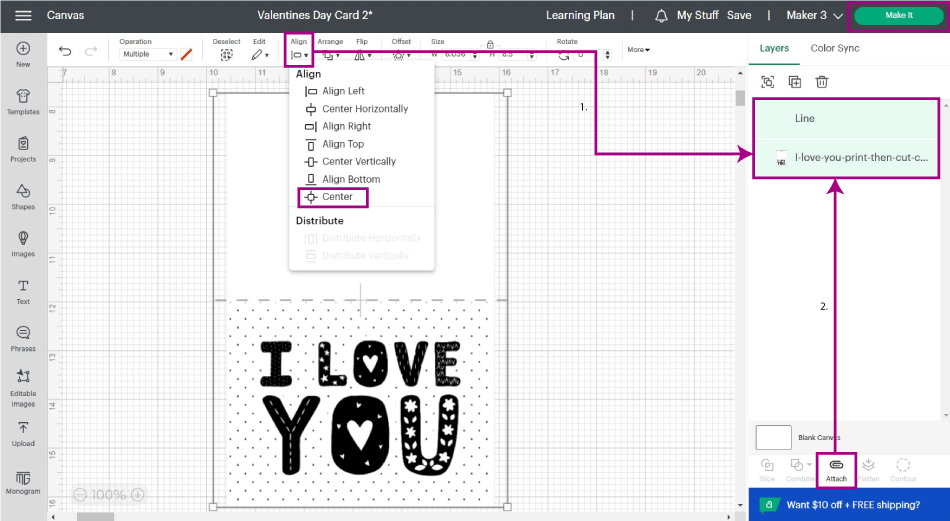
Select the line and the card, click on “Align,” choose the option “Center,” and attach.

Check out my print-then-cut tutorial if you don’t know how to use it!
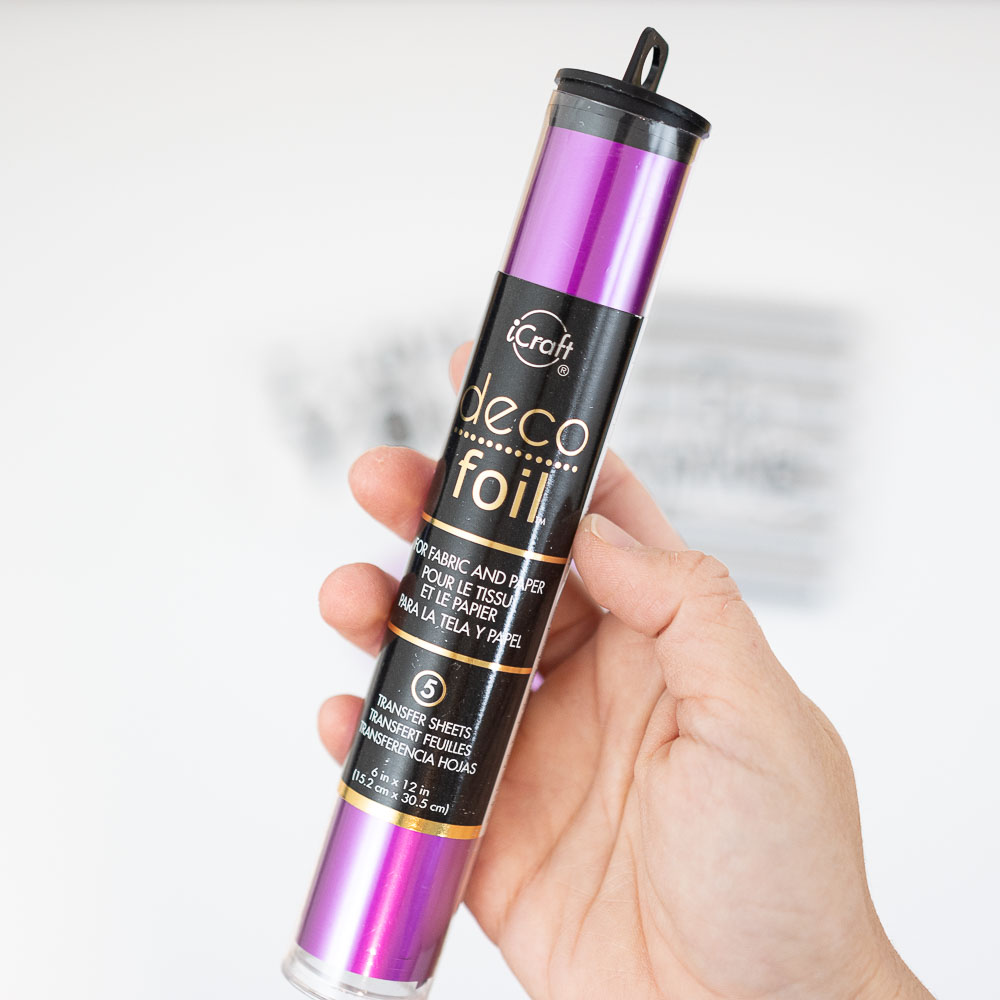
You can add foil effects with a laser printer and a laminator.
Once printed, you need to place a foil sheet (the pretty side facing up) and run through a hot laminator. You can use a regular and cheap laminator; just let it heat up for about four minutes so it gets nice and hot.
I love my Minc laminator because it comes with a protective pouch. I don’t see the best reviews, but I gotta tell you that I love mine. I would never recommend something I haven’t tried or tested.

I love crafty things!
What do you guys think?
Ready to make some Valentine’s Day cards?
Do you know it takes me over 25 hours to complete a single Cricut article? I know it’s wild, but I want to make sure you understand everything!
I would appreciate your support on Instagram , Pinterest , and YouTube as I try to grow my audience and continue producing great content!